
¾ lb. bulk pork sausage
¼ teaspoon
table salt
¾ cup uncooked
quick-cooking grits
6 oz. sharp
Cheddar cheese, shredded
½ cup milk
1 teaspoon fresh
thyme leaves
¼ teaspoon
garlic powder
¼ teaspoon
black pepper
2 large eggs
Vegetable cooking spray
- Brown sausage in a large skillet over medium-high heat,
stirring often, 7 to 9 minutes or until cooked and browned; drain on paper
towels.

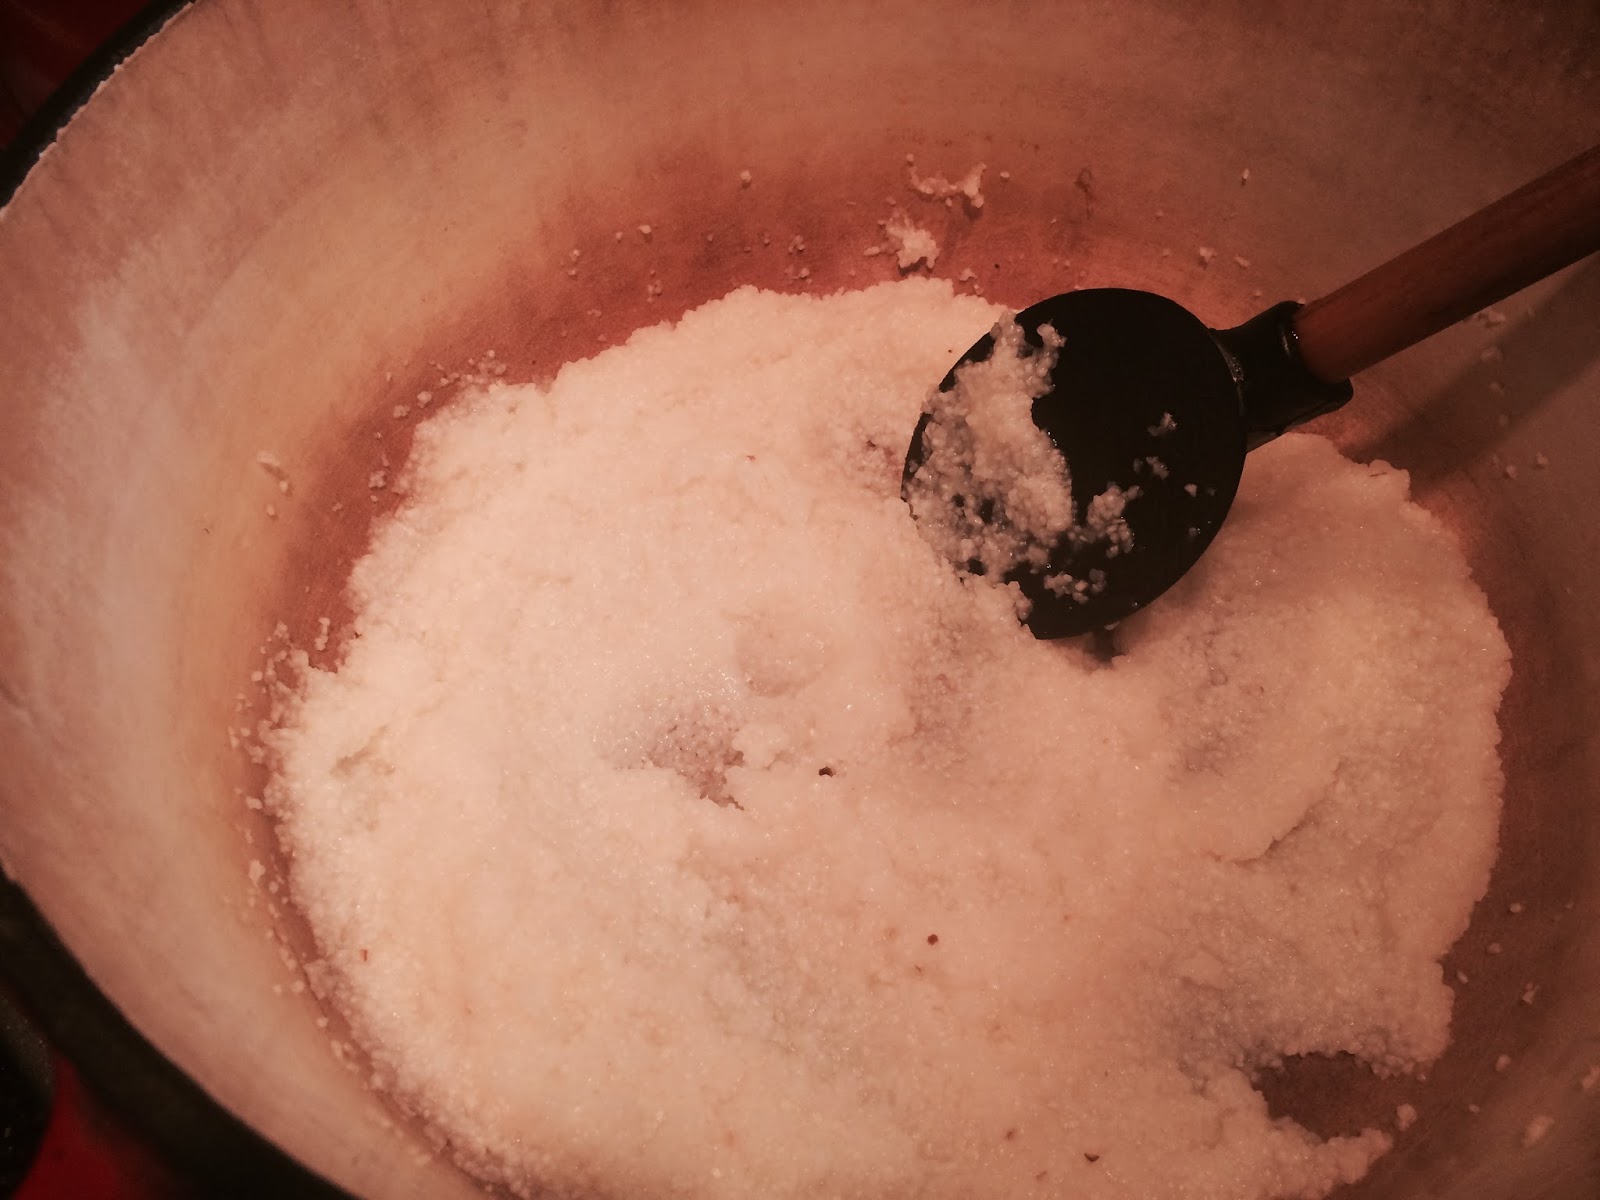
- Bring salt and 2 ¼ cups water to a boil in a large Dutch
oven over high heat. Whisk in grits, and return to a boil. Cover, reduce heat
to medium, and simmer 5 minutes or until thickened, whisking occasionally.

- Remove from heat; add cheese and sausage, stirring until cheese iscompletely melted.
- Stir in milk and next 4 ingredients.

- Spoon mixture into a lightly greased (with cooking spray) 10”x6”
(or a 9”x9”) baking dish. (Casserole can be refrigerated at this point and
baked later.)

- Bake in a preheated 350° for 50 minutes to 1 hour or until golden and cooked through. (If casserole was refrigerated, remove from fridge about 30 minutes before baking to allow it to come to room temperature.)
- Let stand 5 minutes before serving.


Recipe without photos . . .
Sausage-and-Grits Casserole Makes 6 to 8 servingsPrint
¾ lb. bulk pork sausage
¼ teaspoon table salt
¾ cup uncooked quick-cooking grits
6 oz. sharp Cheddar cheese, shredded
½ cup milk
1 teaspoon fresh thyme leaves
¼ teaspoon garlic powder
¼ teaspoon black pepper
2 large eggs
Vegetable cooking spray
- Brown sausage in a large skillet over medium-high heat, stirring often, 7 to 9 minutes or until cooked and browned; drain on paper towels.
- Bring salt and 2 ¼ cups water to a boil in a large Dutch oven over high heat. Whisk in grits, and return to a boil. Cover, reduce heat to medium, and simmer 5 minutes or until thickened, whisking occasionally.
- Remove from heat; add cheese and sausage, stirring until cheese is completely melted.
- Stir in milk and next 4 ingredients.
- Spoon mixture into a lightly greased (with cooking spray) 10”x6” (or a 9”x9”) baking dish. (Casserole can be refrigerated at this point and baked later.)
- Bake in a preheated 350° for 50 minutes to 1 hour or until golden and cooked through. (If casserole was refrigerated, remove from fridge about 30 minutes before baking to allow it to come to room temperature.)
- Let stand 5 minutes before serving.


