Fluffy Eggs — Eggs in a Cloud!

Eye-catching, tasty and something different – it’s like eating eggs in a cloud! I’ve made a multitude of egg dishes but never Fluffy Eggs. Seems the recipe has been around for a long time but I had not heard of them until I ran around this recipe on Pinterest (The Reading Residence blog). Eye-catching, tasty and something different – it’s like eating eggs in a cloud!

Fluffy Eggs — Eggs in a Cloud   2 servings

2 eggs
2 slices of bread, lightly toasted
Grated cheese of your choice – I used Cheddar cheese 
Salt & pepper to season

  1. Preheat oven to 375° F.
  2. Crack and separate the eggs, keeping the complete yolks in one bowl and the whites all together in another.
  3. Place toasted bread slices on a baking tray that has been lined with foil or a silicon baking sheet.
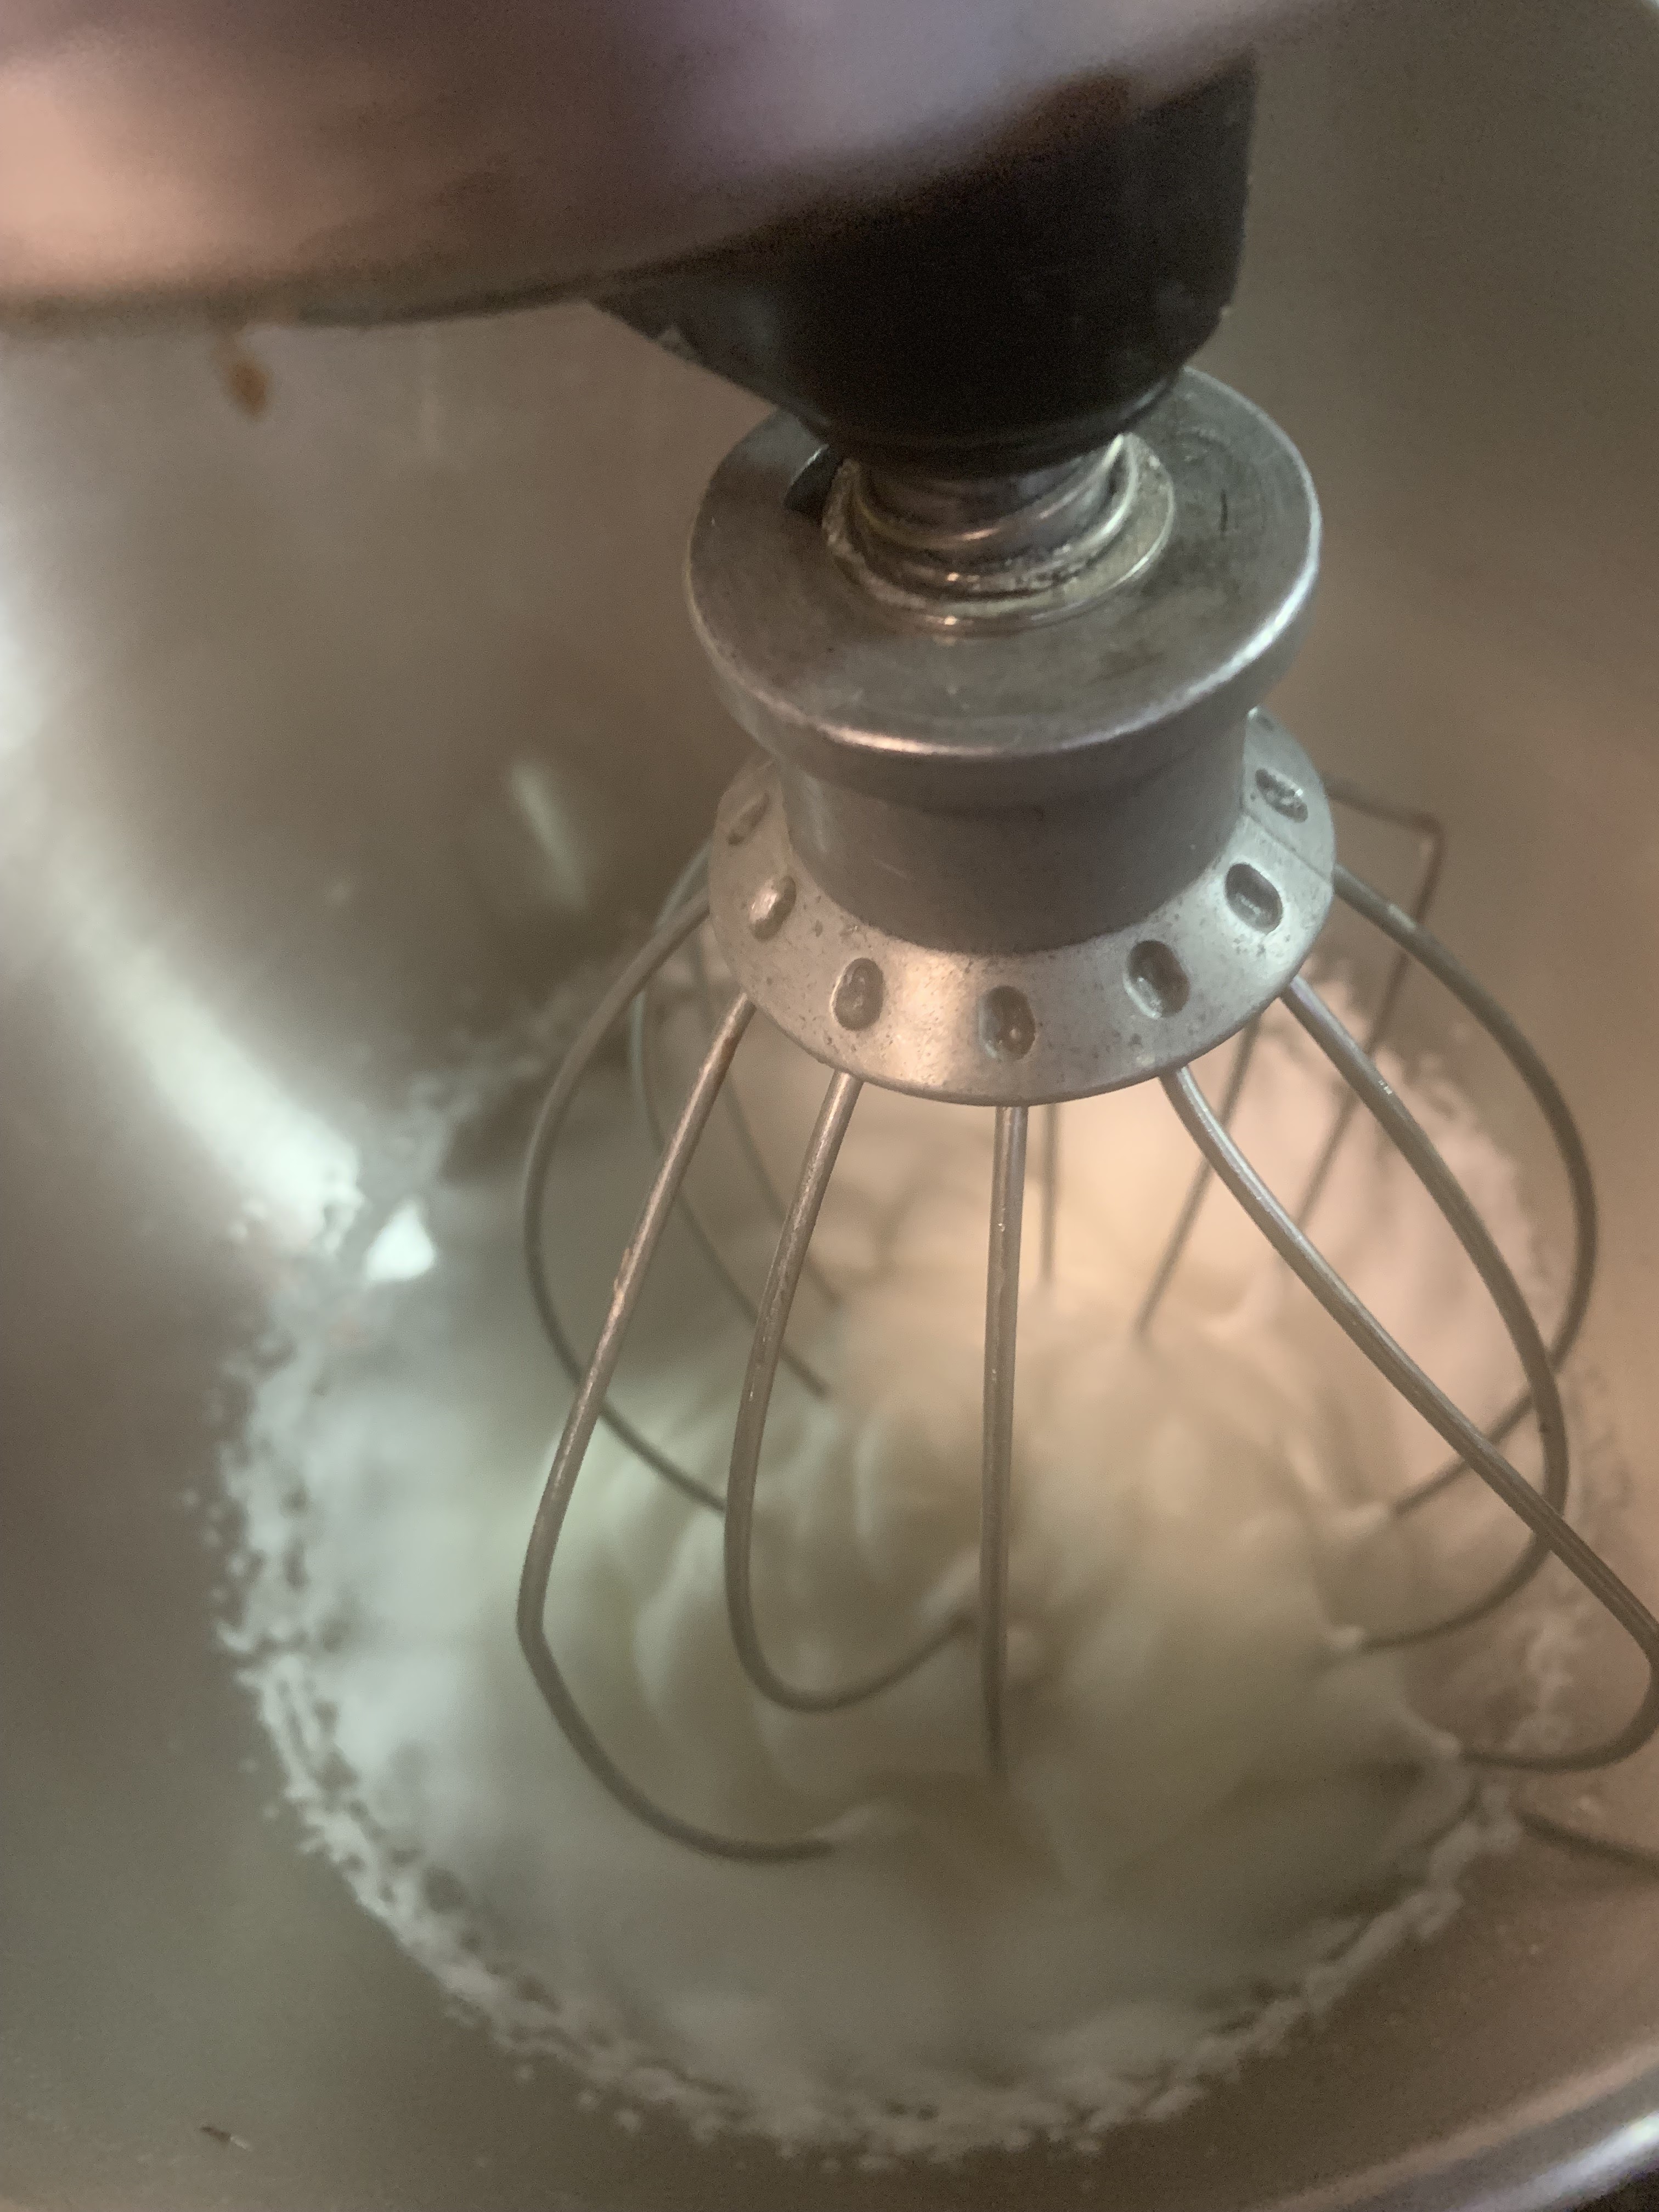
  4. Whisk egg whites into stiff peaks.
  5. Spoon around 3/4 of the egg white mixture onto your 2 slices of toasted bread.
  6. Using a spoon or spatula, make a depression in the center of the egg whites to create wells.
  7. Place egg yolks inside the wells, one in each. Season with salt and pepper.
  8. Then cover yolks with remaining egg whites. Sprinkle grated cheese over the top.
  9. Bake for 10 minutes in the preheated oven; add 1 to 3 minutes if less runny egg yolks are preferred.

Recipe without photos . . .Fluffy Eggs — Eggs in a Cloud   2 servings

2 eggs
2 slices of bread, lightly toasted
Grated cheese of your choice – I used Cheddar cheese 
Salt & pepper to season

  1. Preheat oven to 375° F.
  2. Crack and separate the eggs, keeping the complete yolks in one bowl and the whites all together in another.
  3. Place toasted bread slices on a baking tray that has been lined with foil or a silicon baking sheet.
  4. Whisk egg whites into stiff peaks.
  5. Spoon around 3/4 of the egg white mixture onto your 2 slices of toasted bread.
  6. Using a spoon or spatula, make a depression in the center of the egg whites to create wells.
  7. Place egg yolks inside the wells, one in each. Season with salt and pepper.
  8. Then cover yolks with remaining egg whites. Sprinkle grated cheese over the top.
  9. Bake for 10 minutes in the preheated oven; add 1 to 3 minutes if less runny egg yolks are preferred.

Salted Brown Butter Crispy Treats - MORE please!

Numerous bloggers include this recipe on sites. However, it was Arron Morrison who drew my attention to this particular recipe that appears on the Smitten Kitchen blog. It’s amazing how the browned butter and sea salt add flavor dimensions to the old favorite.                                                                               

About the name —  While the official title is Salted Brown Butter Crispy Treats, Barry suggested a simpler  title — MORE please! They are soooo good and so easy! Careful — they are also addictive 


Salted Brown Butter Crispy Treats     Yield: 8-inch square pan

1/2 cup ( 1 stick or 4 ounces or 115 grams) unsalted butter, plus extra for the pan
1 10-ounce (285-gram) bag marshmallows
Heaping 1/4 teaspoon coarse sea salt
6 cups (160 grams) crispy rice cereal (about half a 12-ounce box)

  1. Butter (or coat with non-stick spray) an 8-inch square cake pan with 2-inch sides.
  2. In a large pot, melt butter over medium-low heat. It melts, then foams, then turns a clear golden color, and finally start to turn brown and smell nutty. Stir frequently, scraping up any bits from the bottom as you do. Don’t take your eyes off the pot as while you may be impatient for it to start browning, the period between the time the butter begins to take on color and the point where it burns is often less than a minute.
  3. As soon as the butter takes on a nutty color, turn the heat off and stir in the marshmallows. The residual heat from the melted butter should be enough to melt them, but if it is not, turn it back on low until the marshmallows are smooth.
  4. Remove the pot from the stove and stir in the salt and cereal together. 
  5. Quickly spread into prepared pan.Use a piece of waxed or parchment paper that has been sprayed with oil to press it firmly and evenly into the edges and corners. 

  6. Let cool (if possible) and cut into squares. (I turned the batch out onto another sheet of wax paper for easy cutting.)
Recipe without the photos . . . Salted Brown Butter Crispy Treats     Yield: 8-inch square pan

1/2 cup ( 1 stick or 4 ounces or 115 grams) unsalted butter, plus extra for the pan
1 10-ounce (285-gram) bag marshmallows
Heaping 1/4 teaspoon coarse sea salt
6 cups (160 grams) crispy rice cereal (about half a 12-ounce box)

  1. Butter (or coat with non-stick spray) an 8-inch square cake pan with 2-inch sides.
  2. In a large pot, melt butter over medium-low heat. It melts, then foams, then turns a clear golden color, and finally start to turn brown and smell nutty. Stir frequently, scraping up any bits from the bottom as you do. Don’t take your eyes off the pot as while you may be impatient for it to start browning, the period between the time the butter begins to take on color and the point where it burns is often less than a minute.
  3. As soon as the butter takes on a nutty color, turn the heat off and stir in the marshmallows. The residual heat from the melted butter should be enough to melt them, but if it is not, turn it back on low until the marshmallows are smooth.
  4. Remove the pot from the stove and stir in the salt and cereal together. 
  5. Quickly spread into prepared pan. Use a piece of waxed or parchment paper that has been sprayed with oil to press it firmly and evenly into the edges and corners. .
  6. Let cool (if possible) and cut into squares. (I turned the batch out onto another sheet of wax paper for easy cutting.)

Artichoke-Filled Fillo Triangles with make-ahead options

These make-ahead appetizers are not only tasty but very convenient to have on hand as they can be made ahead and frozen . . . ready to bake as needed. 


Artichoke-Filled Fillo Triangles        Yield:  about 60 triangles

1 package frozen fillo (phyllo) dough, thawed according to pkg. directions

About 2 cups butter, melted

About 3 cups artichoke filling (recipe follows. 

  1. Preheat oven to 375 to 400°. Lightly spray a parchment lined cookie sheet with pan coating.  
  2. Unroll fillo dough and remove 2 sheets. Cover unused dough with plastic wrap and enclose in a damp towel (from which all excess moisture has been squeezed) to keep sheets from drying out; make sure the damp towel does not come in direct contact with the fillo. 
  3. Brush each sheet lightly with melted butter and stack one on top of the other.  
    2 buttered follo sheets, one on top of another. 
  4. Cut the sheet into about 3” strips using a sharp knife (you’ll get three 3” strips).
  5. Place a rounded teaspoon of filling hear the end of each strip.
  6. Fold fillo corner diagonally over teaspoon of filling to form a triangle. Continue folding flag-fashion to opposite end. 
  7. Brush bottoms and tops with butter and place on prepared pan. Repeat process until all dough is used. 
    I placed the triangles on a silicon lined tray (relatively close together), brushed them lightly with another layer of butter, and then froze them. See Make-Ahead Option below.)
  8. Bake until light golden brown, 10 to 15 minutes. Let cool at least slightly before serving.

Make Ahead Option: Spread filled but unbaked triangles on a parchment or foil-lined tray. Set in freezer until solid and then add triangles to a freezer container (best to store triangles in layers with wax paper or plastic wrap separating each layer). When ready to use, remove from freezer and bake (from frozen state) as directed above; a few extra minutes of baking time may be required.

Triangles can also be made one day, covered with plastic wrap, refrigerated, and then baked the next day.

Notes: 

3 sheets can also be used for an even flakier appetizer.  

For one-bite appetizers, cut strips about 1 1/2” wide.


Artichoke Filling      Yield: about 2 cups filling

1 can (14 oz.) artichoke hearts, drained and diced

1/2 cup sour cream

1 cup (4 oz.) grated Cheddar cheese

2 cloves garlic, minced

1 teaspoon dried oregano   


In a medium bowl, mix all ingredients until well blended.


Fillo Dough TIPS from Athens Award Winning Fillo Dough Recipes booklet: 

Use approximately 1/2 cup butter for 16 full-sized sheets of fillo dough, or 1/2 Tbsp. of butter per full fillo sheet. (8 Tbsp. = 1/2 cup = 1 stick butter). Unsalted butter is preferred but salted also works.  Yes, margarine, oil or even pan spray can be used but the taste will be not be the same and the pastry will not be as light and flakey. Never wet or brush the fillo sheets (or "leaves," as the Greeks refer to them) with water. Doing so can cause the fillo to fall apart. 

Don't fret if the dough gets small tears or cracks in it. The dough is so thin that such cracks are inevitable. Simply brush the area with melted butter, patch up the problem area with a small piece of dough, and brush over it again with some more butter.

Because pastries using fillo are made with melted butter, always bake them on a pan with a lip to catch any runoff.

Baking times for fillo range from 350 to 400°..

Unused, leftover fillo sheets can be refrozen for up to 3 months.

For more information: http://www.athensfoods.com/consumers/recipes.aspx#shapes


Recipe without photos . . .

Artichoke-Filled Fillo Triangles        Yield:  about 60 triangles

1 package frozen fillo (phyllo) dough, thawed according to pkg. directions

About 2 cups butter, melted

About 3 cups artichoke filling (recipe follows. 

  1. Preheat oven to 375 to 400°. Lightly spray a parchment lined cookie sheet with pan coating.  
  2. Unroll fillo dough and remove 2 sheets. Cover unused dough with plastic wrap and enclose in a damp towel (from which all excess moisture has been squeezed) to keep sheets from drying out; make sure the damp towel does not come in direct contact with the fillo. 
  3. Brush each sheet lightly with melted butter and stack one on top of the other.  
  4. Cut the sheet into about 3” strips using a sharp knife (you’ll get three 3” strips).
  5. Place a rounded teaspoon of filling hear the end of each strip.
  6. Fold fillo corner diagonally over teaspoon of filling to form a triangle. Continue folding flag-fashion to opposite end. 
  7. Brush bottoms and tops with butter and place on prepared pan. Repeat process until all dough is used. 
  8. Bake until light golden brown, 10 to 15 minutes. Let cool at least slightly before serving.

Make Ahead Option: Spread filled but unbaked triangles on a parchment or foil-lined tray. Set in freezer until solid and then add triangles to a freezer container (best to store triangles in layers with wax paper or plastic wrap separating each layer). When ready to use, remove from freezer and bake (from frozen state) as directed above; a few extra minutes of baking time may be required.

Triangles can also be made one day, covered with plastic wrap, refrigerated, and then baked the next day.


Notes: 

3 sheets can also be used for an even flakier appetizer.  

For one-bite appetizers, cut strips about 1 1/2” wide.


Artichoke Filling      Yield: about 2 cups filling

1 can (14 oz.) artichoke hearts, drained and diced

1/2 cup sour cream

1 cup (4 oz.) grated Cheddar cheese

2 cloves garlic, minced

1 teaspoon dried oregano   


In a medium bowl, mix all ingredients until well blended.

Kicking off 2023 with healthy, delicious soup: Sweet Potato & Carrot Soup

YUM! Barry just made this for lunch and it we both thought it was absolutely delicious . . . as in an extra helping for each of us.This healthy, perfectly flavored soup is helping us kick off the year with healthy eating. 

Sweet Potato & Carrot Soup

2 tablespoons+ avocado oil

1 large carrot, peeled and chopped

1 yellow onion, chopped

1 to 2 ribs of celery, chopped

1 red or orange pepper, chopped

2 to 3 cloves of garlic, minced

2 lbs. sweet potatoes, peeled and chopped

24 to 32 ounces broth (chicken or vegetable)

1 bay leaf

1 to 1 1/2 teaspoons smoked paprika

1/2 teaspoon ground cumin

1/2 teaspoon ground thyme

1/2 teaspoon each – salt and pepper

  1. Heat oil in a large soup pot on medium heat. Add carrots, onion, celery and pepper and sautĆ© until tender, adding garlic near the end. 
  2. Add sweet potatoes, 24 ounces of broth and all seasonings. Simmer long enough to develop flavors and cook veggies. 
  3. Taste and adjust seasoning. 
  4. Blend the soup with a stick blender (or add cooled soup to a blender). Check consistency (we liked it creamy) adding more broth as needed. (Ours is garnished with fresh thyme leaves.

Berry Merry Glazed Coffee Cake

A red cake filled with cranberries and nuts is the perfect addition to our Christmas offerings. It is so festive and a great way to use up extra homemade cranberry sauce. This is my kind of “fruit cake.”


Berry Merry Glazed Coffee Cake

2 cups all purpose flour

2 teaspoons baking powder

1/2 teaspoon salt

1/2 teaspoon ground nutmeg

1 teaspoon ground cinnamon

1/2 cup (1 stick) butter, softened

1 egg

1 teaspoon vanilla

1/3 cup fruit juice (such as apple, orange or even cranberry)

1 1/4 cups leftover cranberry sauce or use canned whole berry sauce

1/2 cup roughly chopped pecans


Glaze:

1 cup powdered sugar

1 to 2 tablespoons juice 

  1. Preheat oven to 350°. Line a 9 ″ x 5″ loaf pan with parchment paper cut to size; spray paper and sides of pan with pan release. 
  2. Combine flour, baking powder, nutmeg and cinnamon in small bowl; set aside.
  3. Cream butter and sugar until light and fluffy. Beat in egg. Add vanilla, juice, cranberry sauce and nut. Mix well. 
  4. Add dry ingredients to wet mixture just until moistened. Spread mixture in a prepared loaf pan.
  5. Bake about 45 to 50 minutes hour or until golden brown and toothpick inserted in center comes out clean.
  6. Cool on a rack.
  7. Glaze: Mix powdered sugar and juice. Drizzle over cooled cake.
Recipe without photos . . . Berry Merry Glazed Coffee Cake

2 cups all purpose flour

2 teaspoons baking powder

1/2 teaspoon salt

1/2 teaspoon ground nutmeg

1 teaspoon ground cinnamon

1/2 cup (1 stick) butter, softened

1 egg

1 teaspoon vanilla

1/3 cup fruit juice (such as apple, orange or even cranberry)

1 1/4 cups leftover cranberry sauce or use canned whole berry sauce

1/2 cup roughly chopped pecans


Glaze:

1 cup powdered sugar

1 to 2 tablespoons juice 

  1. Preheat oven to 350°.  Line a 9 ″ x 5″ loaf pan with parchment paper cut to size; spray paper and sides of pan with pan release. 
  2. Combine flour, baking powder, nutmeg and cinnamon in small bowl; set aside.
  3. Cream butter and sugar until light and fluffy. Beat in egg. Add vanilla, juice, cranberry sauce and nut. Mix well.  
  4. Add dry ingredients to wet mixture just until moistened. Spread mixture in a prepared loaf pan.
  5. Bake about 45 to 50 minutes hour or until golden brown and toothpick inserted in center comes out clean.
  6. Cool on a rack.
  7. Glaze: Mix powdered sugar and juice. Drizzle over cooled cake.

Going Nutty for the Holidays — Rosemary Toasted Nut Blend

Yet another healthy-style snack for the holidays  . . . a savory blend of nuts blended with sweet cranberries! 

Rosemary Toasted Nut Blend

3 tablespoons olive oil

2 to 3+ stalks fresh rosemary 

1 clove garlic, smashed 

1/2 cup almonds 

1 cup pecan halves 

1 cup
walnut halves 

1/2 cup cashews

1/2 cup dried cranberries 

Kosher or finishing salt 

  1. Flavor the oil: In a large pan on medium-low heat, add the olive oil, rosemary and garlic. Cook until the oil is fragrant and the rosemary is crispy, about 5 minutes. Remove the rosemary to a paper towel-lined plate. Remove and discard the garlic.
  2. Toast the nuts:  First, add the almonds to the pan and stir to coat in the oil, then toss to heat them until a taste of one reveals a tender creamy almond, 4 to 5 minutes. Add the pecans and them cook for 4 to 5 minutes. Add the walnuts and let cook for 5 additional minutes; add the cashews after the walnuts have cooked for about a minute. Each nut takes a different amount of time to toast, so this order is crucial.
  3. Finish: Add the cranberries to the nut mixture and season with salt and pepper. Add  rosemary leaves. Dump mixture onto a paper towel lined tray and blot with additional paper towels; let set so some of the excess oil is absorbed. When cool, add to a serving bowl or a decorative storage container. 
Recipe without photos . . . Rosemary Toasted Nut Blend

3 tablespoons olive oil

2 to 3+ stalks fresh rosemary 

1 clove garlic, smashed 

1/2 cup almonds 

1 cup pecan halves 

1 cup walnut halves 

1/2 cup cashews

1/2 cup dried cranberries 

Kosher or finishing salt 

  1. Flavor the oil: In a large pan on medium-low heat, add the olive oil, rosemary and garlic. Cook until the oil is fragrant and the rosemary is crispy, about 5 minutes. Remove the rosemary to a paper towel-lined plate. Remove and discard the garlic.
  2. Toast the nuts:  First, add the almonds to the pan and stir to coat in the oil, then toss to heat them until a taste of one reveals a tender creamy almond, 4 to 5 minutes. Add the pecans and them cook for 4 to 5 minutes. Add the walnuts and let cook for 5 additional minutes; add the cashews after the walnuts have cooked for about a minute. Each nut takes a different amount of time to toast, so this order is crucial.
  3. Finish: Add the cranberries to the nut mixture and season with salt and pepper. Add  rosemary leaves. Dump mixture onto a paper towel lined tray and blot with additional paper towels; let set so some of the excess oil is absorbed. When cool, add to a serving bowl or a decorative storage container. 

Naturally Sweet Treats - Chocolate Covered Dates

Tasty, easy, festive and healthy, too! Chocolate Covered Dates (stuffed with nuts) met this year's criteria for adding some healthy holiday treats to our usual fare.

Chocolate Covered Dates stuffed with nuts

Medjool dates

Nut butter

Nuts – I used almonds and peanuts

Dark chocolate – tempered and warm

  1. Using kitchen scissors, cut down one side of the date, stopping before you are all the way to the end; remove pit.
  2. Fill the cavity with a small spoonful of nut butter.
  3. Add an almond (or two, depending on size of date) or several peanuts.
  4. Spoon warm chocolate over the top, and let stand at room temperature until chocolate is set.
  5. To garnish - sprinkle with chopped nuts before the chocolate is set.
Recipe without photos . . . Chocolate Covered Dates stuffed with nuts

Medjool dates

Nut butter

Nuts – I used almonds and peanuts

Dark chocolate – tempered and warm

  1. Using kitchen scissors, cut down one side of the date, stopping before you are all the way to the end; remove pit.
  2. Fill the cavity with a small spoonful of nut butter.
  3. Add an almond (or two, depending on size of date) or several peanuts.
  4. Spoon warm chocolate over the top, and let stand at room temperature until chocolate is set
  5. To garnish - sprinkle with chopped nuts before the chocolate is set.