Barry noticed this recipe in the 7/12/2020 Sunday Food edition of the Salina Journal and suggested I give them a try. I made them as instructed using our pasta machine to roll the dough as thin as possible. I have included the original instructions as printed in the paper + also a few notes on how I used the pasta machine. I discovered they needed to bake longer than instructed so have included those notes in the recipe.
These are great as hummus dippers.
CRISPY SESAME CRACKERS
Recipe from “Mustards Grill Napa Valley Cookbook” by Cindy Pawlcyn with Brigid Callinan
1 1/2 teaspoons active dry yeast
1 teaspoon granulated sugar
1/3 cup warm water
1/3 cup plus 1 teaspoon cold water, divided
2 cups all-purpose flour, or more as needed
1 tablespoon butter, cut up
2 teaspoons salt
1 egg
2 tablespoons sesame seeds, preferably a mix of black and white
- Combine the yeast, sugar and warm water together in the bowl of an electric mixer or a large bowl. Let rest 8 to 10 minutes, until it becomes foamy.

- Add 1/3 cup of the cold water, then add the flour, butter and salt. Mix to combine with the dough hook or a wooden spoon.

- If using a mixer, mix the dough on medium speed until smooth and elastic, pulling the dough down off the hook if it climbs it. If mixing by hand, turn the shaggy dough out onto cutting board and knead for 5 to 8 minutes, until the dough is smooth and elastic. If the dough is sticky, add a little more flour.

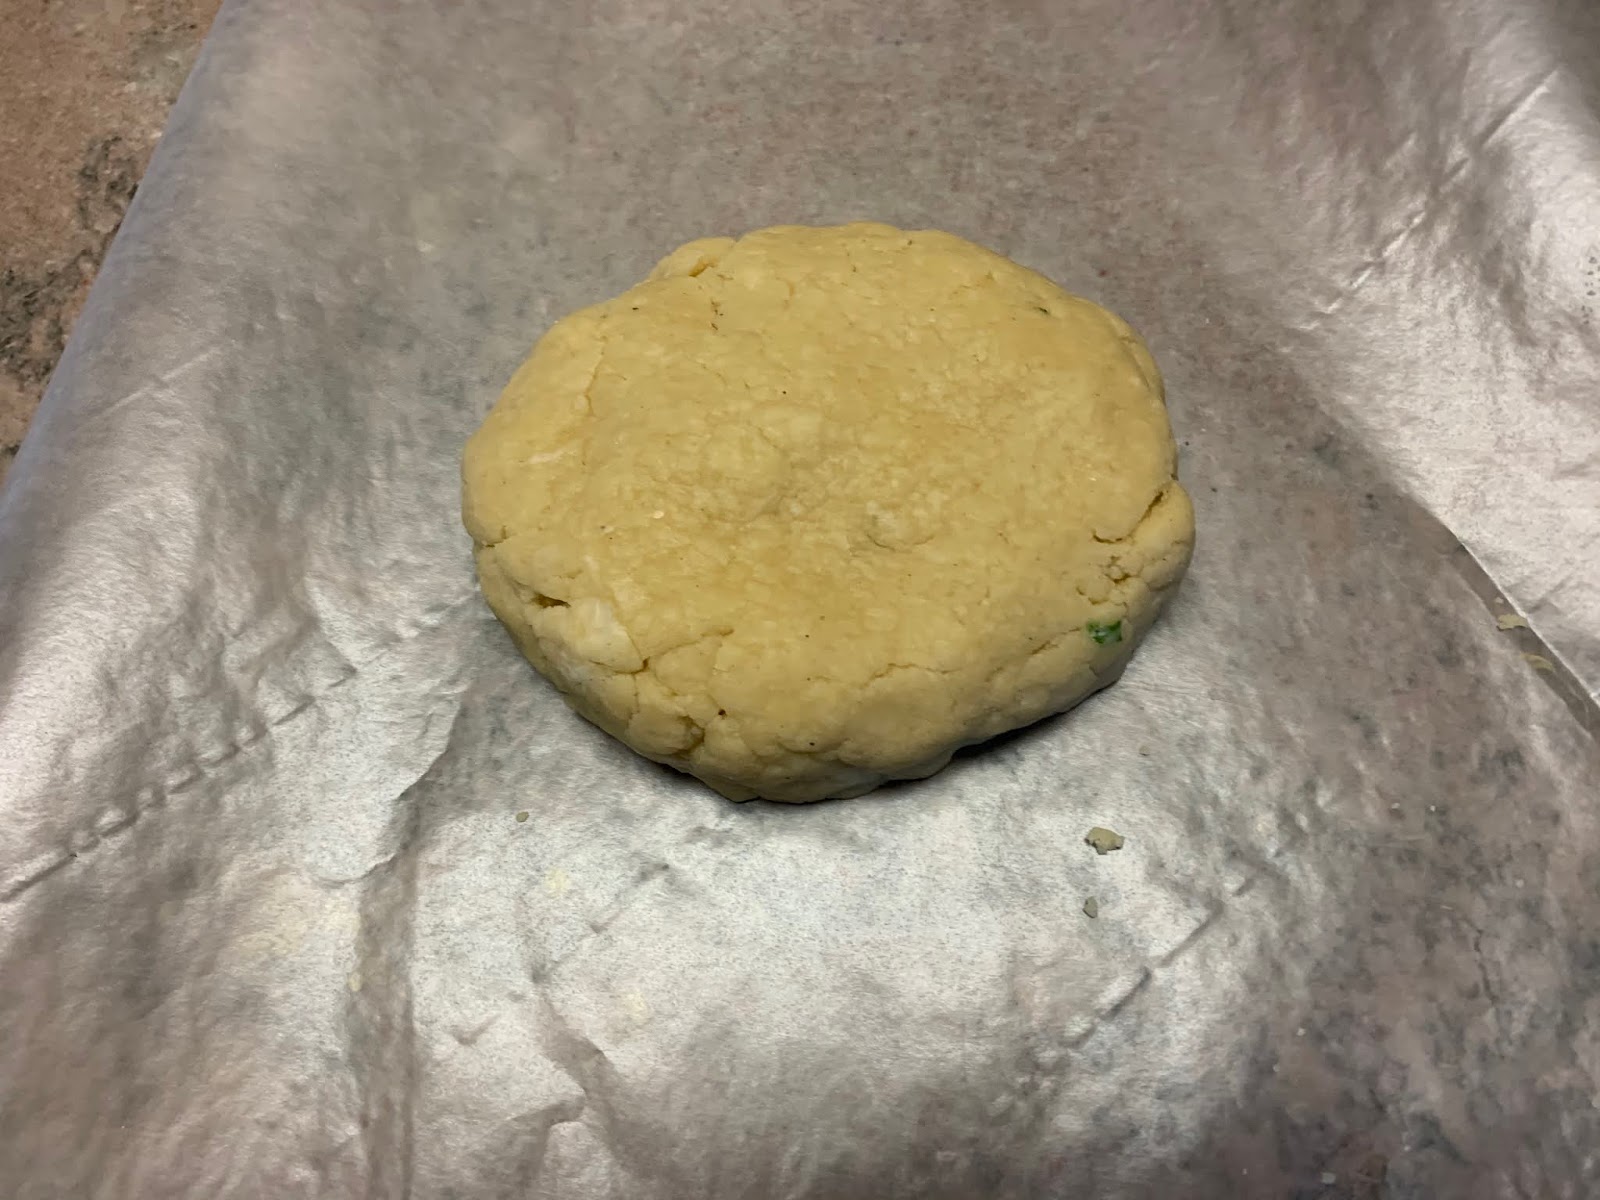
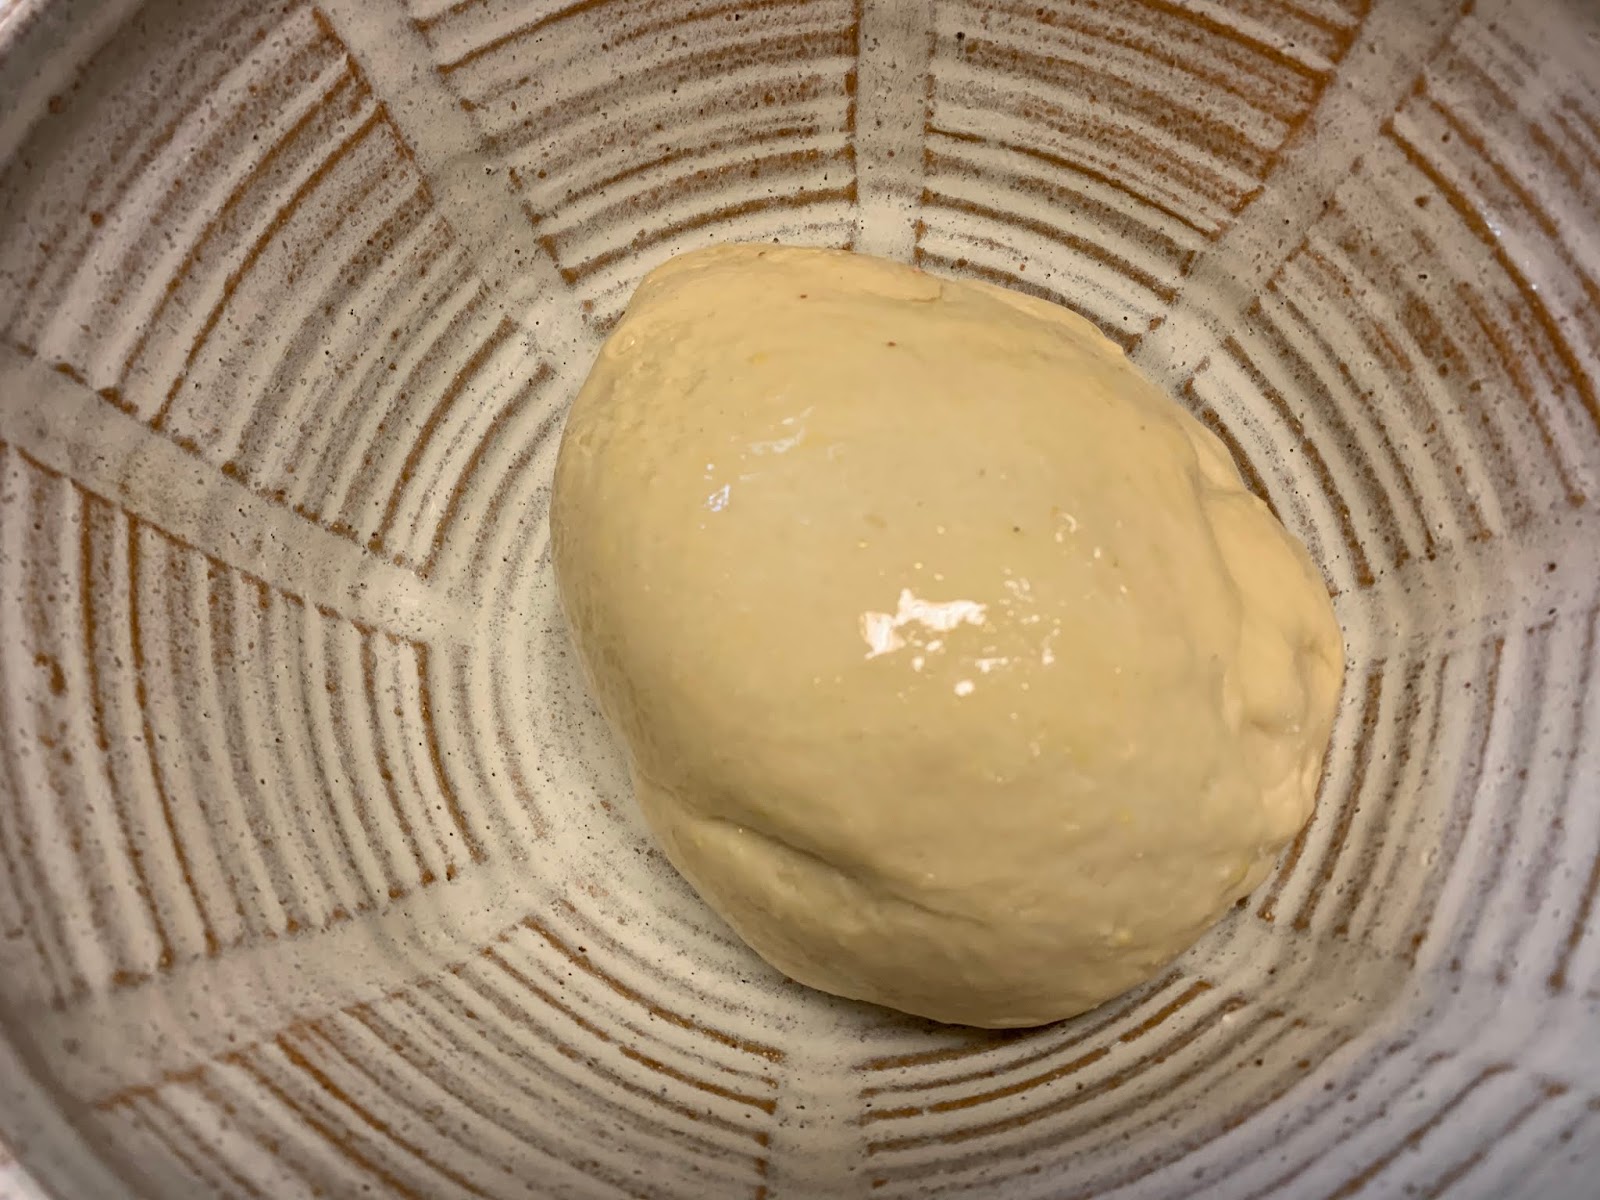
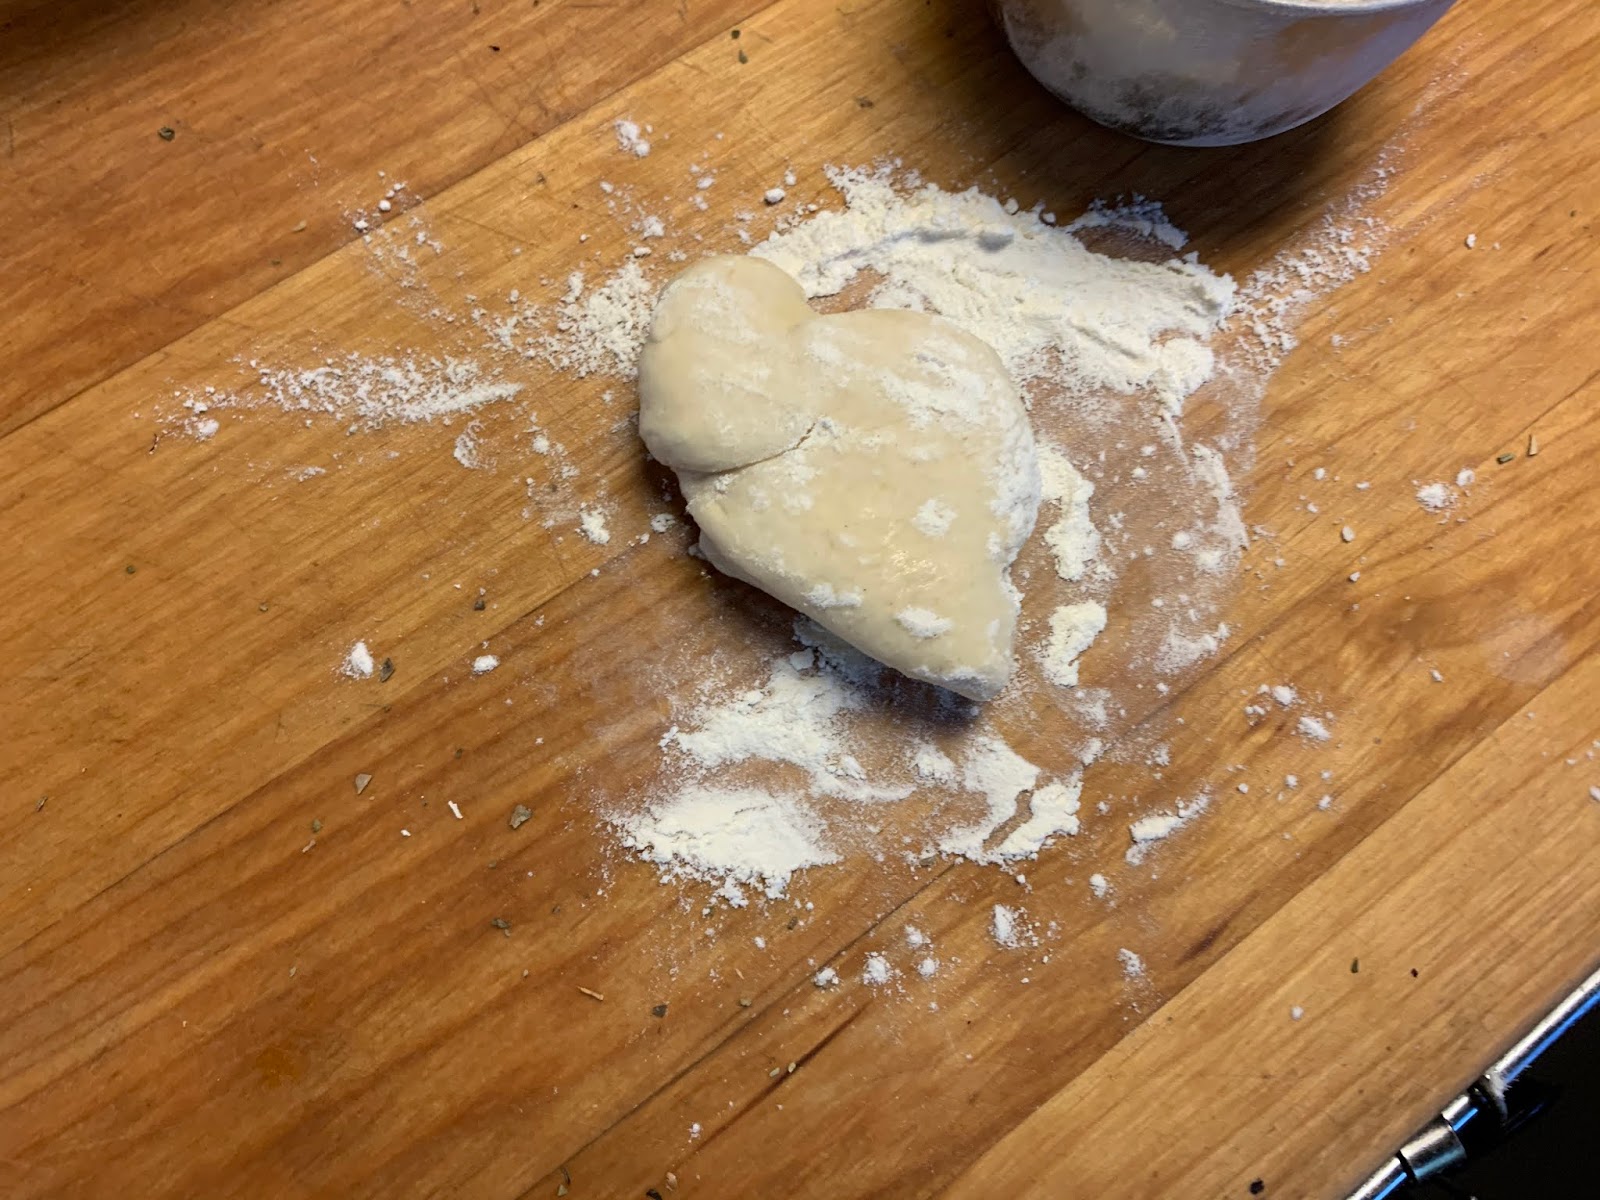
- Gather into a ball, place the dough in an oiled bowl, turn to coat lightly, cover, and set it aside in a warm place to rise until doubled in size, 1 to 1 1/2 hours.
- Preheat oven to 350 degrees.
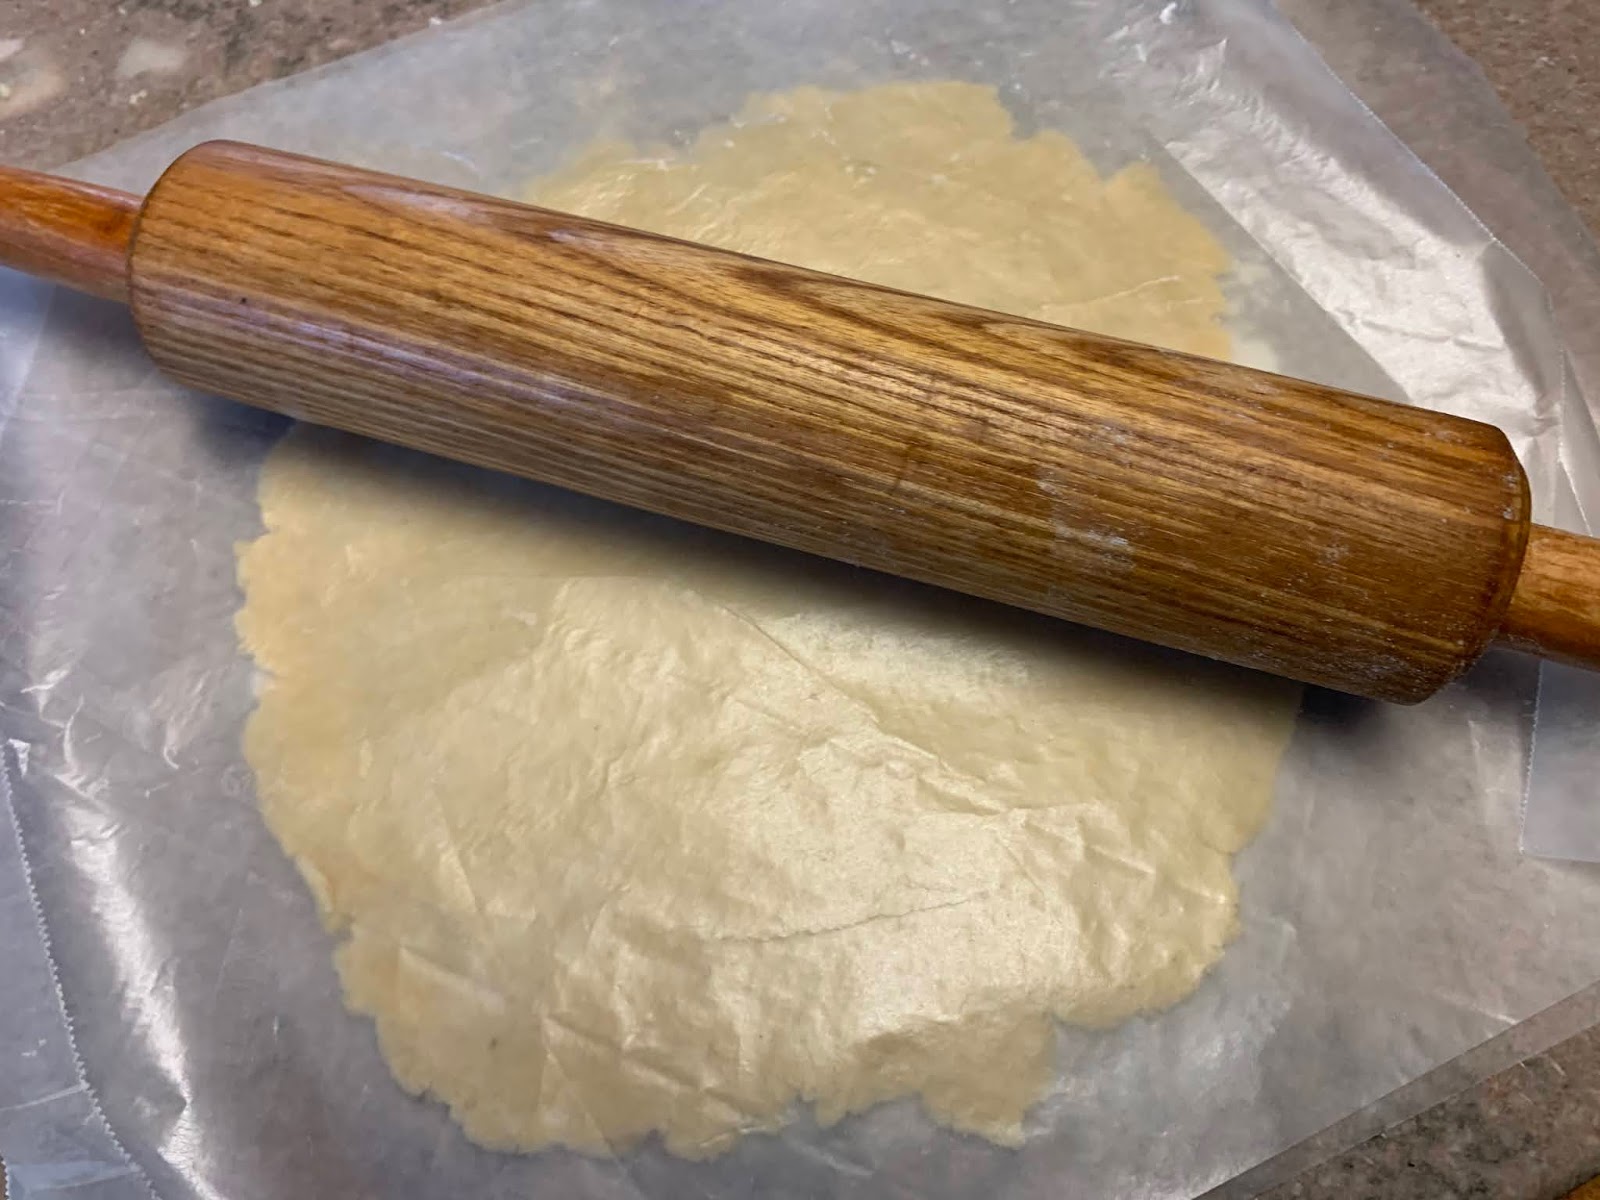
- The goal is to make the crackers paper-thin. The easiest way to do this is to use a pasta machine. If you don’t have one, take manageable sized pieces of dough and, on a lightly floured surface, roll them out as thinly as possible into strips that are 3 to 4 inches wide and 6 inches long. It helps to roll out the pieces of dough, let them rest for 5 or 6 minutes, and then roll them out again, repeating if necessary. (To use a pasta machine for rolling: Set up pasta machine and turn the dial to level 1— run each dough ball through the machine, returning flattened ball to floured surface if sticky. Next turn dial to 2 and repeat; continue until cracker is paper thin; continue go up to level 6. Note: If dough begins to tear, you have taken it too far.)


- Lay the strips of dough on a nonstick baking sheet or a baking sheet lined with parchment paper.
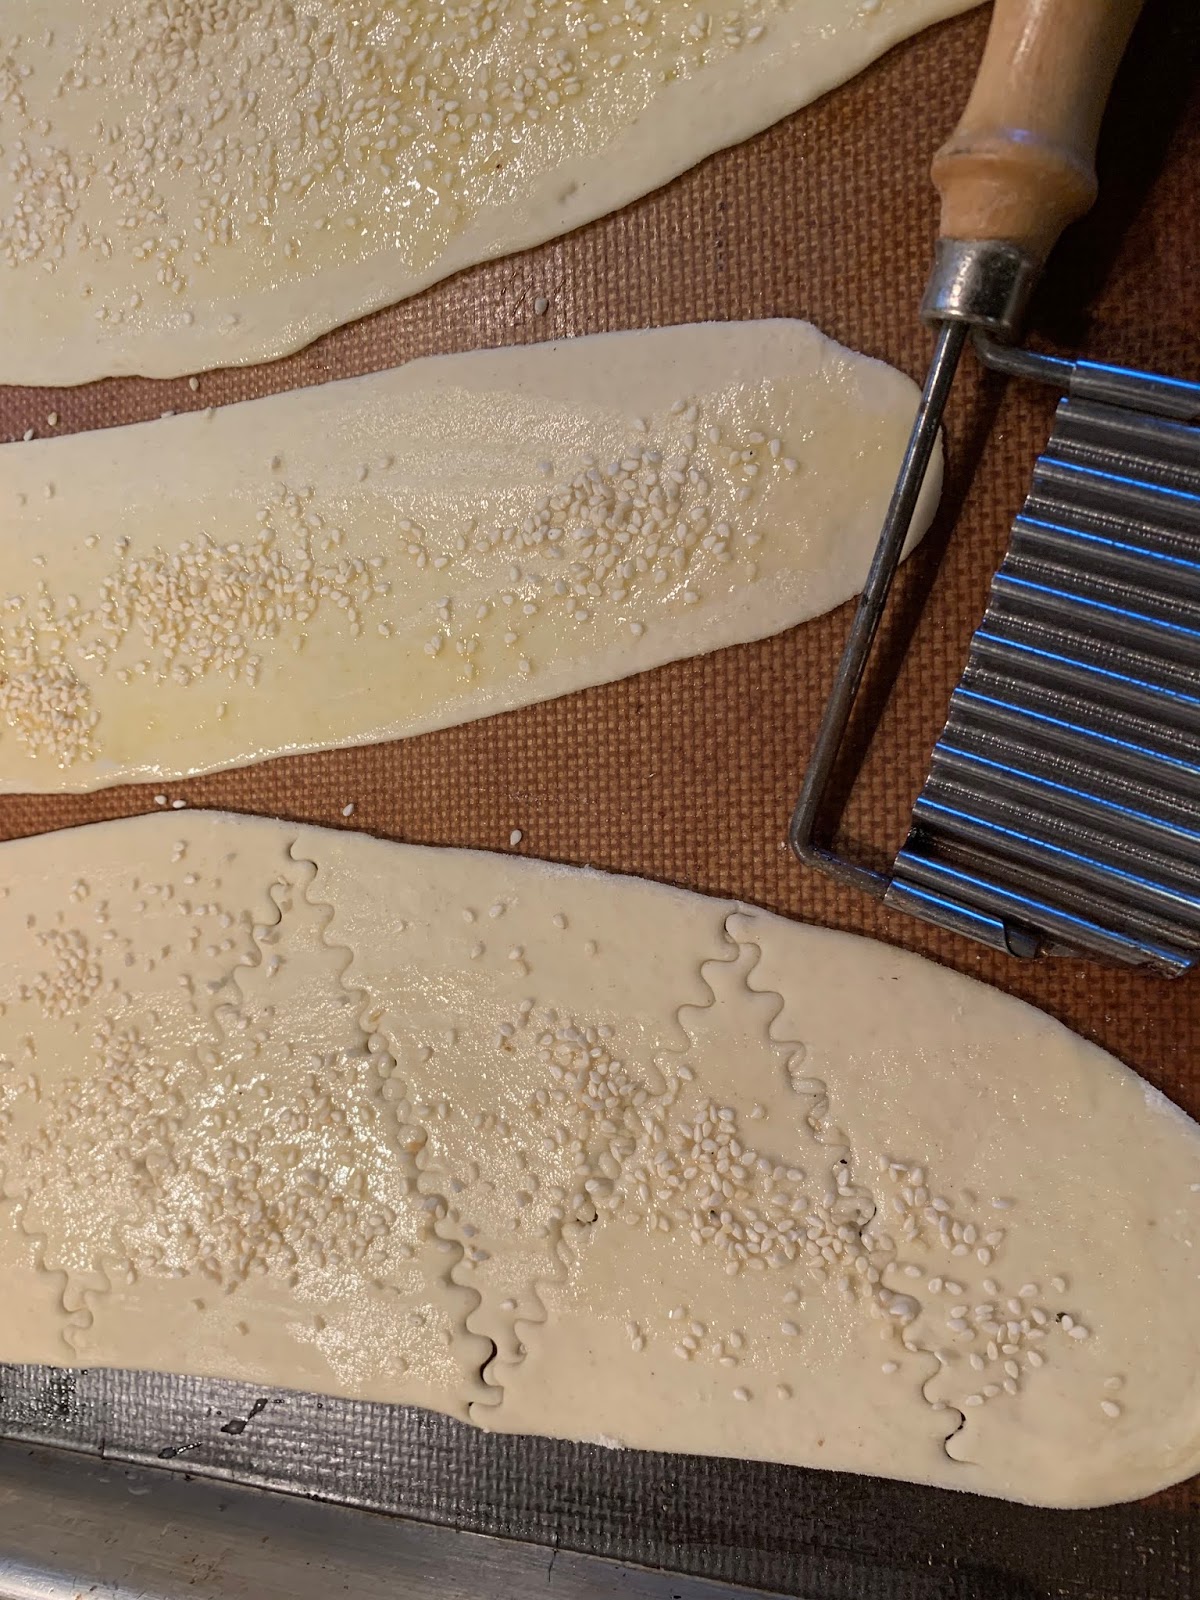
- Beat together the egg with the remaining 1 teaspoon cold water, and brush the crackers with this egg wash.
- Sprinkle with the sesame seeds, then score the strips of dough to make triangular shapes; they will break apart into individual crackers when they bake.


- Turning the crackers as necessary, bake for 7 to 10 minutes until they are a deep gold. (It took at least an additional 6 minutes to achieve a deep golden brown color and a crispy cracker; just watch carefully at this point.)
- Remove to a rack to cool, then store in an airtight container for up to 1 week — or less, if humidity is high. (I have kept ours in a glass jar for a couple of weeks.)


Recipe without photos . . .
CRISPY SESAME CRACKERS
Recipe from “Mustards Grill Napa Valley Cookbook” by Cindy Pawlcyn with Brigid Callinan
1 1/2 teaspoons active dry yeast
1 teaspoon granulated sugar
1/3 cup warm water
1/3 cup plus 1 teaspoon cold water, divided
2 cups all-purpose flour, or more as needed
1 tablespoon butter, cut up
2 teaspoons salt
1 egg
2 tablespoons sesame seeds, preferably a mix of black and white
- Combine the yeast, sugar and warm water together in the bowl of an electric mixer or a large bowl. Let rest 8 to 10 minutes, until it becomes foamy.
- Add 1/3 cup of the cold water, then add the flour, butter and salt. Mix to combine with the dough hook or a wooden spoon.
- If using a mixer, mix the dough on medium speed until smooth and elastic, pulling the dough down off the hook if it climbs it. If mixing by hand, turn the shaggy dough out onto cutting board and knead for 5 to 8 minutes, until the dough is smooth and elastic. If the dough is sticky, add a little more flour.
- Gather into a ball, place the dough in an oiled bowl, turn to coat lightly, cover, and set it aside in a warm place to rise until doubled in size, 1 to 1 1/2 hours.
- Preheat oven to 350 degrees.
- The goal is to make the crackers paper-thin. The easiest way to do this is to use a pasta machine. If you don’t have one, take manageable sized pieces of dough and, on a lightly floured surface, roll them out as thinly as possible into strips that are 3 to 4 inches wide and 6 inches long. It helps to roll out the pieces of dough, let them rest for 5 or 6 minutes, and then roll them out again, repeating if necessary. (To use a pasta machine for rolling: Set up pasta machine and turn the dial to level 1— run each dough ball through the machine, returning flattened ball to floured surface if sticky. Next turn dial to 2 and repeat; continue until cracker is paper thin; continue go up to level 6. Note: If dough begins to tear, you have taken it too far.)
- Lay the strips of dough on a nonstick baking sheet or a baking sheet lined with parchment paper.
- Beat together the egg with the remaining 1 teaspoon cold water, and brush the crackers with this egg wash.
- Sprinkle with the sesame seeds, then score the strips of dough to make triangular shapes; they will break apart into individual crackers when they bake.
- Turning the crackers as necessary, bake for 7 to 10 minutes until they are a deep gold. (It took at least an additional 6 minutes to achieve a deep golden brown color and a crispy cracker; just watch carefully at this point.)
- Remove to a rack to cool, then store in an airtight container for up to 1 week — or less, if humidity is high. (I have kept ours in a glass jar for a couple of weeks.)