Inspired by a recipe in the June 2019 issue of Eating Well magazine. I prepared citrus-marinated Mojo pork as the basic for Cuban rice bowl. Made in an electric pressure cooker, the pork in super tender and packed with flavor. We set it out with an array of other ingredients for a family dinner where everyone could created their own customized rice bowl. Delish!
Mojo Pork made in an electric pressure cooker Serves about 10
1 tablespoon extra-virgin olive oil
1 (3½- to 4-pound) boneless pork shoulder or butt, trimmed and cut into 6 pieces
3 tablespoons chopped fresh oregano
2 teaspoons ground cumin
1 bay leaf
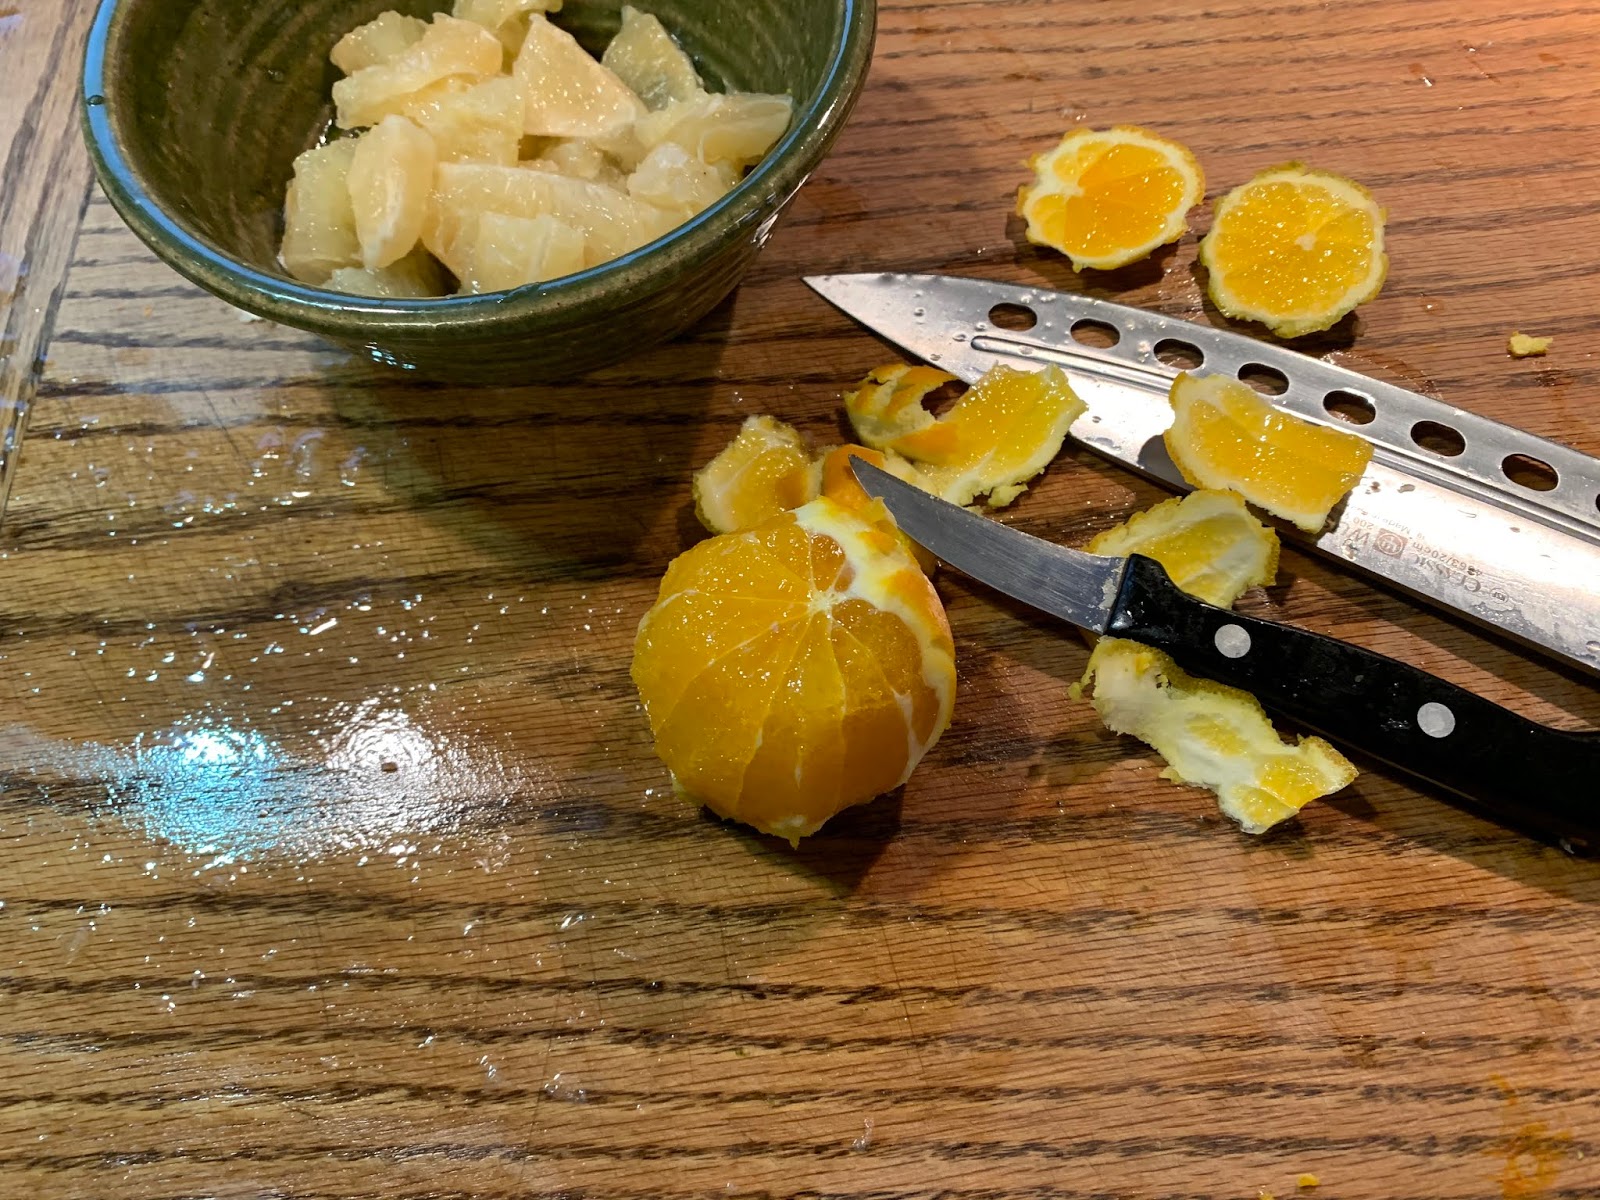
Zest & juice of 1 large orange, divided
Zest & juice of 1 large lime, divided
2 teaspoons kosher salt
2 teaspoons ground pepper
½ cup water
1 large yellow onion, sliced
- Heat oil in an electric pressure cooker on sauté mode. Add half the pork and cook, turning occasionally, until browned, about 3 minutes per side. Transfer to a bowl and repeat with the remaining pork.
- Add garlic, oregano, cumin, bay leaf, orange and lime zests, salt and pepper to the pot and cook, stirring, until fragrant, about 30 seconds.
- Stir in orange and lime juice and water and scrape up any browned bits. Nestle the pork into the sauce. Drizzle with any accumulated juices from the bowl and scatter onion over the top.
- Close and lock lid. Cook on high pressure for 1 hour. Manually release pressure and remove lid.
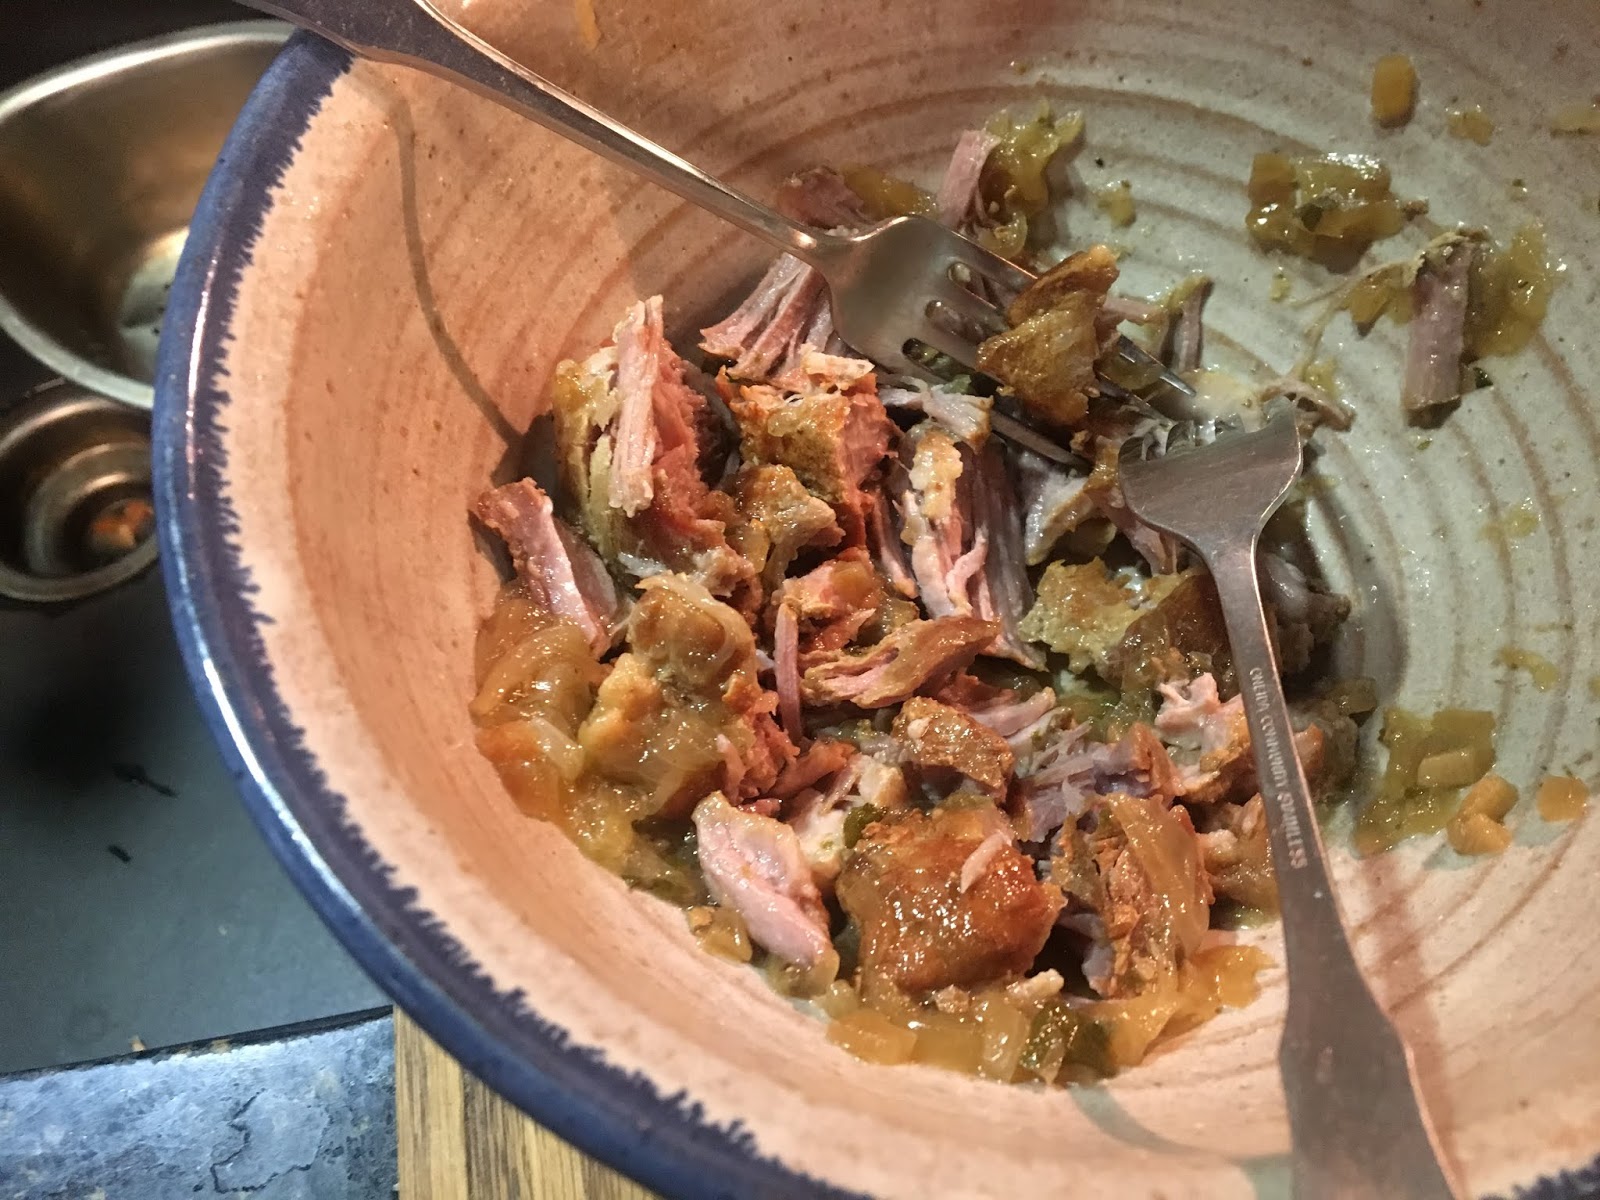
- Transfer the pork to a bowl or platter and shred the meat into large pieces. Skim fat from the liquid, if desired.
- Return the pot to sauté mode and bring the liquid to a boil. Cook until the sauce has thickened, about 10 minutes. Serve the sauce over the pork.
Pressure Cooker Tip; Pressure is made from steam; if there’s not enough liquid in the bottom of the pressure cooker pot to circulate and create steam, it absolutely cannot pressurize. Always be sure there’s a minimum 1/2 cup – 1 cup of liquid in the pressure cooker pot before you lock the lid into place to begin pressurizing. If, after lid is closed, the pot fails to go into pressure mode, open the pot and add more liquid.
To make ahead: Refrigerate for up to 3 days.
No pressure cooker? Braise the meat in a large pot in a 300°F oven for 4 to 5 hours.
Build-our Own Cuban Rice Bowls
Set out the following and let guests assemble their own bowls:
Rice -- we prefer Basmati rice cooked according to package directions
Mojo pork
Black beans, drained and rinsed
Guacamole or sliced avocado
Jalapenos
Pico de gallo
Cherry or grape tomatoes
Lime wedges
Recipe without photos . . .
Mojo Pork made in an electric pressure cooker Serves about 10
1 tablespoon extra-virgin olive oil
1 (3½- to 4-pound) boneless pork shoulder or butt, trimmed and cut into 6 pieces
8 cloves garlic, minced
3 tablespoons chopped fresh oregano
2 teaspoons ground cumin
1 bay leaf
Zest & juice of 1 large orange, divided
Zest & juice of 1 large lime, divided
2 teaspoons kosher salt
2 teaspoons ground pepper
½ cup water
1 large yellow onion, sliced
- Heat oil in an electric pressure cooker on sauté mode. Add half the pork and cook, turning occasionally, until browned, about 3 minutes per side. Transfer to a bowl and repeat with the remaining pork.
- Add garlic, oregano, cumin, bay leaf, orange and lime zests, salt and pepper to the pot and cook, stirring, until fragrant, about 30 seconds.
- Stir in orange and lime juice and water and scrape up any browned bits. Nestle the pork into the sauce. Drizzle with any accumulated juices from the bowl and scatter onion over the top.
- Close and lock lid. Cook on high pressure for 1 hour. Manually release pressure and remove lid.
- Transfer the pork to a bowl or platter and shred the meat into large pieces. Skim fat from the liquid, if desired.
- Return the pot to sauté mode and bring the liquid to a boil. Cook until the sauce has thickened, about 10 minutes. Serve the sauce over the pork.
Pressure Cooker Tip; Pressure is made from steam; if there’s not enough liquid in the bottom of the pressure cooker pot to circulate and create steam, it absolutely cannot pressurize. Always be sure there’s a minimum 1/2 cup – 1 cup of liquid in the pressure cooker pot before you lock the lid into place to begin pressurizing. If, after lid is closed, the pot fails to go into pressure mode, open the pot and add more liquid.
To make ahead: Refrigerate for up to 3 days.
No pressure cooker? Braise the meat in a large pot in a 300°F oven for 4 to 5 hours.
Build-our Own Cuban Rice Bowls
Set out the following and let guests assemble their own bowls:
Rice -- we prefer Basmati rice cooked according to package directions
Mojo pork
Black beans, drained and rinsed
Guacamole or sliced avocado
Jalapenos
Pico de gallo
Cherry or grape tomatoes
Lime wedges