Showing posts with label Milk-Evaporated. Show all posts

Chocolate Ganache made with evaporated milk

Fudgy Brownies are good without frosting but for an extra special treat I topped them with a layer of creamy chocolate ganacehe. However, instead of using heavy cream (I had none on hand), I used evaporated milk and it worked just like the cream! Growing up on a farm, we learned to use replacements and this blog contains a  Mixes and More section (listed in the heading above) that includes substitutions along with homemade mixes.

Creamy Chocolate Ganache (above) spread over 
Fudgy Brownies (below). 

Chocolate Ganache made with evaporated milk

1 1/4 cups dark chocolate chips (or semi-sweet) 

1/3 cup evaporated milk 

1/3 cup butter

  1. Place chocolate chips into a small bowl. 
  2. In a microwave safe measuring cup, heat evaporated milk in 30 second intervals until it comes to a boil. 
  3. Add this hot milk to the chocolate chips and cover with plastic wrap; let set for 30 seconds and then stir. 
  4. Add butter and stir until everything has dissolved completely. Let cool until spreading consistency is achieved. 

Summertime Surprise Sugar Cream Pie (Zucchini Pie)

Zucchini what? Barry was braced for the worst when I told him we were having Zucchini Pie for dessert. He loves zucchini bread and other sweet treats as well as savory recipes that include the garden vegetable but . . .  However, after just one bite, he was a fan. Truthfully, it tasted just like a classic sugar cream pie with it's characteristic firm but creamy filling and sweet taste. I found several versions on the internet, all containing the exact ingredients except some called for 2 cups of zucchini. I wonder who was brave enough to originally create this recipe? Last question: Since itcontains a vegetable, could we call this a healthy pie?

 A slice of Zucchini Pie with blueberries, sliced strawberries
and a dollop of  whipped cream. 

Summertime Surprise Sugar Cream Pie (Zucchini Pie)      Make one 9-inch pie

1 cup zucchini peeled, seeded & pureed (squeeze out excess moisture if pureed zucchini seems wet)

1 egg

1 cup evaporated milk

1 cup granulated sugar

1/2 cup all-purpose flour

2 tablespoons butter, melted

1 teaspoon vanilla

1 9-inch pie crust unbaked (I used a no-roll oil pie crust)

Ground cinnamon 

Ground nutmeg

  1. Preheat the oven to 450°.
  2. Mix all ingredients in a blender or food processor. 

  3. Pour into an unbaked pie shell. 

  4. Sprinkle liberally with cinnamon and lightly with nutmeg.

  5. Bake for 10 minutes and then reduce heat to 350° and bake for another 30 minutes or until a knife inserted in the center comes out clean. 


Recipe without photos . . . Summertime Surprise Sugar Cream Pie (Zucchini Pie)      Make one 9-inch pie

1 cup zucchini peeled, seeded & pureed (squeeze out excess moisture if pureed zucchini seems wet)

1 egg

1 cup evaporated milk

1 cup granulated sugar

1/2 cup all-purpose flour

2 tablespoons butter, melted

1 teaspoon vanilla

1 9-inch pie crust unbaked (I used a no-roll oil pie crust)

Ground cinnamon 

Ground nutmeg

  1. Preheat the oven to 450°.
  2. Mix all ingredients in a blender or food processor. 

  3. Pour into an unbaked pie shell. 

  4. Sprinkle liberally with cinnamon and lightly with nutmeg.

  5. Bake for 10 minutes and then reduce heat to 350° and bake for another 30 minutes or until a knife inserted in the center comes out clean. 


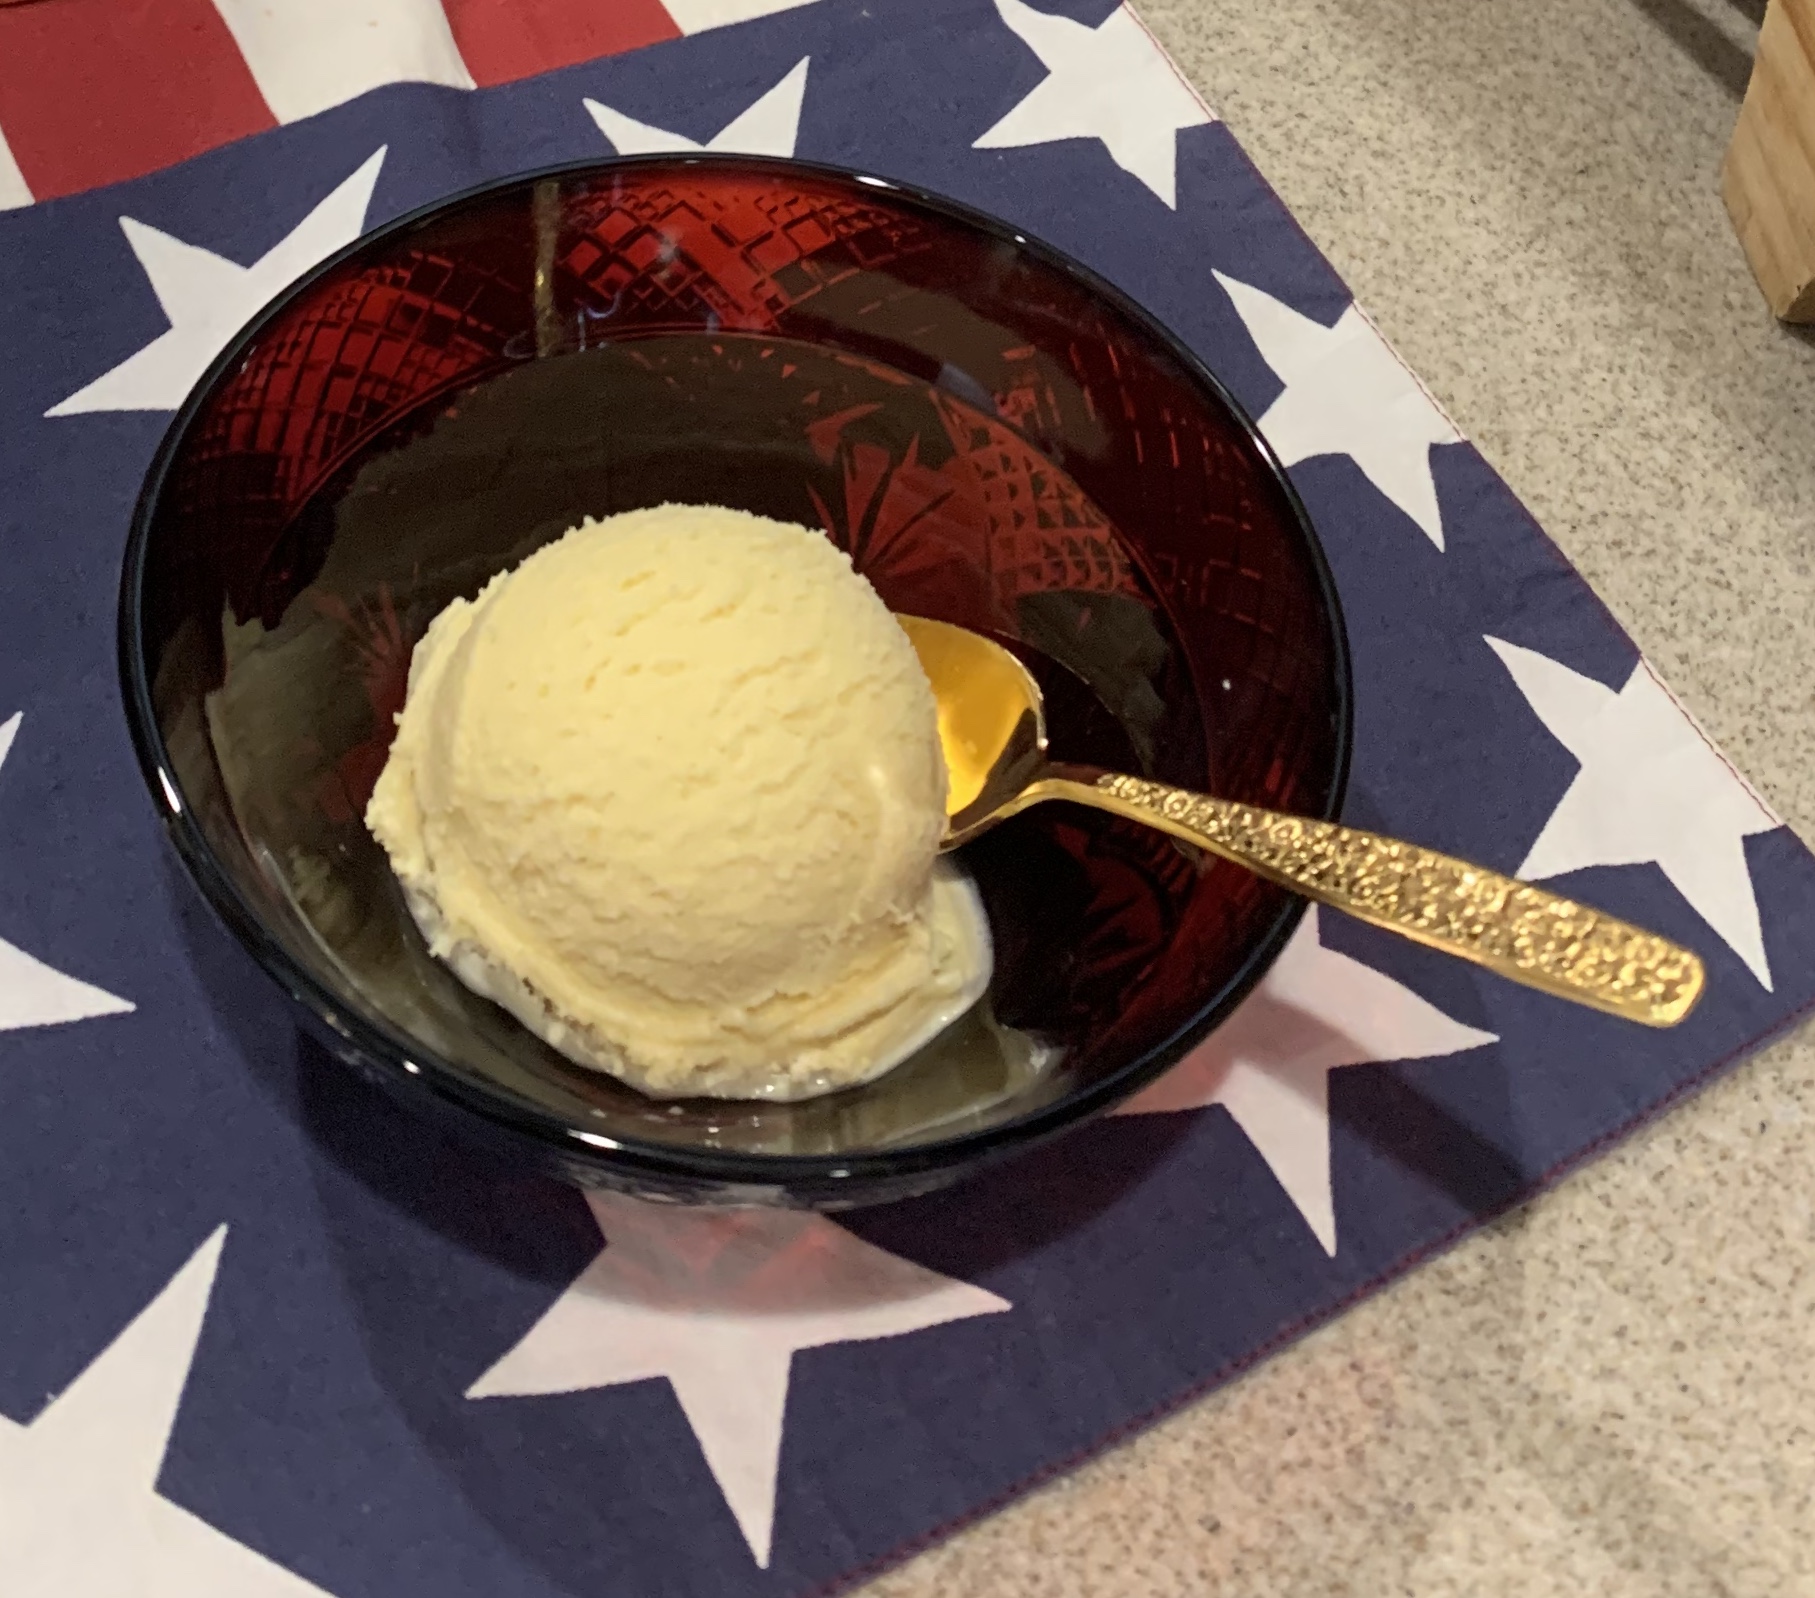
Homemade Vanilla Ice Cream

July 4th seemed to be the perfect time for homemade ice cream. But, there was a problem—where was our ice cream freezer that we had not used for over 20 years? I did find it but discovered the can was rusty. Kathy and John Gruber to the rescue! Not only did they offer to let us borrow their freezer, they provided their delicious, creamy recipe, and advice about the freezing process. 


Barry dishes up the goodness!

Here’s Kathy’s recipe that uses almost 1/4 cup of vanilla for a truly old-fashioned vanilla tasting recipe:  

Homemade Vanilla Ice Cream

6 large or 8 medium eggs (since this is an uncooked ice cream mix so pasteurized eggs are recommended)

2 1/2 cups granulated sugar

1/4 teaspoon salt

3 tablespoons + 2 teaspoons vanilla extract

2 (12 oz.) cans evaporated milk

1 to 2 pints heavy cream (I used 3 cups)

Whole milk to fill

------

Large bag of ice and ice cream freezer salt

  1. In a large bowl, beat eggs until frothy; then add sugar and beat well. (I used my Kitchen Aid mixer for this task.)
  2. Add the salt, vanilla, evaporated milk and heavy cream and beat until well mixed.
  3. Cover bowl with plastic wrap and chill at least 2 to 3 hours or overnight. (One online source indicates overnight chilling results in a higher yield.)
  4. Fill the mixing can (I chilled the can prior to this step) with chilled ice cream mixture to the fill line or 1-inch above the fill line.
  5. Set the ladle/beater/dasher, lid and motor into place, latch and start the ice cream maker turning.
  6. Alternate ice and salt in layer clear to the top. (Use the directions on rock salt box for ice/salt measure or see guide I included below.) Continue to add ice and salt as the ice melts throughout the freezing process. 
  7. Ice cream freezer will become labored and stop when ice cream is done. Remove the inside ladle/beater/dasher, cover the freezer can with plastic or wax paper and replace lid on can. Cover lid with ice and a towel and set can in the freezer. (Kathy sets the can back into the outer container before putting in the freezer; we only had room for the can.) 

In addition to Kathy’s advice, I found the following info on the internet at texascooking.com:

Packing ice and salt - Use either crushed ice cubes or crushed store-bought ice. (The finer the ice is crushed, the better it is, as the freezer is made to operate with crushed ice. Also, finely crushed ice will melt more evenly and will, therefore, give you a smoother textured ice cream.)


In packing, put about three inches of ice in the tub all around the can, and sprinkle about 3 ounces of table salt or 5 ounces of rock salt, evenly over the ice.


Freezer Size

Ice for
Making


Rock Salt 

4 qts.

10 lbs.


2-1/2 cups

5 qts.

15 lbs.


3 cups

6 qts.

20 lbs.


3-1/2 cups


Continue adding ice and salt (in the above proportions), layer by layer, until tub is filled up to, but not over, the top of can.

When the tub is half full (approximately two layers of ice and salt), pour one cup of cold water over the ice and salt mixture. This will help the ice to melt and settle, which will shorten freezing time, and will help keep ice from jamming and causing stops. After tub is filled, pour another cup of cold water over the ice and salt.

As the ice melts and settles, you will need to add more ice and salt to keep it up to, but not over, top of can.

Before the cream is finished, the ice will melt enough to cause water to flow from the drain hole in the tub. Never let this drain hole become stopped up with ice. (The cork supplied is not for this drain hole; it is for the can top.


What goes with homemade vanilla ice cream? Mom's Chocolate Sheet Cake of course! 

Recipe without photos . . .

Homemade Vanilla Ice Cream

6 large or 8 medium eggs (since this is an uncooked ice cream mix so pasteurized eggs are recommended)

2 1/2 cups granulated sugar

1/4 teaspoon salt

3 tablespoons + 2 teaspoons vanilla extract

2 (12 oz.) cans evaporated milk

1 to 2 pints heavy cream (I used 3 cups)

Whole milk to fill

------

Large bag of ice and ice cream freezer salt

  1. In a large bowl, beat eggs until frothy; then add sugar and beat well. (I used my Kitchen Aid mixer for this task.)
  2. Add the salt, vanilla, evaporated milk and heavy cream and beat until well mixed.
  3. Cover bowl with plastic wrap and chill at least 2 to 3 hours or overnight. (One online source indicates overnight chilling results in a higher yield.)
  4. Fill the mixing can (I chilled the can prior to this step) with chilled ice cream mixture to the fill line or 1-inch above the fill line.
  5. Set the ladle/beater/dasher, lid and motor into place, latch and start the ice cream maker turning.
  6. Alternate ice and salt in layer clear to the top. (Use the directions on rock salt box for ice/salt measure or see guide I included below.) Continue to add ice and salt as the ice melts throughout the freezing process. 
  7. Ice cream freezer will become labored and stop when ice cream is done. Remove the inside ladle/beater/dasher, cover the freezer can with plastic or wax paper and replace lid on can. Cover lid with ice and a towel and set can in the freezer. (Kathy sets the can back into the outer container before putting in the freezer; we only had room for the can.) 

Praline Pumpkin Pie

Creamy pumpkin pie combines with crunchy, chewy brown sugar pecans in Praline Pumpkin Pie. It will be a different Thanksgiving this year (2020) with just four instead of our usual tableful of friends and relatives. So instead of the usual pumpkin and pecan pies, this year it’s just one—a combination of the two. 


Different times are an opportunity to try new things and another difference in this recipe is that the pumpkin mixture is cooked for four minutes on the stove top. Another difference this year—ground pecans were added to the pie crust dough. 

Praline Pumpkin Pie    Makes one 9” pie

1 (9-inch) unbaked pie crust (I added ground pecans to my traditional crust)

Pumpkin Filling

15 ounces pure pumpkin purĆ©e (NOT sweetened & spiced pumpkin pie filling)

3/4 cup packed dark brown sugar

2 teaspoons ground cinnamon

1 teaspoon ground ginger

1/2 teaspoon ground nutmeg

1/8 teaspoon ground cloves

1/2 teaspoon salt

1 cup evaporated milk

3 eggs

2 teaspoons vanilla extract

Praline Topping

1 cup inely chopped pecans 

1/3 cup packed brown sugar

Pinch salt

1 tablespoon  corn syrup (light or dark)

1 teaspoon vanilla

  1. Pumpkin Filling: In a medium saucepan, add pumpkin, brown sugar, cinnamon, ginger, nutmeg, salt, and cloves; whisk to thoroughly combine. Cook over medium-high heat for 4 minutes, stirring constantly.
  2. Remove from heat and whisk in evaporated milk followed by eggs and vanilla. 
  3. Pour filling into pie crust.
  4. Bake at 350° F for 40 to 50 minutes – until center barely jiggles.
  5. Praline Topping: While pie is baking, add pecans, brown sugar and salt to a bowl and stir until evenly combined. Add corn syrup and vanilla and mix until evenly moistened.
  6. Sprinkle Praline Topping evenly over filling.
  7. Return pie to oven (you may need to cover edges of crust with foil) and bake about 10 additional minutes or until toothpick inserted in the center comes out clean.
  8. Let pie cool on a wire rack for at least 2 hours.
Make-Ahead: Crust can be made ahead and frozen. Pie can be made and cooled 2 days ahead of time then wrapped in plastic and refrigerated. Bring to room temperature before serving. 

Other Pumpkin Pie Recipes include:

Pumpkin-Pecan Pie

Pumpkin Pie, Traditional w/ pumpkin puree

Pumpkin Pie, Walnut topped 


Recipe without photos . . .

Praline Pumpkin Pie    Makes one 9” pie

1 (9-inch) nbaked pie crust (I added ground pecans to my traditional crust)

Pumpkin Filling

15 ounces pure pumpkin purĆ©e (NOT sweetened & spiced pumpkin pie filling)

3/4 cup packed dark brown sugar

2 teaspoons ground cinnamon

1 teaspoon ground ginger

1/2 teaspoon ground nutmeg

1/8 teaspoon ground cloves

1/2 teaspoon salt

1 cup evaporated milk

3 eggs

2 teaspoons vanilla extract

Praline Topping

1 cup finely chopped pecans 

1/3 cup packed  brown sugar

Pinch salt

1 tablespoon  corn syrup (light or dark)

1 teaspoon vanilla

  1. Pumpkin Filling: In a medium saucepan, add pumpkin, brown sugar, cinnamon, ginger, nutmeg, salt, and cloves; whisk to thoroughly combine. Cook over medium-high heat for 4 minutes, stirring constantly.
  2. Remove from heat and whisk in evaporated milk followed by eggs and vanilla. 
  3. Pour filling into pie crust.
  4. Bake at 350° F for 40 to 50 minutes – until center barely jiggles.
  5. Praline Topping: While pie is baking, add pecans, brown sugar and salt to a bowl and stir until evenly combined. Add corn syrup and vanilla and mix until evenly moistened.
  6. Sprinkle Praline Topping evenly over filling.
  7. Return pie to oven (you may need to cover edges of crust with foil) and bake 10 additional minutes or until toothpick inserted in the center comes out clean.
  8. Let pie cool on a wire rack for at least 2 hours.
Make-Ahead: Crust can be made ahead and frozen. Pie can be made and cooled 2 days ahead of time then wrapped in plastic and refrigerated. Bring to room temperature before serving.


Electric Pressure Cooker—Almond Spiced Rice Pudding

A total comfort food dessert made in the electric pressure cooker! Good for breakfast, too

Electric Pressure Cooker —Almond Spiced Rice Pudding
1 ½ tablespoons butter
1 cup uncooked long grain rice
1/2 cup granulated sugar
1 cup water
2 cups milk (whole or 2%, or almond milk )
1/2 teaspoon vanilla
1/2 teaspoon almond extract 
1 teaspoon ground cinnamon
¼ teaspoon ground nutmeg
½ to ¾ cups raisins (or craisins) – optional
-----
1/4 cup evaporated milk or half and half
1 egg
-----
Toasted sliced or slivered almonds for topping 
Extra cinnamon or nutmeg for topping
  1. Set electric pressure cooker (EPC) on sautƩ; add butter and let it melt.
  2. Add rice and stir to coat. 
  3. Add milk along, seasonings and raisins if using to the rice. Stir to combine.
  4. Put lid on EPC and close steam valve. 
  5. Set to pressure cook on high, for 14 minutes. 
  6. When done, do an assisted release on the steam valve and carefully lift lid. (If rice is not tender, add lid and set pressure for a few more minutes; then do an assisted release.
  7. In a small bowl whisk egg and evaporated milk together. 
  8. Spoon a spoonful of rice pudding mixture into egg mixture and stir, add another warm spoonful of rice and stir – this will temper the egg and avoid scrambling it when added to the hot pudding. 
  9. Add the tempered mixture back to the EPC and set on sautĆ©. 
  10. Let the mixture bubble for about 30-60 seconds, stir slowly so it doesn't stick to bottom. It will thicken as it cooks. If it gets too thick, add additional milk.
  11. Serve warm or chilled, top with additional  cinnamon or nutmeg + toasted almonds.
Recipe without photos . . .
Electric Pressure Cooker —Almond Spiced Rice Pudding
1 ½ tablespoons butter
1 cup uncooked long grain rice
1/2 cup granulated sugar
1 cup water
2 cups milk (whole or 2%, or almond milk )
1/2 teaspoon vanilla
1/2 teaspoon almond extract 
1 teaspoon ground cinnamon
¼ teaspoon ground nutmeg
½ to ¾ cups raisins (or craisins) – optional
-----
1/4 cup evaporated milk or half and half
1 egg
-----
Toasted sliced or slivered almonds for topping 
Extra cinnamon or nutmeg for topping

  1. Set electric pressure cooker (EPC) on sautƩ; add butter and let it melt.
  2. Add rice and stir to coat. 
  3. Add milk along, seasonings and raisins if using to the rice. Stir to combine.
  4. Put lid on EPC and close steam valve. 
  5. Set to pressure cook on high, for 14 minutes. 
  6. When done, do an assisted release on the steam valve and carefully lift lid. (If rice is not tender, add lid and set pressure for a few more minutes; then do an assisted release
  7. In a small bowl whisk egg and evaporated milk together. 
  8. Spoon a spoonful of rice pudding mixture into egg mixture and stir, add another warm spoonful of rice and stir – this will temper the egg and avoid scrambling it when added to the hot pudding. 
  9. Add the tempered mixture back to the EPC and set ton sautĆ©. 
  10. Let the mixture bubble for about 30-60 seconds, stir slowly so it doesn't stick to bottom. It will thicken as it cooks. If it gets too thick, add additional milk.
  11. Serve warm or chilled, top with additional  cinnamon or nutmeg + toasted almonds.

Dried Beef & Scrambled Egg Casserole

Back when I was writing monthly cooking columns for Abilene's Reflector-Chronicle, I interviewed Pat Berkley. She shared the recipe for this hearty dish that begins with a basic white sauce enhanced with breakfast meats and mushrooms. According to Pat, the casserole can be assembled ahead of time and stored in the refrigerator for several days until ready to bake. Or, make it ahead, freeze, and then thaw completely before baking. Pat often doubles this recipe and freezes it to take on family skiing trips. Leftovers may be heated  in the microwave for additional breakfast meals.
We used this casserole (which was assembled the night before) for a holiday brunch entrĆ©e. Accompaniments included Roasted Potatoes, a Kiwi Christmas Tree fruit platter, Angel Biscuits and Glazed Pumpkin-Pecan Cake Doughnuts.  We started the party with  Bloody Mary cocktails made from Robert's Award-winning Bloody Mary Mix

Dried Beef and Scrambled Egg Casserole      8 to 10 servings
Gravy: 
Fry in a skillet, cut up and then set aside . . .
4 slices bacon 


In the same skillet, combine and cook . . .
1/2 cup (1 stick) butter
1/2 cup all-purpose flour (+ I added 1/2 teaspoon pepper)

Gradually stir in and then cook until thick . . .
4 cups milk

Add fried bacon and . . .
1 (4 oz.) can sliced mushrooms, drained (I used fresh mushrooms that I sautĆ©ed in a 
little olive oil)

1 (2.25 oz.) jar dried beef, cut into pieces (seems that jarred beef is hard to find in a smaller town but we did find dried beef in a package—2.5 oz.)


(I also added about a tablespoon of parsley flakes)

Simmer to develop flavors. (Taste and add additional salt and pepper as needed. Because the dried beef is salty, additional salt may not be needed.)

Eggs:
1/4 cup butter (1/2 stick)
16 eggs
1 cup canned evaporated milk
3/4 teaspoon salt
Melt butter in a large skillet. 
Add 16 eggs mixed with evaporated milk and salt; scramble in melted butter. Cook just until eggs are set and still moist. Do not overcook!


To assemble:
In a 9”x 12” baking dish layer half of eggs and gravy; top with another layer of eggs and gravy.
Bake immediately or store in the refrigerator until ready to bake.  

Bake in a preheated 275° oven for 1 hour.  If casserole has been made ahead and refrigerated, it may need some additional time in the oven.

Recipe without photos . . .
Dried Beef and Scrambled Egg Casserole      8 to 10 servings
Gravy:  
Fry in a skillet, cut up and then set aside . . .  4 slices bacon  
In the same skillet, combine and cook . . .
1/2 cup (1 stick) butter 
1/2 cup all-purpose flour (+ I added 1/2 teaspoon pepper)
Gradually stir in and then cook until thick . . . 4 cups milk
Add fried bacon and . . .
1 (4 oz.) can sliced mushrooms, drained (I used fresh mushrooms that I sautĆ©ed in a 
little olive oil)
1 (2.25 oz.) jar dried beef, cut into pieces (seems that jarred beef is hard to find in a smaller town but we did find dried beef in a package—2.5 oz.)
 (I also added about a tablespoon of parsley flakes)
Simmer to develop flavors. (Taste and add additional salt and pepper as needed. Because the dried beef is salty, additional salt may not be needed.)

Eggs:
1/4 cup butter (1/2 stick)
16 eggs
1 cup canned evaporated milk
3/4 teaspoon salt
Melt butter in a large skillet. 
Add 16 eggs mixed with evaporated milk and salt; scramble in melted butter. Cook just until eggs are set and still moist. Do not overcook!

To assemble: 
In a 9”x 12” baking dish layer half of eggs and gravy; top with another layer of eggs and gravy. 
Bake immediately or store in the refrigerator until ready to bake.   

Bake in a preheated 275° oven for 1 hour.  If casserole has been made ahead and refrigerated, it may need some additional time in the oven.