Showing posts with label Apple Butter. Show all posts

Peaches ’n Cream Scones

My favorite way to eat a fresh Colorado peach is leaning over the kitchen sink while the sweet, sticky juice runs down my chin and forearm! Fresh peach pie (Hays House recipe) is my second choice, baked peach pie with a crumble topping or peach cobbler or crisp all via for my third choice. Following close behind are these scones . . . . great for breakfast, brunch or anytime. Actually anything with fresh peaches is HIGH on my list. Beyond dessert and sweet treats, there's always Summertime Peach Salad.


Peaches ’n Cream Scones   Yield: 8 scones

Scones

2 cups + 2 tablespoons all purpose flour

1/3 cup packed brown sugar

1 tablespoon baking powder

1/2 teaspoon salt

1/2 cup (1 stick) unsalted butter, cubed and cold

1 egg

1/4 cup heavy cream, plus more for brushing

1/4 cup sour cream

2 teaspoons vanilla

1/2 cup fresh peaches, diced (about half of a Colorado peach)

Vanilla Glaze

1/2 cup powdered sugar

2 teaspoons vanilla

1 to 3 tablespoons heavy cream

Sanding (coarse) sugar, if desired

  1. Scones: Preheat oven to 400°. Line a baking sheet with parchment paper.
  2. In a bowl, mix together flour, brown sugar, baking powder, and salt. Once combined, cut in the butter with a fork or pastry cutter until the mixture resembles coarse crumbs.
    Cold, cubed butter — ready to be worked into the flour mixture. 

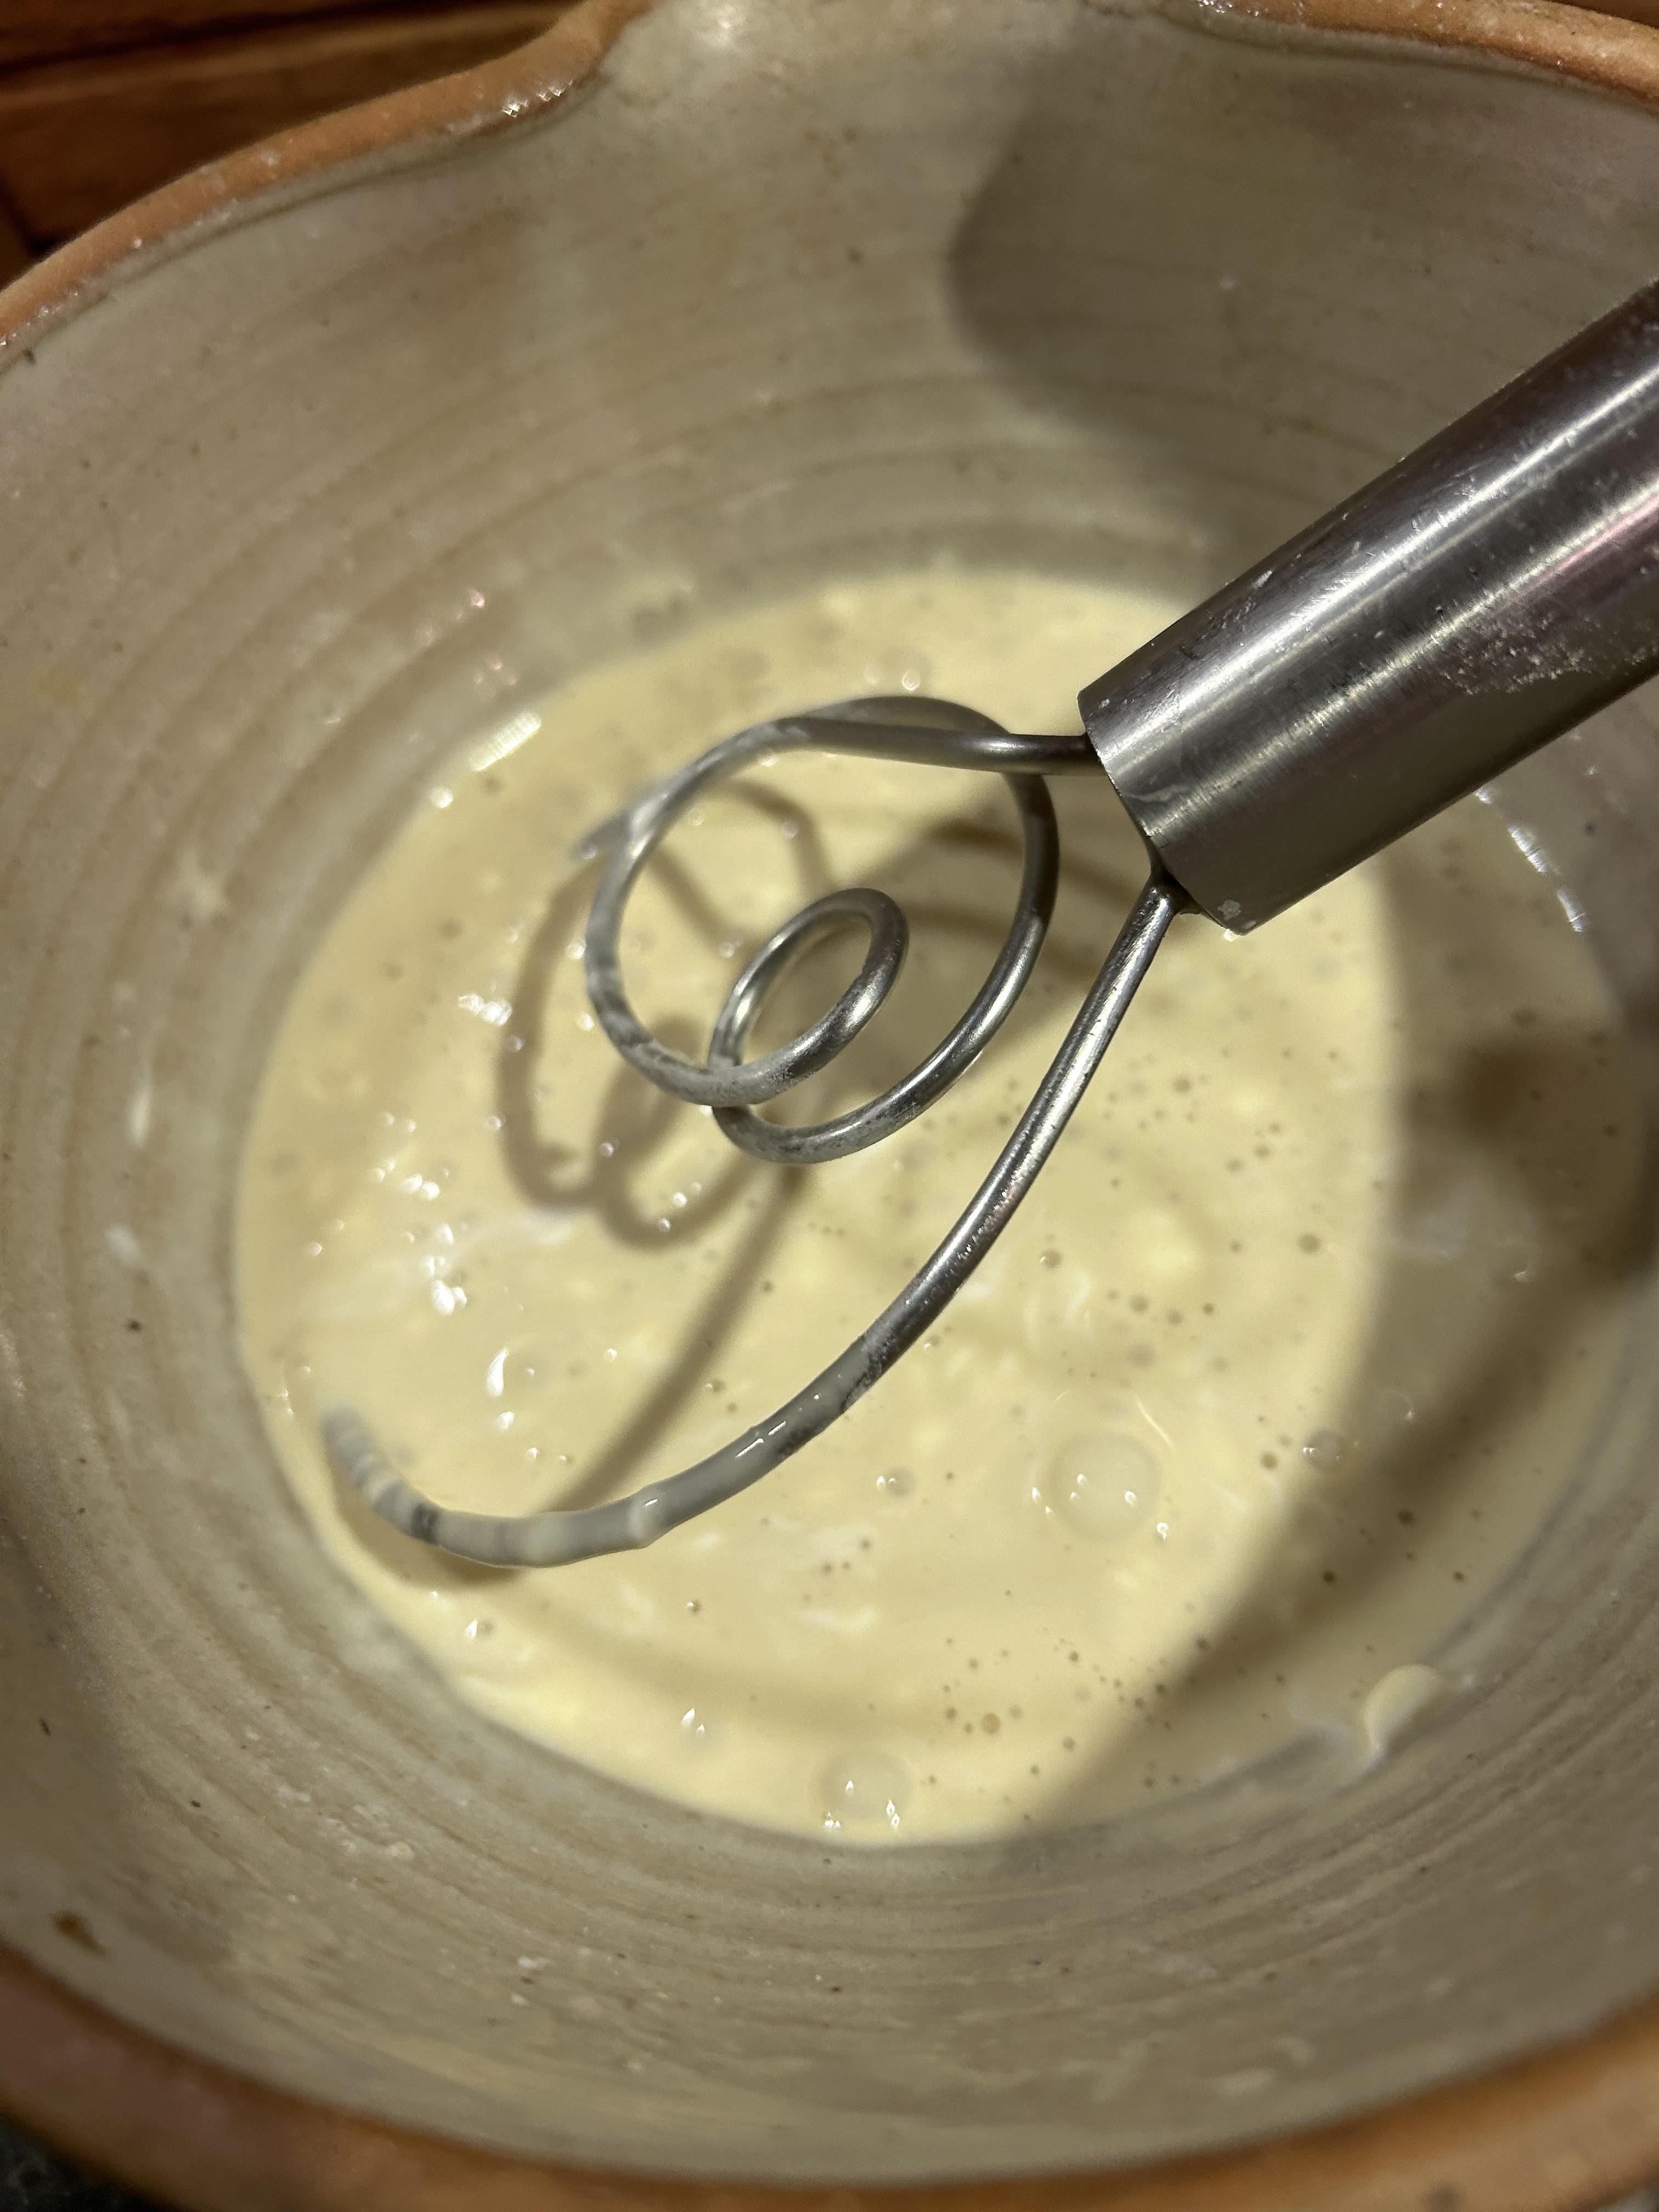
  3. Whisk together heavy cream, sour cream, egg, and vanilla. Slowly add the wet ingredients into the dry ingredients, and mix until just combined.
  4. Stir in the peaches, and mix until just combined.
  5. On a well-floured surface, turn out the scone dough and pat into a small disk (8 to 9” in diameter, 1/2" thick). Cut into 8 pie shaped wedges. 

  6. Transfer to the baking sheet. Brush each scone with just a bit of heavy cream and sprinkle with sanding (coarse sugar) if desired.

  7. Bake for 16 to 18 minutes, or just until golden brown. Allow to cool.
  8. GlazeWhisk together powdered sugar, vanilla extract, and 1 tablespoon of the heavy cream. If the glaze is too thick, continue adding in heavy cream, one 1 tablespoon at a time, until it has reached the desired consistency. Pour over warm scones. 

Recipe without photos . . .Peaches ’n Cream Scones   Yield: 8 scones

Scones

2 cups + 2 tablespoons all purpose flour

1/3 cup packed brown sugar

1 tablespoon baking powder

1/2 teaspoon salt

1/2 cup (1 stick) unsalted butter, cubed and cold

1 egg

1/4 cup heavy cream, plus more for brushing

1/4 cup sour cream

2 teaspoons vanilla

1/2 cup fresh peaches, diced (about half of a Colorado peach)

Vanilla Glaze

1/2 cup powdered sugar

2 teaspoons vanilla

1 to 3 tablespoons heavy cream

Sanding (coarse) sugar, if desired

  1. Scones: Preheat oven to 400°. Line a baking sheet with parchment paper.
  2. In a bowl, mix together flour, brown sugar, baking powder, and salt. Once combined, cut in the butter with a fork or pastry cutter until the mixture resembles coarse crumbs.
  3. Whisk together heavy cream, sour cream, egg, and vanilla. Slowly add the wet ingredients into the dry ingredients, and mix until just combined.
  4. Stir in the peaches, and mix until just combined.
  5. On a well-floured surface, turn out the scone dough and pat into a small disk (8 to 9” in diameter, 1/2" thick). Cut into 8 pie shaped wedges. 
  6. Transfer to the baking sheet. Brush each scone with just a bit of heavy cream and sprinkle with sanding (coarse sugar) if desired.
  7. Bake for 16 to 18 minutes, or just until golden brown. Allow to cool.
  8. GlazeWhisk together powdered sugar, vanilla extract, and 1 tablespoon of the heavy cream. If the glaze is too thick, continue adding in heavy cream, one 1 tablespoon at a time, until it has reached the desired consistency. Pour over warm scones.

Julia’s Chocolate and Almond Cake

We are watching the Julia series on HBO Max and also watched the CNN Julia documentary! So, it’s only makes sense to did out my Julia cookbook and give her beloved Chocolate and Almond Cake a try! 

Made with simple, everyday ingredients, this recipe utilizes techniques that create a light cake made by creaming butter and sugar and eventually yolks. Egg whites are whipped separately and folded into the batter. They are techniques I know and understand, however, I have never made an icing like this one! Truly a butter cream icing . . . butter, chocolate and coffee, that’s it! Or, Julia also suggests simply dusting the cake with powdered sugar if preferred.

In typical Julia style, she even provides a list of kitchen supplies. She truly inspired generations of cooks and helped shaped today’s American cuisine. 

This cake is elegant, delicious, yet simple . . .  so Julia! 

Julia’s Chocolate and Almond Cake Serves 6–8

Kitchen Supplies:

Round cake pan , 8 inches in diameter and 1 1/2 inches deep

3-quart mixing bowl

Wooden spoon or Electric beater

Rubber spatula

Cake rack

Ingredients:

4 ounces or squares semisweet chocolate, melted

2 Tbsp. rum or coffee

1/4 pound or 1 stick softened butter

2/3 cup granulated sugar to mix with butter

3 egg yolks

3 egg whites

Pinch of salt

1 Tbsp. granulated sugar to beat with egg whites

1/3 cup pulverized almonds

1/4 tsp. almond extract

1/2 cup cake flour, scooped and leveled, turned into a sifter

Chocolate-Butter Icing (recipe follows)

Directions

  1. Preheat oven to 350 degrees. Butter and flour the cake pan. (I line the pan with parchment cut to size and sprayed it with pan release.)
  2. Set the chocolate and rum or coffee in a small pan, cover, and place (off heat) in a larger pan of almost simmering water; let melt while you proceed with the recipe.
  3. Measure out the rest of the ingredients. 
  4. Cream the butter and 2/3 cup of sugar together for several minutes until they form a pale yellow, fluffy mixture. 
  5. Beat in the egg yolks until well blended. 
  6. Beat the egg whites and salt in a separate bowl until soft peaks are formed; sprinkle 1 Tbsp. sugar and beat until stiff peaks are formed. 
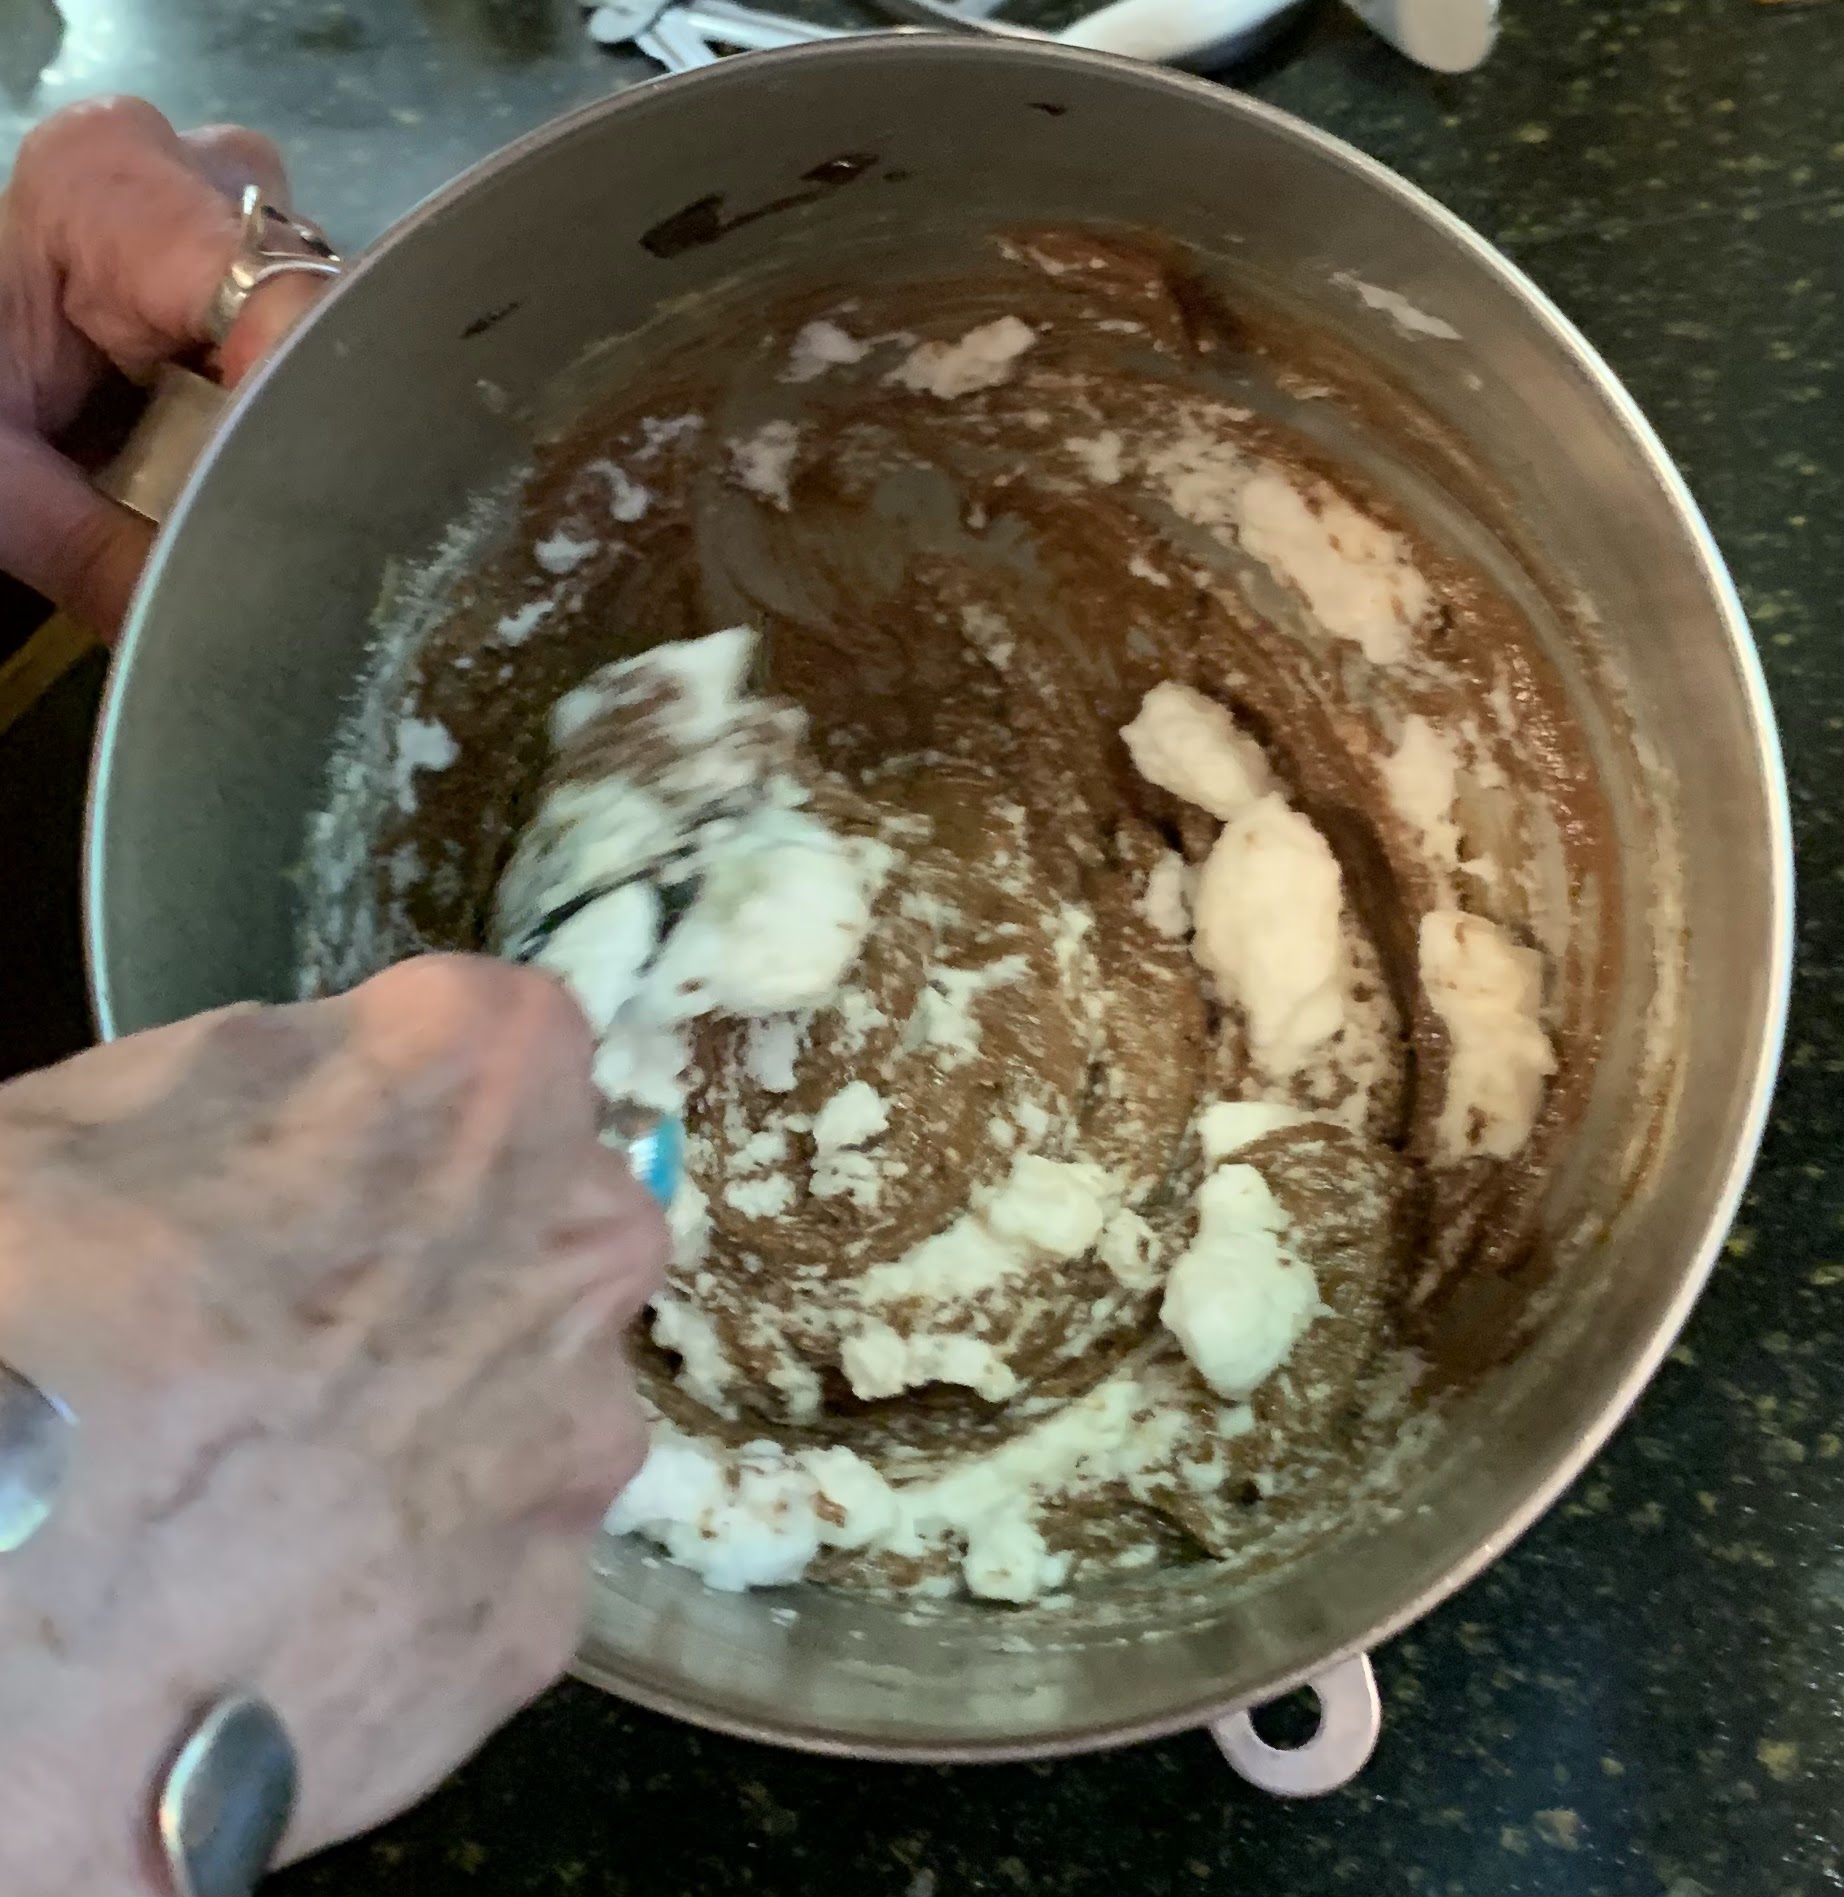
  7. With a rubber spatula, blend the melted chocolate into the butter and sugar mixture, then stir in the almonds, and almond extract.

  8. Immediately stir in one fourth of the beaten egg whites to lighten the batter.
  9. Delicately fold in a third of the remaining whites and when partially blended, sift on one third of the flour and continue folding. 
  10. Alternate rapidly with more egg whites and more flour until all egg whites and flour are incorporated. 
  11. Turn the batter into the cake pan, pushing the batter up to its rim with a rubber spatula. Bake in middle level of preheated oven for about 25 minutes. Cake is done when it has puffed, and 2 1/2 to 3 inches around the circumference are set so that a needle plunged into that area comes out clean; the center should move slightly if the pan is shaken, and a needle comes out oily. 
    Ready to bake!
  12. Allow cake to cool in the pan for 10 minutes. 
  13. Run a knife around the edge of the pan, and reverse cake on the rack. 
  14. Allow it to cool for an hour or two; it must be thoroughly cold if it is to be iced. 

Chocolate-Butter Icing

Kitchen Supplies:

Small covered pan

Larger pan of almost simmering water

Wooden spoon

Bowl with tray of ice cubes and water to cover them

Small flexible-blade metal spatula or table knife

Ingredients:

2 ounces (2 squares) semisweet baking chocolate

2 Tbsp. rum or coffee

5 to 6 Tbsp. unsalted butter

Directions

  1. Place the chocolate and rum or coffee in the small pan, cover and set in the larger pan of almost simmering water. 
  2. Remove pans from heat and let chocolate melt for 5 minutes or so, until perfectly smooth. Lift chocolate pan out of the hot water, and beat in the butter a tablespoon at a time. 
  3. Then beat over the ice and water until chocolate mixture has cooled to spreading consistency. 
  4. At once spread it over your cake with spatula or knife.
Recipe without photos . . . Julia’s Chocolate and Almond Cake Serves 6–8

Kitchen Supplies:

Round cake pan , 8 inches in diameter and 1 1/2 inches deep

3-quart mixing bowl

Wooden spoon or Electric beater

Rubber spatula

Cake rack

Ingredients:

4 ounces or squares semisweet chocolate, melted

2 Tbsp. rum or coffee

1/4 pound or 1 stick softened butter

2/3 cup granulated sugar to mix with butter

3 egg yolks

3 egg whites

Pinch of salt

1 Tbsp. granulated sugar to beat with egg whites

1/3 cup pulverized almonds

1/4 tsp. almond extract

1/2 cup cake flour, scooped and leveled, turned into a sifter

Chocolate-Butter Icing (recipe follows)

Directions

  1. Preheat oven to 350 degrees. Butter and flour the cake pan. (I line the pan with parchment cut to size and sprayed it with pan release.)
  2. Set the chocolate and rum or coffee in a small pan, cover, and place (off heat) in a larger pan of almost simmering water; let melt while you proceed with the recipe.
  3. Measure out the rest of the ingredients. 
  4. Cream the butter and 2/3 cup of sugar together for several minutes until they form a pale yellow, fluffy mixture. 
  5. Beat in the egg yolks until well blended. 
  6. Beat the egg whites and salt in a separate bowl until soft peaks are formed; sprinkle 1 Tbsp. sugar and beat until stiff peaks are formed. 
  7. With a rubber spatula, blend the melted chocolate into the butter and sugar mixture, then stir in the almonds, and almond extract.
  8.  Immediately stir in one fourth of the beaten egg whites to lighten the batter.
  9. Delicately fold in a third of the remaining whites and when partially blended, sift on one third of the flour and continue folding. 
  10. Alternate rapidly with more egg whites and more flour until all egg whites and flour are incorporated. 
  11. Turn the batter into the cake pan, pushing the batter up to its rim with a rubber spatula. Bake in middle level of preheated oven for about 25 minutes. Cake is done when it has puffed, and 2 1/2 to 3 inches around the circumference are set so that a needle plunged into that area comes out clean; the center should move slightly if the pan is shaken, and a needle comes out oily. 
  12. Allow cake to cool in the pan for 10 minutes. 
  13. Run a knife around the edge of the pan, and reverse cake on the rack. 
  14. Allow it to cool for an hour or two; it must be thoroughly cold if it is to be iced. 

Chocolate-Butter Icing

Kitchen Supplies:

Small covered pan

Larger pan of almost simmering water

Wooden spoon

Bowl with tray of ice cubes and water to cover them

Small flexible-blade metal spatula or table knife

Ingredients:

2 ounces (2 squares) semisweet baking chocolate

2 Tbsp. rum or coffee

5 to 6 Tbsp. unsalted butter

Directions

  1. Place the chocolate and rum or coffee in the small pan, cover and set in the larger pan of almost simmering water. 
  2. Remove pans from heat and let chocolate melt for 5 minutes or so, until perfectly smooth. Lift chocolate pan out of the hot water, and beat in the butter a tablespoon at a time. 
  3. Then beat over the ice and water until chocolate mixture has cooled to spreading consistency. 
  4. At once spread it over your cake with spatula or knife.

Apple Butter Cookies . . . soft and chewy and reminding us that fall is just around the corner

Cookies have been a mainstay in our household during this pandemic. I’ve made all-time favorites and tried quite a few new recipes, too. These snickerdoodle-like cookies use last season’s apple butter and remind me that fall is just around the corner. 

Allow at least 2 hours chilling time for this recipe.


Apple Butter Cookies   Makes about a dozen larger-sized cookies

1/4 cup butter, room temperature

1/4 cup apple butter (We recommend Lousiburg Cider Mill’s Old-Fashioned Apple Butter or our So-Easy Apple Butter )

1 cup granulated sugar  

1 egg

1/2 teaspoon vanilla 

1 teaspoon ground cinnamon

1 1/2 cups all-purpose flour

1/4 teaspoon baking soda

1/4 teaspoon cream of tartar

1/2 cup chopped walnuts, optional 

About 1/2 cup+ cinnamon sugar (mix 1/2 cup granulated sugar with 2 tablespoons ground cinnamon)

  1. In a mixing bowl, cream together butter, apple butter, and sugar.
  2. Add egg, and vanilla. Mix until well combined.

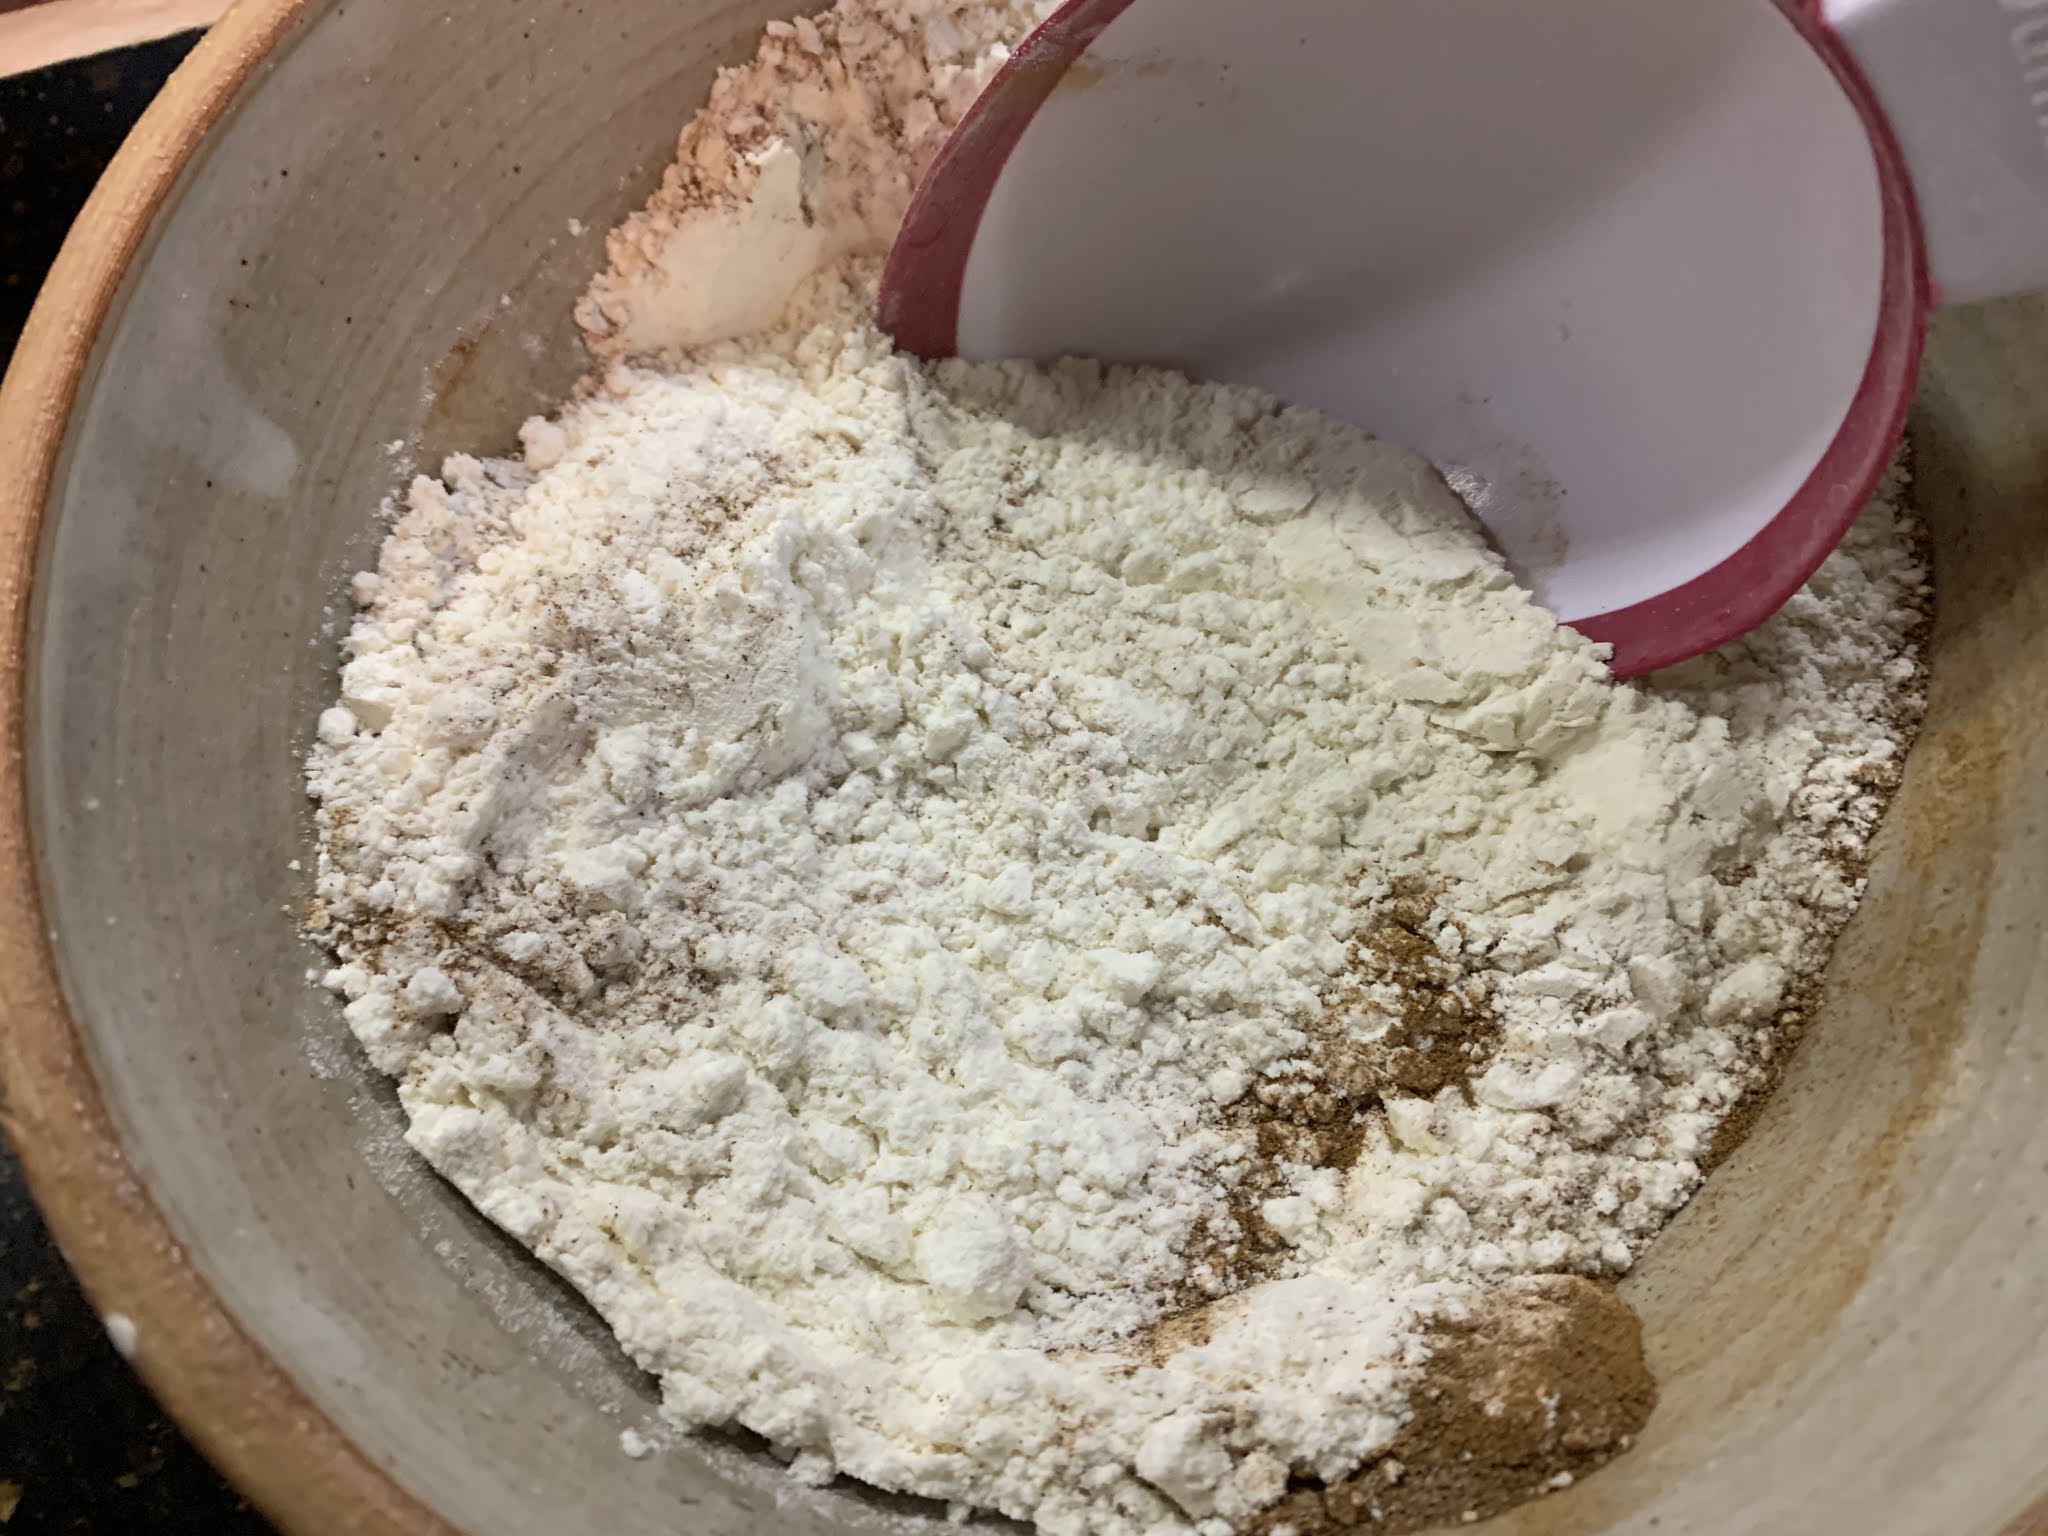
  3. In a medium bowl, combine cinnamon, flour, baking soda, and cream of tartar. 
  4. Slowly add dry ingredients to butter mixture. Add walnuts if using and mix and until dough pulls together.
  5. Place into fridge and chill for at least 2 hours. 
  6. Preheat oven to 375°
  7. Using a cookie scoop (mine held 2 tablespoons) to portion out cookies, roll cookies into a ball and roll each ball in cinnamon sugar.
  8. Place cookies onto ungreased baking sheet and flatten just slightly; baking sheet can be lined with parchment for easier cleaning.
  9. Bake 13 minutes or until cookies are set and nicely browned. Sprinkle with a little extra cinnamon sugar if desired.
  10. Move baked cookies to wire rack to cool. 
Recipe without photos . . . Apple Butter Cookies   Makes about a dozen larger-sized cookies

1/4 cup butter, room temperature

1/4 cup apple butter (We recommend Lousiburg Cider Mill’s Old-Fashioned Apple Butter or our So-Easy Apple Butter )

1 cup granulated sugar  

1 egg

1/2 teaspoon vanilla 

1 teaspoon ground cinnamon

1 1/2 cups all-purpose flour

1/4 teaspoon baking soda

1/4 teaspoon cream of tartar

1/2 cup chopped walnuts, optional 

About 1/2 cup+ cinnamon sugar (mix 1/2 cup granulated sugar with 2 tablespoons ground cinnamon)

  1. In a mixing bowl, cream together butter, apple butter, and sugar.
  2. Add egg, and vanilla. Mix until well combined.
  3. In a medium bowl, combine cinnamon, flour, baking soda, and cream of tartar. 
  4. Slowly add dry ingredients to butter mixture. Add walnuts if using and mix and until dough pulls together.
  5. Place into fridge and chill for at least 2 hours. 
  6. Preheat oven to 375°
  7. Using a cookie scoop (mine held 2 tablespoons) to portion out cookies, roll cookies into a ball and roll each ball in cinnamon sugar.
  8. Place cookies onto ungreased baking sheet and flatten just slightly; baking sheet can be lined with parchment for easier cleaning.
  9. Bake 13 minutes or until cookies are set and nicely browned. Sprinkle with a little extra cinnamon sugar if desired.
  10. Move baked cookies to wire rack to cool. 

Louisburg Cider Mill's Apple Butter Bread as it appears in the fall 2020 edition of KANSAS! Magazine


A story about Louisburg Cider titled “Emmett’s Place” was included in the fall 2020 Taste section of KANSAS! Magazine. Famous for their apple cider, donuts and their festivals, it is a destination that you won’t want to miss! Barry and I attended the Fall Festival last year and had so much fun. Since then we’ve been back and also continue to purchase their cider year round at a local grocery store in Abilene, KS. 
The magazine story outlines the progression of the business from the early 1970s to present day. I included the timeline that I developed as I wrote the article and have included it near the end of this post.Louisburg Cider Mill provides recipes that utilize their many Kansas produced products such as the  one for Apple Butter Bread  that is included in the magazine article and in this post. They have many other recipes in their online archives

The article about Louisburg Cider Mill appears in the Fall 2020 issue
of KANSAS! Magazine, vol. 76, issue 3

Kansasmag.com


Additional  information about their products and upcoming events, including their fall festival @ 
Louisburg Cider Mill
14730 KS-68, Louisburg, KS 66053
info@louisburgcidermill.com (email)
Louisburg Cider Mill's Apple Butter Bread   Makes one 9-inch loaf pan 
INGREDIENTS
3/4 cup Louisburg Cider Mill Apple Butter
2 teaspoons ground cinnamon
1/2 teaspoon ground cloves
1/2 cup water
1/2 cup canola oil
1 1/4 cups packed brown sugar
2 large eggs
1 3/4 cups all-purpose flour
1 teaspoon baking soda
3/4 teaspoon salt

INSTRUCTIONS
1.   Grease or spray a 9-inch loaf pan. Preheat oven to 350° F.
2.   In mixing bowl combine the apple butter, cinnamon and cloves. 
3.   Whisk in the water, then oil, the brown sugar, then add eggs one at a time. Mix until smooth. 
4.   Sift together flour, baking soda and salt. Combine with the apple butter mixture and mix until smooth.
5.   Pour into prepared pan(s). Bake in preheated oven for 65 to 70 minutes.
6.   Let stand for 10 to 15 minutes to cool slightly before removing from pan. Cool completely on a wire rack.


A few extra tidbits about LOUISBURG APPLE CIDER . . .
ü It is natural and unfiltered with no added sweeteners. 
ü  Itis available as 1) cold fill/fresh cider that is flash pasteurized; it must be refrigerated and has a limited shelf life, 2) hot filled cider that contains preservatives making it shelf stable for six months.
ü  They offer an expanded flavor base including: Honeycrisp Cider, Cinnamon and Lemon Ginger Apple Cider, and sparkling ciders.
ü  It can be used in cooking: 
o   soak dry beans or rice in cider instead of water
o   baste meats with cider in place of water or wine
o   use chilled cider instead of water in pie crust
o   add cider to homemade barbeque sauces

LOUSIBURG CIDER TIMELINE
·      1973-74 – Emmett & Mary O’Rear purchased the 80-acre farm near Louisburg and started processing fresh apple cider that was sold at a roadside stand.
·      1977— Tom and Shelly Schierman joined Shelly’s parent in forming the Louisburg Cider Mill. 
·      1978 —The Country Store opened and the first Ciderfest was held.
·      1981 — First wholesale order from Dillons signaled a need for capital improvement changes and expansions to the infrastructure.
·      1985 —Lost Trail craft soda production began. 
·      1986 — Processing plant was built on the farm; all operations began running year round.
·      1988 — Schiermans took over ownership of the business.
·      2007 —Added seasonal corn maze, pumpkin patch and other family farm experiences.
·      2015 — Josh and Alexis Hebert purchased the business becoming the third generation family owners.
·      2020 — 42nd annual fall Ciderfest to be held September 26 & 27th and October 3rd & 4th (the last weekend in September and first weekend in October). No admission or parking fees to attend Ciderfest but there is an admission charge to the corn maze, pumpkin patch and other family farm experiences.  
Photo of Louisburg Cider Mill and Country Store from their website.
Photo at the top of the page is from their recipe archives.