Showing posts with label Syrup-Maple. Show all posts

Strawberry Cake Roll

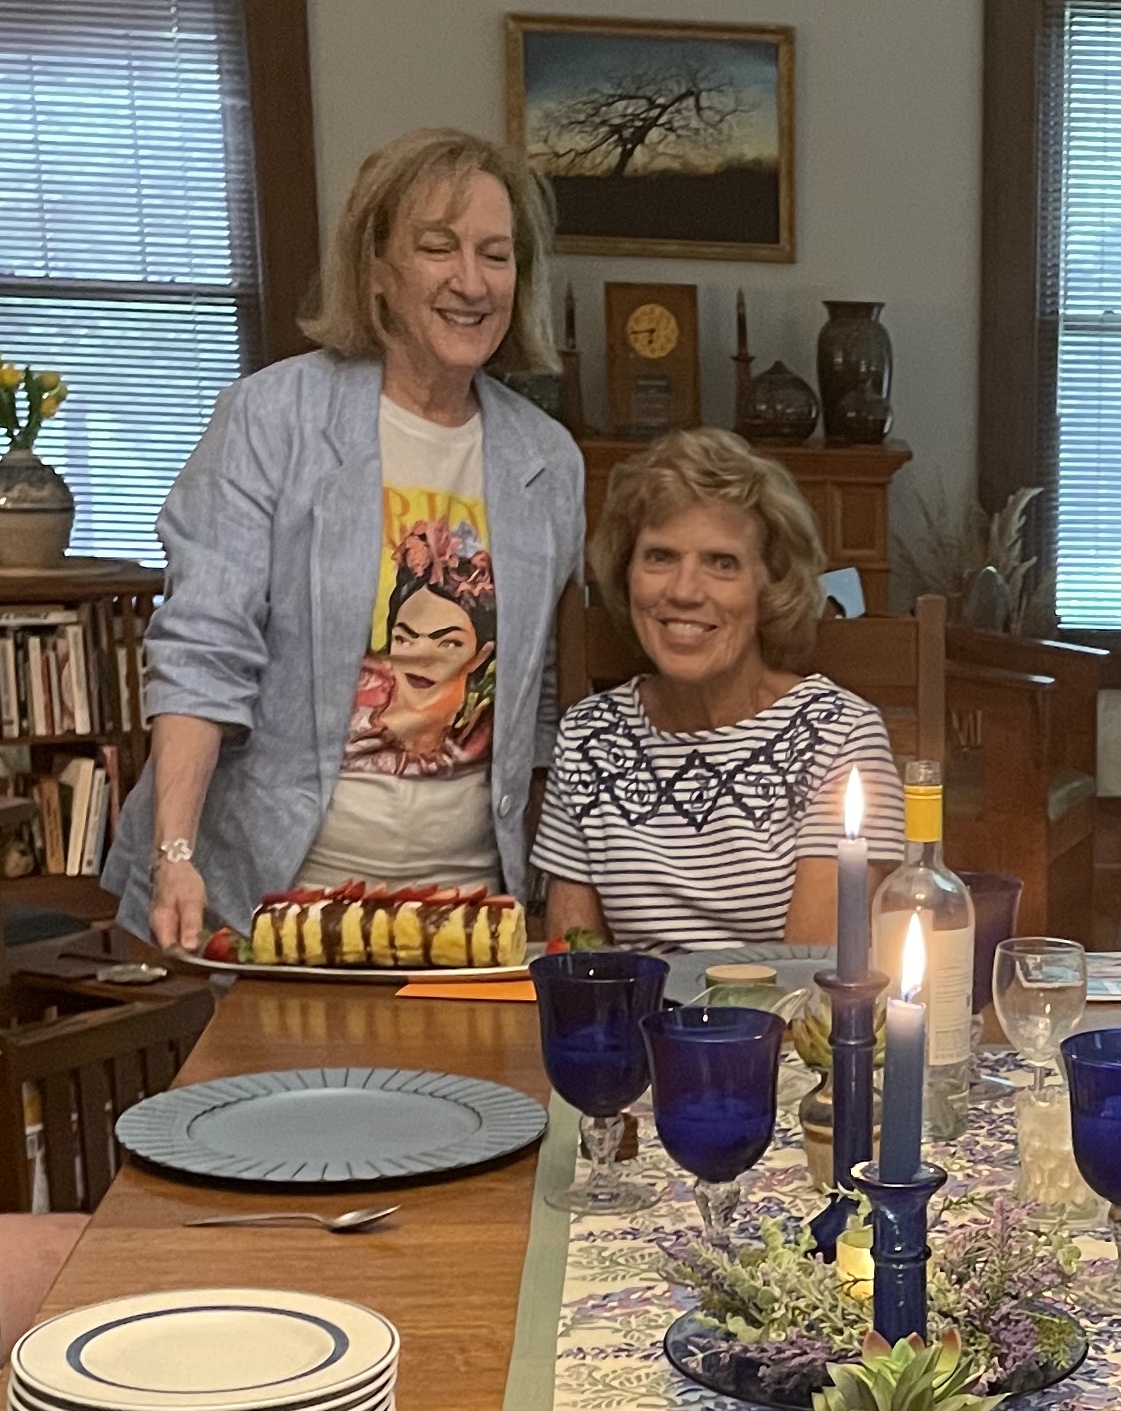
The summertime cake is light, laden with strawberries and a great way to celebrate a birthday! 


Strawberry Cake Roll

Cake

5 egg yolks room temperature

2 tablespoons vegetable oil

3 tablespoons milk

1 teaspoon vanill

1 cup granulated sugar divided

1 tablespoons lemon zest

¾ cup all purpose flour

2 tablespoons cornstarch

1 teaspoon baking powder

¼ teaspoon salt

4 egg whites room temperature


Filling

1 (8 oz. pkg.) cream cheese, softened

4 tablespoons butter, softened

1 cup powdered sugar

2 teaspoons maple syrup

1 teaspoon vanilla 

!/2 cup finely diced  strawberries


Garnishing &/or Serving

Additional Strawberries (could also include blueberries, etc. 

Fresh Mint 

Ice Cream or Sweetened whipped Cream

  1. Preheat oven to 350°F
  2. Cake: Spray a 12x17-inch rimmed baking sheet and line with parchment paper. Grease the parchment paper with butter. Set aside.
  3. In a medium bowl, whisk together the egg yolks, oil, milk, vanilla extract, two-thirds cup of sugar, and lemon zest if using.
  4. In a small bowl, whisk together the flour, cornstarch, baking powder and salt.
  5. Stir dry ingredients into the wet just until combined.
  6. In a medium bowl, beat egg whites on med-high until soft peaks form (1 to 2 minutes). Add the remaining one-third cup of sugar and continue beating on med-high speed until stiff peaks form (another 1 to 2 minutes).
  7. Fold egg whites into the batter until fully incorporated.
  8. Pour batter onto prepared baking sheet and bake for 15 minutes or until the top of the cake is light brown. Let cool completely.
    Cake batter ready to go into the oven. 

  9. Filling: Using an electric mixer, beat the cream cheese, powdered sugar, maple syrup and butter. until light and fluffy. 
  10. Spread filling over cooled cake evenly, leaving about 1/2 inch on the border. Sprinkle with strawberries.
  11. Carefully, roll the cake, starting from the short end. Peel away or remove the parchment paper as you roll.
  12. Once rolled, position the seam so it is on the bottom; sprinkle with a little extra powdered sugar and then wrap the cake with plastic wrap and chill in refrigerator for about 1 hour. Or, cover and freeze if preferred. 
  13. Once chilled, unwrap the roll. Cut ends with a sharp knife. Dust with confectioner's sugar and top with strawberries and fresh mint. Serve with ice cream or sweetened whipped cream.


Recipe without photos . . .Strawberry Cake Roll

Cake

5 egg yolks room temperature

2 tablespoons vegetable oil

3 tablespoons milk

1 teaspoon vanilla

1 cup granulated sugar divided

1 tablespoons lemon zest

¾ cup all purpose flour

2 tablespoons cornstarch

1 teaspoon baking powder

¼ teaspoon salt

4 egg whites room temperature


Filling

1 (8 oz. pkg.) cream cheese, softened

4 tablespoons butter, softened

1 cup powdered sugar

2 teaspoons maple syrup

1 teaspoon vanilla 

!/2 cup finely diced  strawberries


Garnishing &/or Serving

Additional Strawberries (could also include blueberries, etc. 

Fresh Mint 

Ice Cream or Sweetened whipped Cream

  1. Preheat oven to 350°F
  2. Cake: Spray a 12x17-inch rimmed baking sheet and line with parchment paper. Grease the parchment paper with butter. Set aside.
  3. In a medium bowl, whisk together the egg yolks, oil, milk, vanilla extract, two-thirds cup of sugar, and lemon zest if using.
  4. In a small bowl, whisk together the flour, cornstarch, baking powder and salt.
  5. Stir dry ingredients into the wet just until combined.
  6. In a medium bowl, beat egg whites on med-high until soft peaks form (1 to 2 minutes). Add the remaining one-third cup of sugar and continue beating on med-high speed until stiff peaks form (another 1 to 2 minutes).
  7. Fold egg whites into the batter until fully incorporated.
  8. Pour batter onto prepared baking sheet and bake for 15 minutes or until the top of the cake is light brown. Let cool completely.
  9. Filling: Using an electric mixer, beat the cream cheese, powdered sugar, maple syrup and butter. until light and fluffy. 
  10. Spread filling over cooled cake evenly, leaving about 1/2 inch on the border. Sprinkle with strawberries.
  11. Carefully, roll the cake, starting from the short end. Peel away or remove the parchment paper as you roll.
  12. Once rolled, position the seam so it is on the bottom; sprinkle with a little extra powdered sugar and then wrap the cake with plastic wrap and chill in refrigerator for about 1 hour. Or, cover and freeze if preferred. 
  13. Once chilled, unwrap the roll. Cut ends with a sharp knife. Dust with confectioner's sugar and top with strawberries and fresh mint. Serve with ice cream or sweetened whipped cream.


Almond Delights or Almond Datelights — gluten free with natural sugar

These bars are delightful or should I say datelightul? I’ve seen versions of these called Snickers Bars with almonds but, personally, I don’t think the name fits. I thought of Almond Joy but there’s no coconut! These delightful bars begin with a base of almond flour (along with oat flour) mixed with almond nut butter and date or maple syrup. A date paste composes the gooey, caramel-like layer that is topped with toasted, sliced almonds and then spread with dark chocolate. Created to delight, these bars are also gluten-free and use only natural sugars. This is a nutrient-packed recipe so watch out as they are also packed with calories . . . but these bars are so rich that a small one satisfies most sweet lovers. 


Almond Delights or Almond Datelights    Yield: 8x8-inch pan; about 12 bars

Bottom Crust 

3/4 cup almond flour

1/4 almond butter, no sugar added

1/2 cup oat flour (to make your own – add a little over 1/2 cup old fashioned or quick oats to the blender or food processor and blend until it creates a somewhat coarse oat flour

2 tablespoons date syrup or real maple syrup 

Caramel Middle

3/4 cup date paste (cook about 1 cup of dates with 3-4 tablespoons of water until softened, adding more water as needed; process in a food processor until smooth 

2 tablespoons almond butter

1 teaspoon  vanilla

Topping

1/2 cup of chopped or sliced almonds, toasted (place in a 350° oven for 4-5 minutes or until they just begin to turn golden; watch closely)

1 cup dark chocolate chips

  1. Line an 8x8-inch pan with parchment paper.
  2. Combine almond flour, almond butter, oat flour, date syrup and salt.

  3. Press mixture into pan to form bottom base layer.  Place in freezer.
  4. For middle layer, combine date paste, almond butter, and vanilla.

  5. Spread on top of bottom layer and sprinkle with almonds. Place back in freezer.
  6. Melt chocolate and spread over top to set. You can also cut into bars first and dip in chocolate to cover like a candy bar. Since these bars keep best when refrigerated, I left the chocolate off. When ready to serve, I microwaved enough chocolate chips to cover a couple of bars, and then spread it over the tops of the cut and plated bars. 
Recipe without photos . . . Almond Delights or Almond Datelights    Yield: 8x8-inch pan; about 12 bars

Bottom Crust 

3/4 cup almond flour

1/4 almond butter, no sugar added

1/2 cup oat flour (to make your own – add a little over 1/2 cup old fashioned or quick oats to the blender or food processor and blend until it creates a somewhat coarse oat flour

2 tablespoons date syrup or real maple syrup 

Caramel Middle

3/4 cup date paste (cook about 1 cup of dates with 3-4 tablespoons of water until softened, adding more water as needed; process in a food processor until smooth 

2 tablespoons almond butter

1 teaspoon  vanilla

Topping

1/2 cup of chopped or sliced almonds, toasted (place in a 350° oven for 4-5 minutes or until they just begin to turn golden; watch closely)

1 cup dark chocolate chips

  1. Line an 8x8-inch pan with parchment paper.
  2. Combine almond flour, almond butter, oat flour, date syrup and salt.
  3. Press mixture into pan to form bottom base layer.  Place in freezer.
  4. For middle layer, combine date paste, almond butter, and vanilla.
  5. Spread on top of bottom layer and sprinkle with almonds. Place back in freezer.
  6. Melt chocolate and spread over top to set. You can also cut into bars first and dip in chocolate to cover like a candy bar. Since these bars keep best when refrigerated, I left the chocolate off. When ready to serve, I microwaved enough chocolate chips to cover a couple of bars, and then spread it over the tops of the cut and plated bars. 

Pumpkin Oatmeal Pancakes – festive, healthy, easy and tasty, too!

On a healthy eating quest, I have tried some recipes that are edible but not worth a repeat performance. These healthy pumpkin pancakes passed the taste test making them blog worthy! Besides that, they are simple. Found the recipe on ambitiouskitchen.com blog. I did cut the ingredients in half creating two moist and tender plate size pancakes that are full and spice, and naturally sweetened. 

We served them with homemade applesauce (without no additional sweetener), chopped pecans, and maple syrup . . . and a few pomegranate seeds since they are in season and we had some on hand. 


Pumpkin Oatmeal Pancake

Makes 6 pancakes total. Serves 3 (2 pancakes each)


3/4 cup pumpkin puree, freshly made or pumpkin pie filling without sugar & spices

2 large eggs

2/3 cup milk (regular, almond, etc.)

2 teaspoons vanilla 

1 tablespoon pure maple syrup

1 1/2 cups old fashioned rolled oats

2 teaspoons baking powder

1 teaspoon ground cinnamon 

1/2 teaspoon ground allspice

1/2 teaspoon ground nutmeg

1/2 teaspoon ground ginger

1/4 teaspoon salt

Olive oil, for cooking

  1. Add all of the ingredients to a blender (or food processor) and blend on high until completely smooth, about 30 seconds to 1 minute.
  2. Lightly coat a griddle with c oil and place over a medium heat. Once the pan is hot, add about 1/3 cup of the batter to the griddle for each pancake; the batter may be thick so you'll need to use a spoon to spread out the batter a bit. It will get thicker as it sits so be sure to cook these pancakes immediately after blending. Cook for 2 to 4 minutes until pancakes slightly puff up and you see a few bubbles along the edges.

  3. Flip cakes and cook until golden brown on underside. If you find that pancakes are browning too quickly, then you need to lower the heat. 

Note: Instead of individual spices, use 1 1/2 teaspoons pumpkin pie spice.

Steel Cut Oats with Maple Syrup & Raisins — Instant Pot Style

This is simply my how-to guide for making steel cut oats in the Instant Pot. The amounts and directions are for a 3-quart pot but the recipe could be easily doubled for a 6-quart pot. Maple syrup could be omitted as could the raisins for plain oats. Or add brown sugar, craisins, currants, etc. The oats do not have to be sautĆ©ed in butter but this adds to the overall flavor. In a hurry? Add steel cut oats along with the other ingredients in step #2 and omit step #1. 

Steel Cut Oats with Maple Syrup & Raisins — Instant Pot Style (using 3-qt. pot)

1/2 tablesoon butter

1/2 cup steel cut oats

1 1/2 cup + 2 tablespoons milk or water or a combo of the two

2 to 3 tablespoons+ raisins

1 tablespoon maple syrup + more for serving

1/4 teaspoon salt 

  1. Using the sautĆ© function, melt the butter in the pressure cooker’s inner pot. Then stire in the oats; sautĆ© until oats a lightly toasted and fragrant, about 3 minutes.
  2. Add the milk, raisins, maple syrup and salt.
  3. Set the pressure cook button (high pressure) and adjust time for 10 minutes. 
  4. Once finished with pressure cook cycle, lte the pressure release naturally for 10 minutes, then release the remaining pressure manually.
  5. Serve with additional milk abd  maple syrup. I also added nuts to mine. 
Recipe without photos . . . Steel Cut Oats with Maple Syrup & Raisins — Instant Pot Style (using 3-qt. pot)

1/2 tablesoon butter

1/2 cup steel cut oats

1 1/2 cup + 2 tablespoons milk or water or a combo of the two

2 to 3 tablespoons+ raisins

1 tablespoon maple syrup + more for serving

1/4 teaspoon salt 

  1. Using the sautĆ© function, melt the butter in the pressure cooker’s inner pot. Then stire in the oats; sautĆ© until oats a lightly toasted and fragrant, about 3 minutes.
  2. Add the milk, raisins, maple syrup and salt.
  3. Set the pressure cook button (high pressure) and adjust time for 10 minutes. 
  4. Once finished with pressure cook cycle, lte the pressure release naturally for 10 minutes, then release the remaining pressure manually.
  5. Serve with additional milk abd  maple syrup. I also added nuts to mine. 

Instant Pot Rice Pudding using a 3-quart pot

No muss, no fuss — about 5 minutes prep time, 20 minutes cook time + 10 minutes+ for cooling; the Instant Pot makes Rice Pudding with no pot watching or stirring and there’s no sticky rice!

Instant Pot Rice Pudding using a 3-quart pot – makes 4 servings 

½  cup basmati or long grain rice

1 cups whole milk  

1/2 cup + 2 tablespoons water  

3 tablespoons maple syrup or honey

Pinch of kosher or seal salt teaspoon 

3 to 4 tablespoons heavy cream or coconut cream

1 teaspoon vanilla 

3/4 teaspoon ground cinnamon

1/4 teaspoon ground nutmeg

1/3 cup craisins or raisins

3 to 4 tablespoons sliced almonds, toasted (toast at 350° about 3 to 4 min.)

  1. Place rice in fine mesh colander. Rinse well in several changes of water; the  place in Instant Pot.
  2. Add water, milk, maple syrup, and sea salt.
  3. Stir briefly.
  4. Add lid, seal and close vent.
  5. Press the Porridge button. This button is preset for 20 minutes—the time it takes to cook the rice. 
  6. When the timer beeps, allow the pressure to do a natural release for 10 minutes. 
  7. After 10 minutes, press the Cancel button and open vent.
  8. When de-pressurized, open lid.
  9. Add cream, vanilla, cinnamon and nutmeg. Stir in craisins and almonds or use them as toppings. 
  10. Stir until well mixed.
  11. Serve with more cream, whipped cream, or yogurt. Set out extra maple syrup and toppings if desired. 

Black Bean Fiesta in a Jar with Lime Cilantro Dressing

Recipes for Mason Jar salads are typically made in quart jars; one of those jars is more than enough for the two in our household so I’ve downsized this tasty salad mix for pint jars. Even then, the amounts are variable and can be adjusted as can the choice of ingredients.     

Salad jars are a nice picnic option for us. I make them the night before and we can grab-and-go the next day. 

The spicy dressing and addition of cilantro really boost the flavor of this salad! 

Salads in a Jar are a great way to add fiber, veggies & even some fun to daily meals.


Black Bean Fiesta in a Jar with Lime Cilantro Dressing      Fills 2 pint jars

Lime Cilantro Dressing—recipe follows 

About 2 to 3 tablespoons onion – yellow, white or red onion, chopped

About 1/3 cup shredded carrots

About 1/3 cup shredded purple or green cabbage

About 1/2 cup cooked quinoa (I flavored with a spicy Mexican blend while cooking)

1/2 to 3/4 cup cooked black beans, drained & rinsed 

About 1/2 cup corn kernels (fresh or frozen that has been thawed)

About 1/4 cup cherry or grape tomatoes, halved

About 2 to 3 tablespoons cilantro leaves, torn or whole

2 to 3 oz. of baby spinach or other greens

  1. Prepare dressing using recipe that follows.
  2. To build the mason jar salads: Grab two wide-mouth ping size mason jars and add about 2 tablespoons+ dressing to the bottom of each.  Adding the dressing to the bottom of the jar allows the sturdy vegetables to marinate in the mixture and help keep less sturdy greens from becoming soggy
  3. Add in onion, carrots and cabbage. 
  4. Add remaining ingredients in layers in whichever order you prefer: quinoa, black beans corn, tomatoes, cilantro leaves Top with with spinach. 
  5. Refrigerate jars overnight if desired. Place in chilled cooler if taking on a picnic. 
  6. To serve:  Pour jar onto a large plate or bowl, allowing dressing to mix with the remaining ingredients.

Lime Cilantro Dressing                  


Replay


Learn more


1/4 cup lime juice

2 tablespoons maple syrup

1 tablespoon cilantro

1 clove garlic

1/2 teaspoon salt

1/2 teaspoon ground pepper

1/2 cup+ vegetable oil (olive oil is tasty but solidifies when refrigerated so I used canola)


Make dressing by placing all ingredients expect oil into blender or food processor; blend until smooth and then drizzle in oil while blender/processor is on low, adding enough to achieve desired dressing consistency.


King Arthur's Potica #ExtraordinaryBread #kingarthurbaking

King Arthur Baking Company's #ExtraordinaryBread contest has prompted me to try all sorts or new recipes—from ethnic to unusual. It has been a baking and taste treat and today's bake is one of my favorites, definitely a SPECIAL OCCASION bread! (We are eating one and freezing the other for Easter.) Another feature of this dough is that it can be refrigerated overnight, dividing the work over two days. King Arthur's website says this about Potica: Slovene families bake these traditional loaves using recipes handed down through generations. This is a rich bread for special occasions, filled with an abundant sweet filling of ground nuts and spice. It's so good you'll want to keep both loaves! 

Did not achieve as many swirls as is typical but the bread is so tasty so
now I'll have to make it again to perfect the technique!

Changes I'd make if doing this again: Instead of rolling the dough out to a 26" x 18" rectangle, adding filling and then cutting it into 2 loaves, I'd divided the dough and roll each half to a 12 x 18" rectangle, fill each, leaving a 1" margin on all sides—then roll it starting from the 18" long side. The reason: one the long, rectangle is cut, the filling oozes out of the cut end and is hard to contain! 

Potica  Yield: 2 loaves

PREP - 50 mins / BAKE - 50 to 55 mins / TOTAL 4 hrs 10 mins


INGREDIENTS

Dough

4 tablespoons (57g) unsalted butter, softened

1/4 cup (50g) granulated sugar

1 teaspoon (6g) salt

3/4 cup (170g) milk

2 large eggs

2 1/2 teaspoons instant yeast or active dry yeast

2 teaspoons vanilla extract

3 cups (361g) King Arthur Unbleached All-Purpose Flour

1/4 c1/2 cup (46g) dried potato flakes

Filling

4 1/2 cups (510g) chopped walnuts or pecans

3/4 cup (149g) granulated sugar

2 tablespoons (15g) King Arthur Unbleached All-Purpose Flour

1/4 teaspoon table salt

2 teaspoons ground cinnamon

3 large eggs

1/4 cup (57g) milk

1/4 cup (78g) maple syrup

1 teaspoon vanilla extract

2 teaspoons grated orange rind (zest), optional

Topping

1 large egg, beaten with 2 tablespoons water

1/4 cup (28g) finely chopped walnuts or pecans


INSTRUCTIONS

  1. To make the dough: Place the butter, sugar, and salt in a large mixing bowl. 
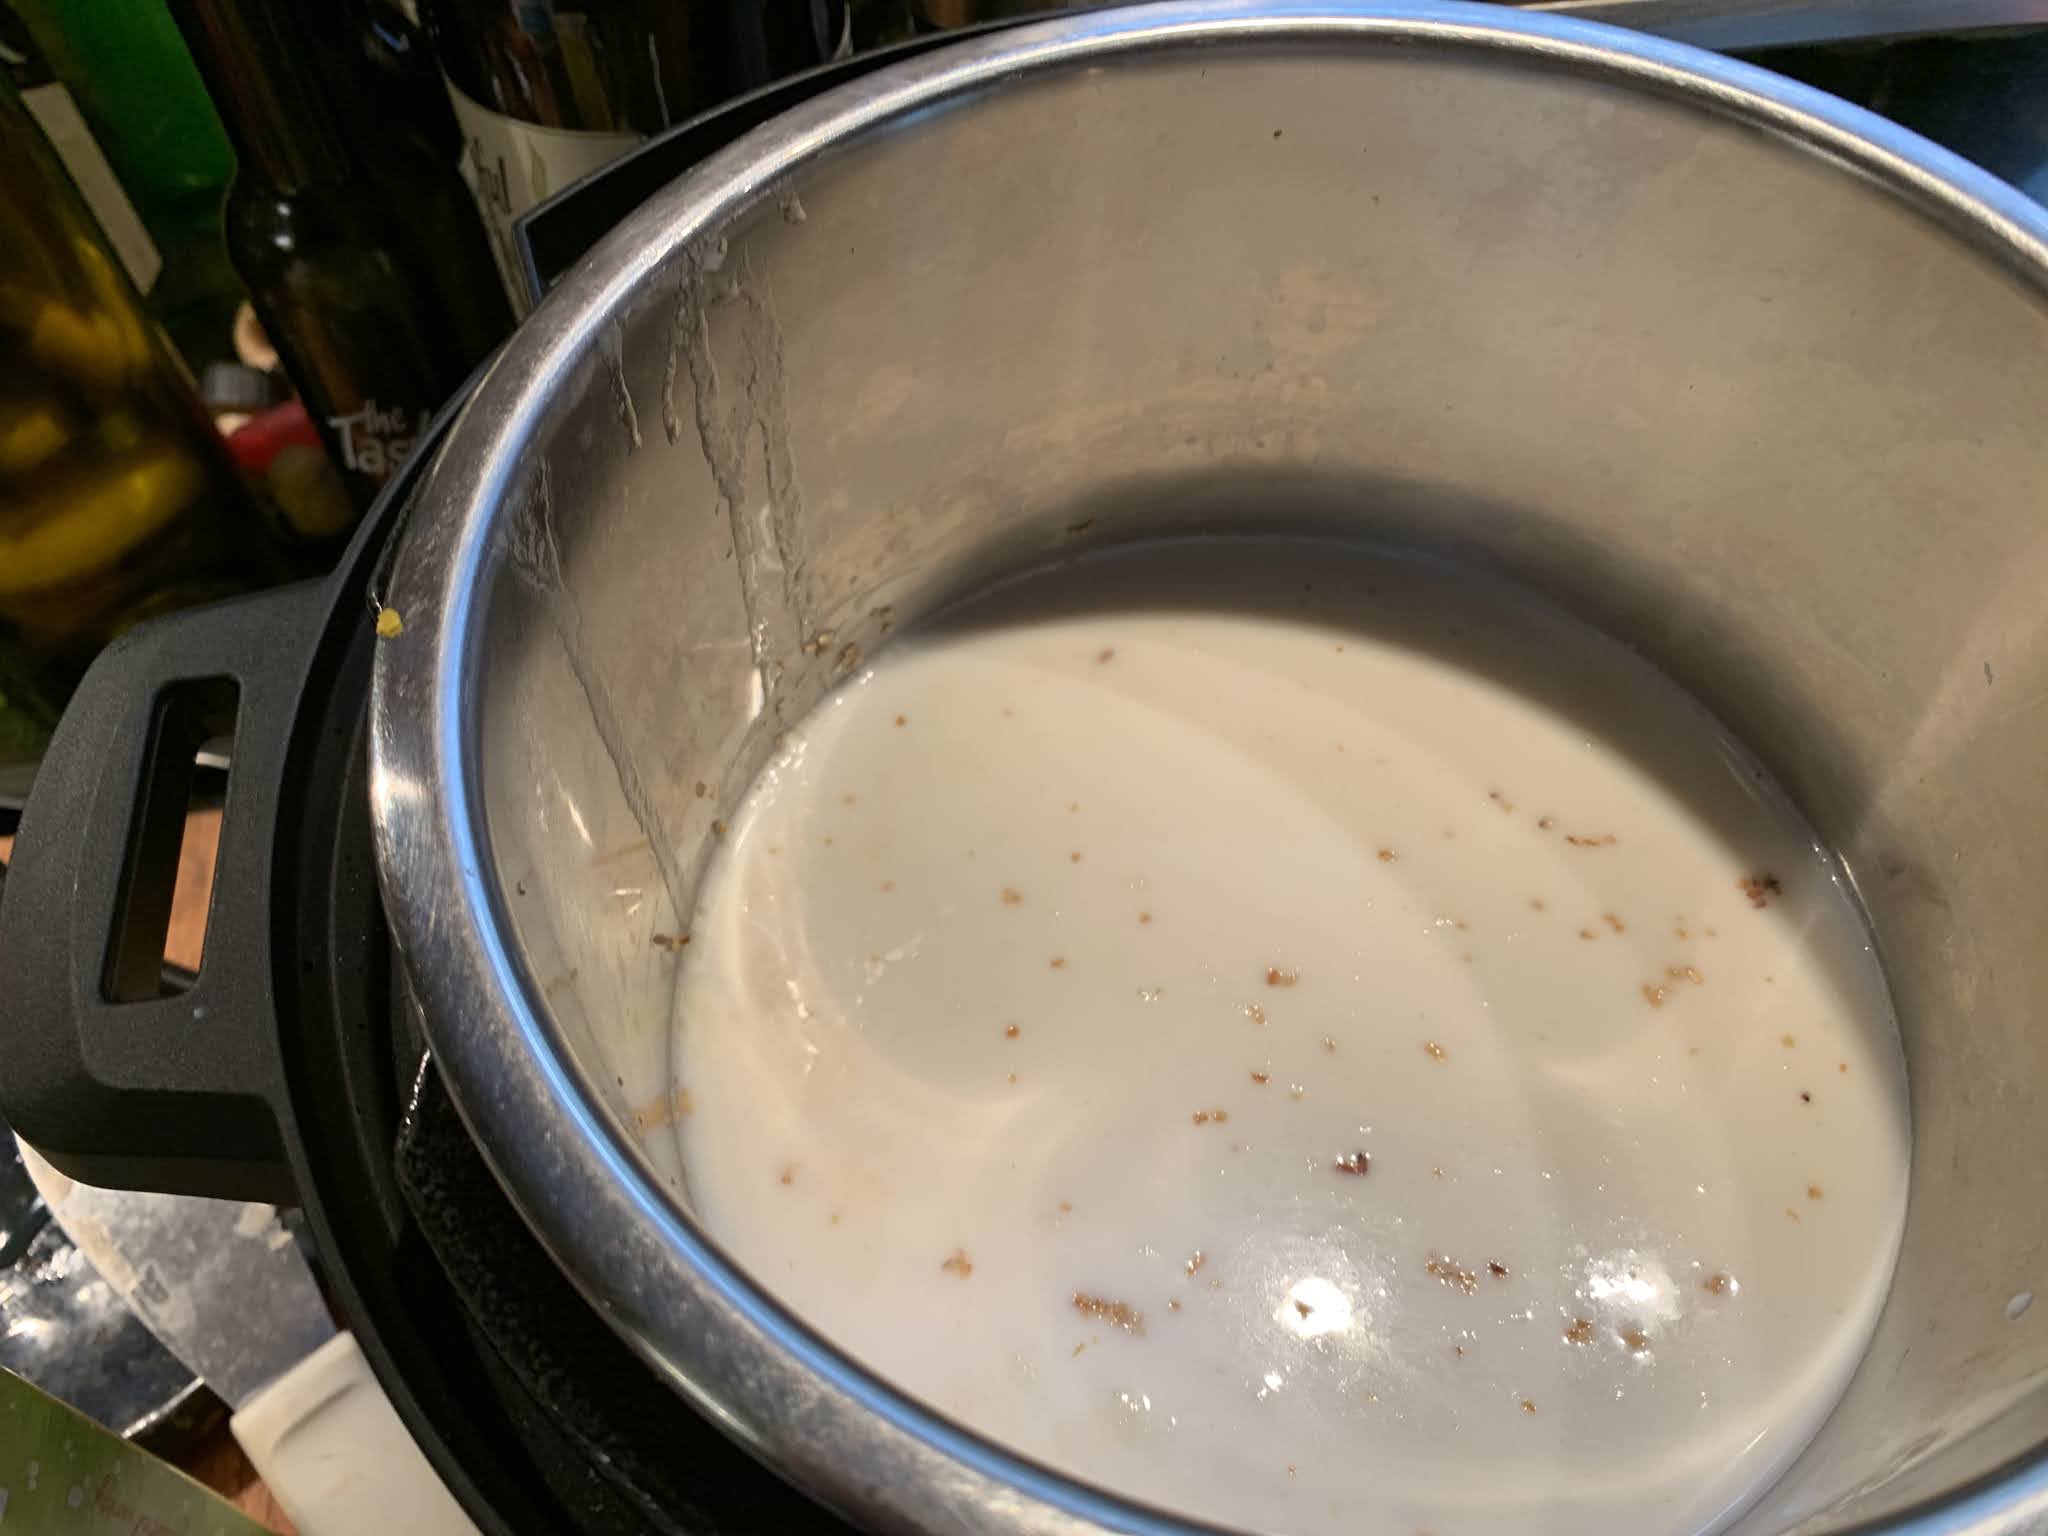
  2. Bring the milk to a simmer on the stove or in the microwave and pour over the ingredients. Stir briefly, then let the mixture cool to lukewarm.
  3. While the mixture is cooling, weigh your flour; or measure it by gently spooning it into a cup, then sweeping off any excess.
  4. When cooled, whisk in the eggs, yeast, and vanilla. Whisk about 1 cup of the all-purpose flour with the potato flour (or potato flakes) and stir into the wet ingredients. Add the remaining flour, mixing to form a soft dough.
  5. Knead the dough for 8 to 10 minutes, until shiny and smooth. Cover the dough and let it rise for 1 hour, then refrigerate it for at least 1 hour, and as long as overnight.
  6. To make the filling: Put the nuts, sugar, flour or Instant ClearJel, salt, and cinnamon in the bowl of a food processor or blender. Process in short bursts to grind the nuts.
  7. With the food processor running, add the eggs, milk, maple syrup, and vanilla. Add the orange zest and pulse to incorporate.
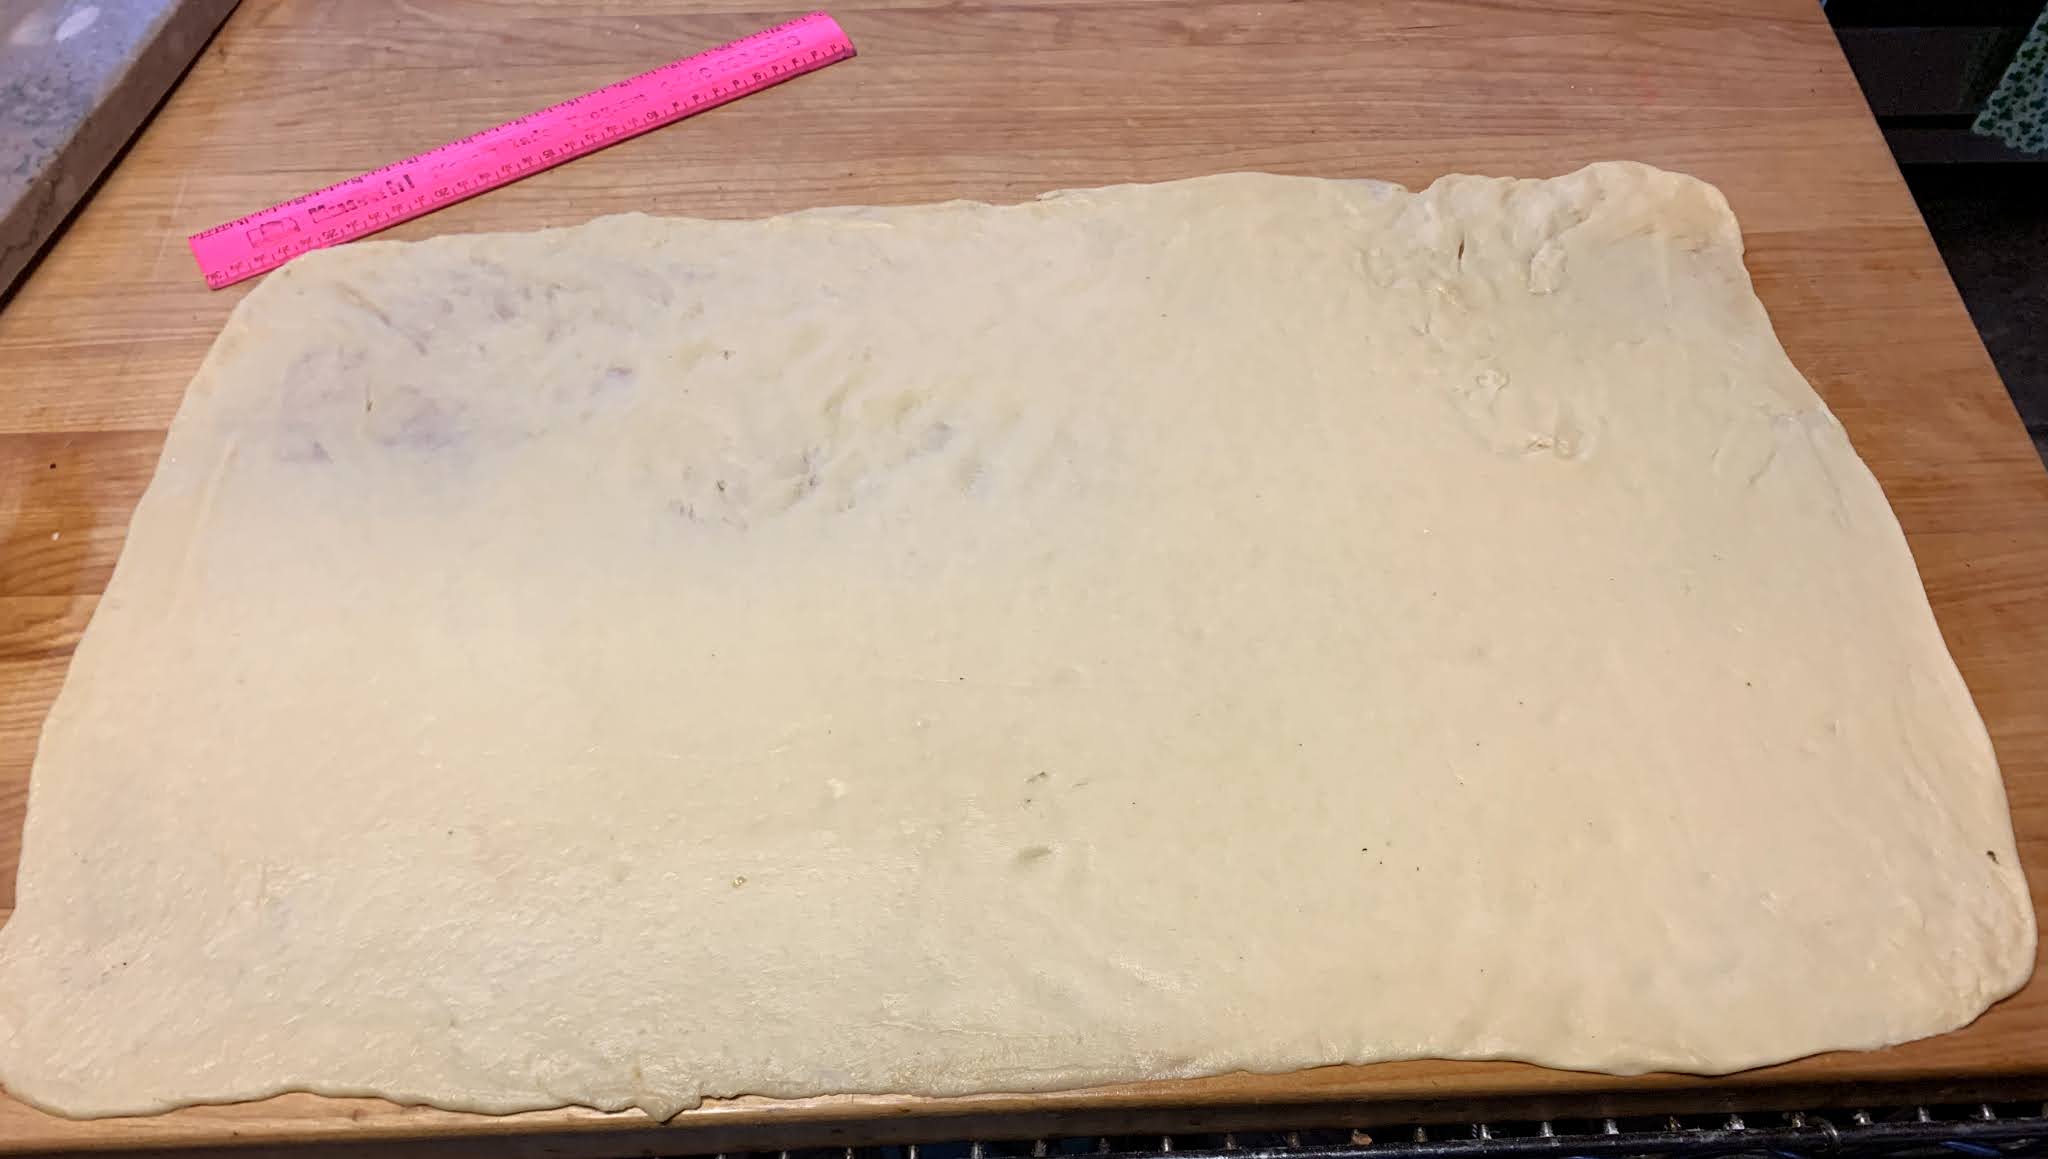
  8. To assemble: On a greased work surface, roll the dough into a 26" x 18" rectangle, with a long side facing you. 
  9. Spread the filling evenly over the surface, leaving 1" of one long edge uncovered.
    Barry is using a offset spatula to spread the filling.
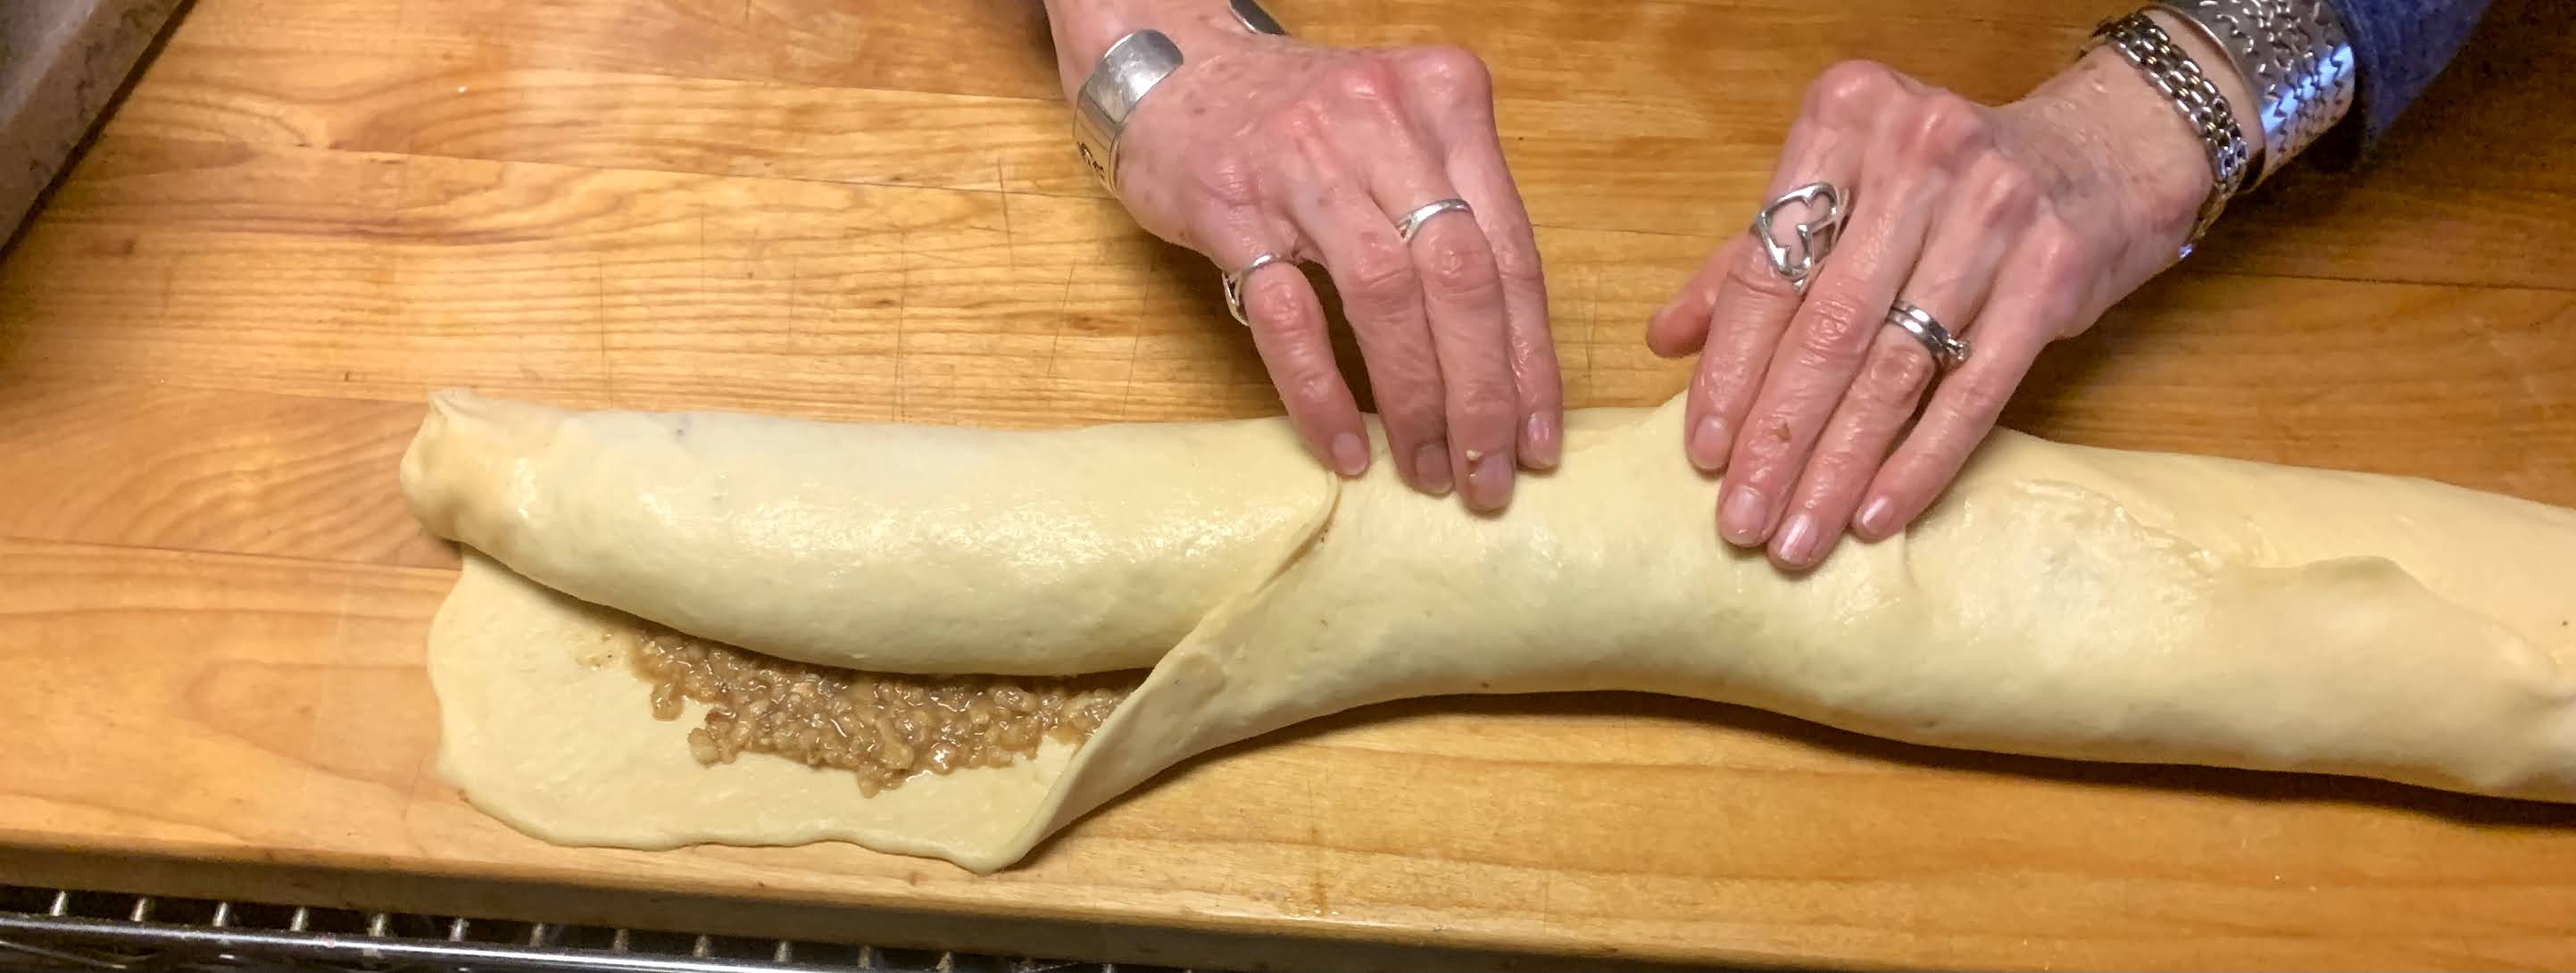
  10. Roll the dough toward the uncovered edge, pinching to seal the seam and the ends to enclose the filling.
    I'm using a dough scrapper to assist in the rolling process.
  11. Grease two 8 1/2" x 4 1/2" loaf pans and line with parchment. Cut the rolled-up dough in half, so that you end up with two logs about 13" to 14" long.
  12. Working with one piece at a time, bring the ends of the log together to make a ring shape, pinching and sealing the spot where they meet to enclose the filling. Flatten the ring gently (it'll shape itself into a 6 1/2" to 7" oblong). 
  13. Settle the ring into the bottom of the pan with its two sides next to one another (not on top of each other), and the original long seam facing down. Press the ring gently to spread it over the bottom and into the corners of the pan.  
  14. Repeat with the second piece of dough and the second pan.
  15. Cover the loaves and let them rise until puffy, up to 1 1/2 hours. Toward the end of the rise time, preheat the oven to 350°F.
  16. When the loaves have risen, brush the tops with the beaten egg and sprinkle with the finely chopped nuts.
  17. Bake the loaves for 50 to 55 minutes. Check the tops after 20 minutes, tenting with foil if necessary to keep them from over-browning. The breads are done when the centers read 190°F when measured with a digital thermometer.
  18. Remove from the oven and let cool in the pans on a rack for 20 minutes before tipping out of the pans and returning to the rack to finish cooling completely. Store bread, well wrapped, on the counter for up to three days; freeze for longer storage.


The first cuts from the bread did not have as defined a pattern as those cut from the center that are displayed above 

Recipe without photos . . .Potica  Yield: 2 loaves   PREP - 50 mins / BAKE - 50 to 55 mins / TOTAL 4 hrs 10 mins

INGREDIENTS

Dough

4 tablespoons (57g) unsalted butter, softened

1/4 cup (50g) granulated sugar

1 teaspoon (6g) salt

3/4 cup (170g) milk

2 large eggs

2 1/2 teaspoons instant yeast or active dry yeast

2 teaspoons vanilla extract

3 cups (361g) King Arthur Unbleached All-Purpose Flour

1/4 c 1/2 cup (46g) dried potato flakes

Filling

4 1/2 cups (510g) chopped walnuts or pecans3/4 cup (149g) sugar

2 tablespoons (15g) King Arthur Unbleached All-Purpose Flour

1/4 teaspoon table salt

2 teaspoons ground cinnamon

3 large eggs

1/4 cup (57g) milk

1/4 cup (78g) maple syrup

1 teaspoon vanilla extract

2 teaspoons grated orange rind (zest), optional

Topping

1 large egg, beaten with 2 tablespoons water

1/4 cup (28g) finely chopped walnuts or pecans


INSTRUCTIONS

  1. To make the dough: Place the butter, sugar, and salt in a large mixing bowl. 
  2. Bring the milk to a simmer on the stove or in the microwave and pour over the ingredients. Stir briefly, then let the mixture cool to lukewarm.
  3. While the mixture is cooling, weigh your flour; or measure it by gently spooning it into a cup, then sweeping off any excess.
  4. When cooled, whisk in the eggs, yeast, and vanilla. Whisk about 1 cup of the all-purpose flour with the potato flour (or potato flakes) and stir into the wet ingredients. Add the remaining flour, mixing to form a soft dough.
  5. Knead the dough for 8 to 10 minutes, until shiny and smooth. Cover the dough and let it rise for 1 hour, then refrigerate it for at least 1 hour, and as long as overnight.
  6. To make the filling: Put the nuts, sugar, flour or Instant ClearJel, salt, and cinnamon in the bowl of a food processor or blender. Process in short bursts to grind the nuts.
  7. With the food processor running, add the eggs, milk, maple syrup, and vanilla. Add the orange zest and pulse to incorporate.
  8. To assemble: On a greased work surface, roll the dough into a 26" x 18" rectangle, with a long side facing you. 
  9. Spread the filling evenly over the surface, leaving 1" of one long edge uncovered.
  10. Roll the dough toward the uncovered edge, pinching to seal the seam and the ends to enclose the filling.
  11. Grease two 8 1/2" x 4 1/2" loaf pans and line with parchment. Cut the rolled-up dough in half, so that you end up with two logs about 13" to 14" long.
  12. Working with one piece at a time, bring the ends of the log together to make a ring shape, pinching and sealing the spot where they meet to enclose the filling. Flatten the ring gently (it'll shape itself into a 6 1/2" to 7" oblong). 
  13. Settle the ring into the bottom of the pan with its two sides next to one another (not on top of each other), and the original long seam facing down. Press the ring gently to spread it over the bottom and into the corners of the pan.  
  14. Repeat with the second piece of dough and the second pan.
  15. Cover the loaves and let them rise until puffy, up to 1 1/2 hours. Toward the end of the rise time, preheat the oven to 350°F.
  16. When the loaves have risen, brush the tops with the beaten egg and sprinkle with the finely chopped nuts.
  17. Bake the loaves for 50 to 55 minutes. Check the tops after 20 minutes, tenting with foil if necessary to keep them from over-browning. The breads are done when the centers read 190°F when measured with a digital thermometer.
  18. Remove from the oven and let cool in the pans on a rack for 20 minutes before tipping out of the pans and returning to the rack to finish cooling completely. Store bread, well wrapped, on the counter for up to three days; freeze for longer storage.