I first tasted Bierocks when a student teacher brought them for our lunch break at Abilene High School. I was sold! Over the years, I've adapted that original recipe just slightly. Bierocks have been the inspiration for many cooking classes and our a part of our fall menu . . . or anytime menu. We generally serve them with German Potato Salad and Cucumber & Onion Salad with Apple Crisp for dessert. (Apple Crisp made from Apple Pie Filling & Crumb Topping recipes.)
Bierocks
Filling Enough filling for about 2 to 3 dozen medium to large bierocks
1 large onion, finely chopped + a little oil for sautéing
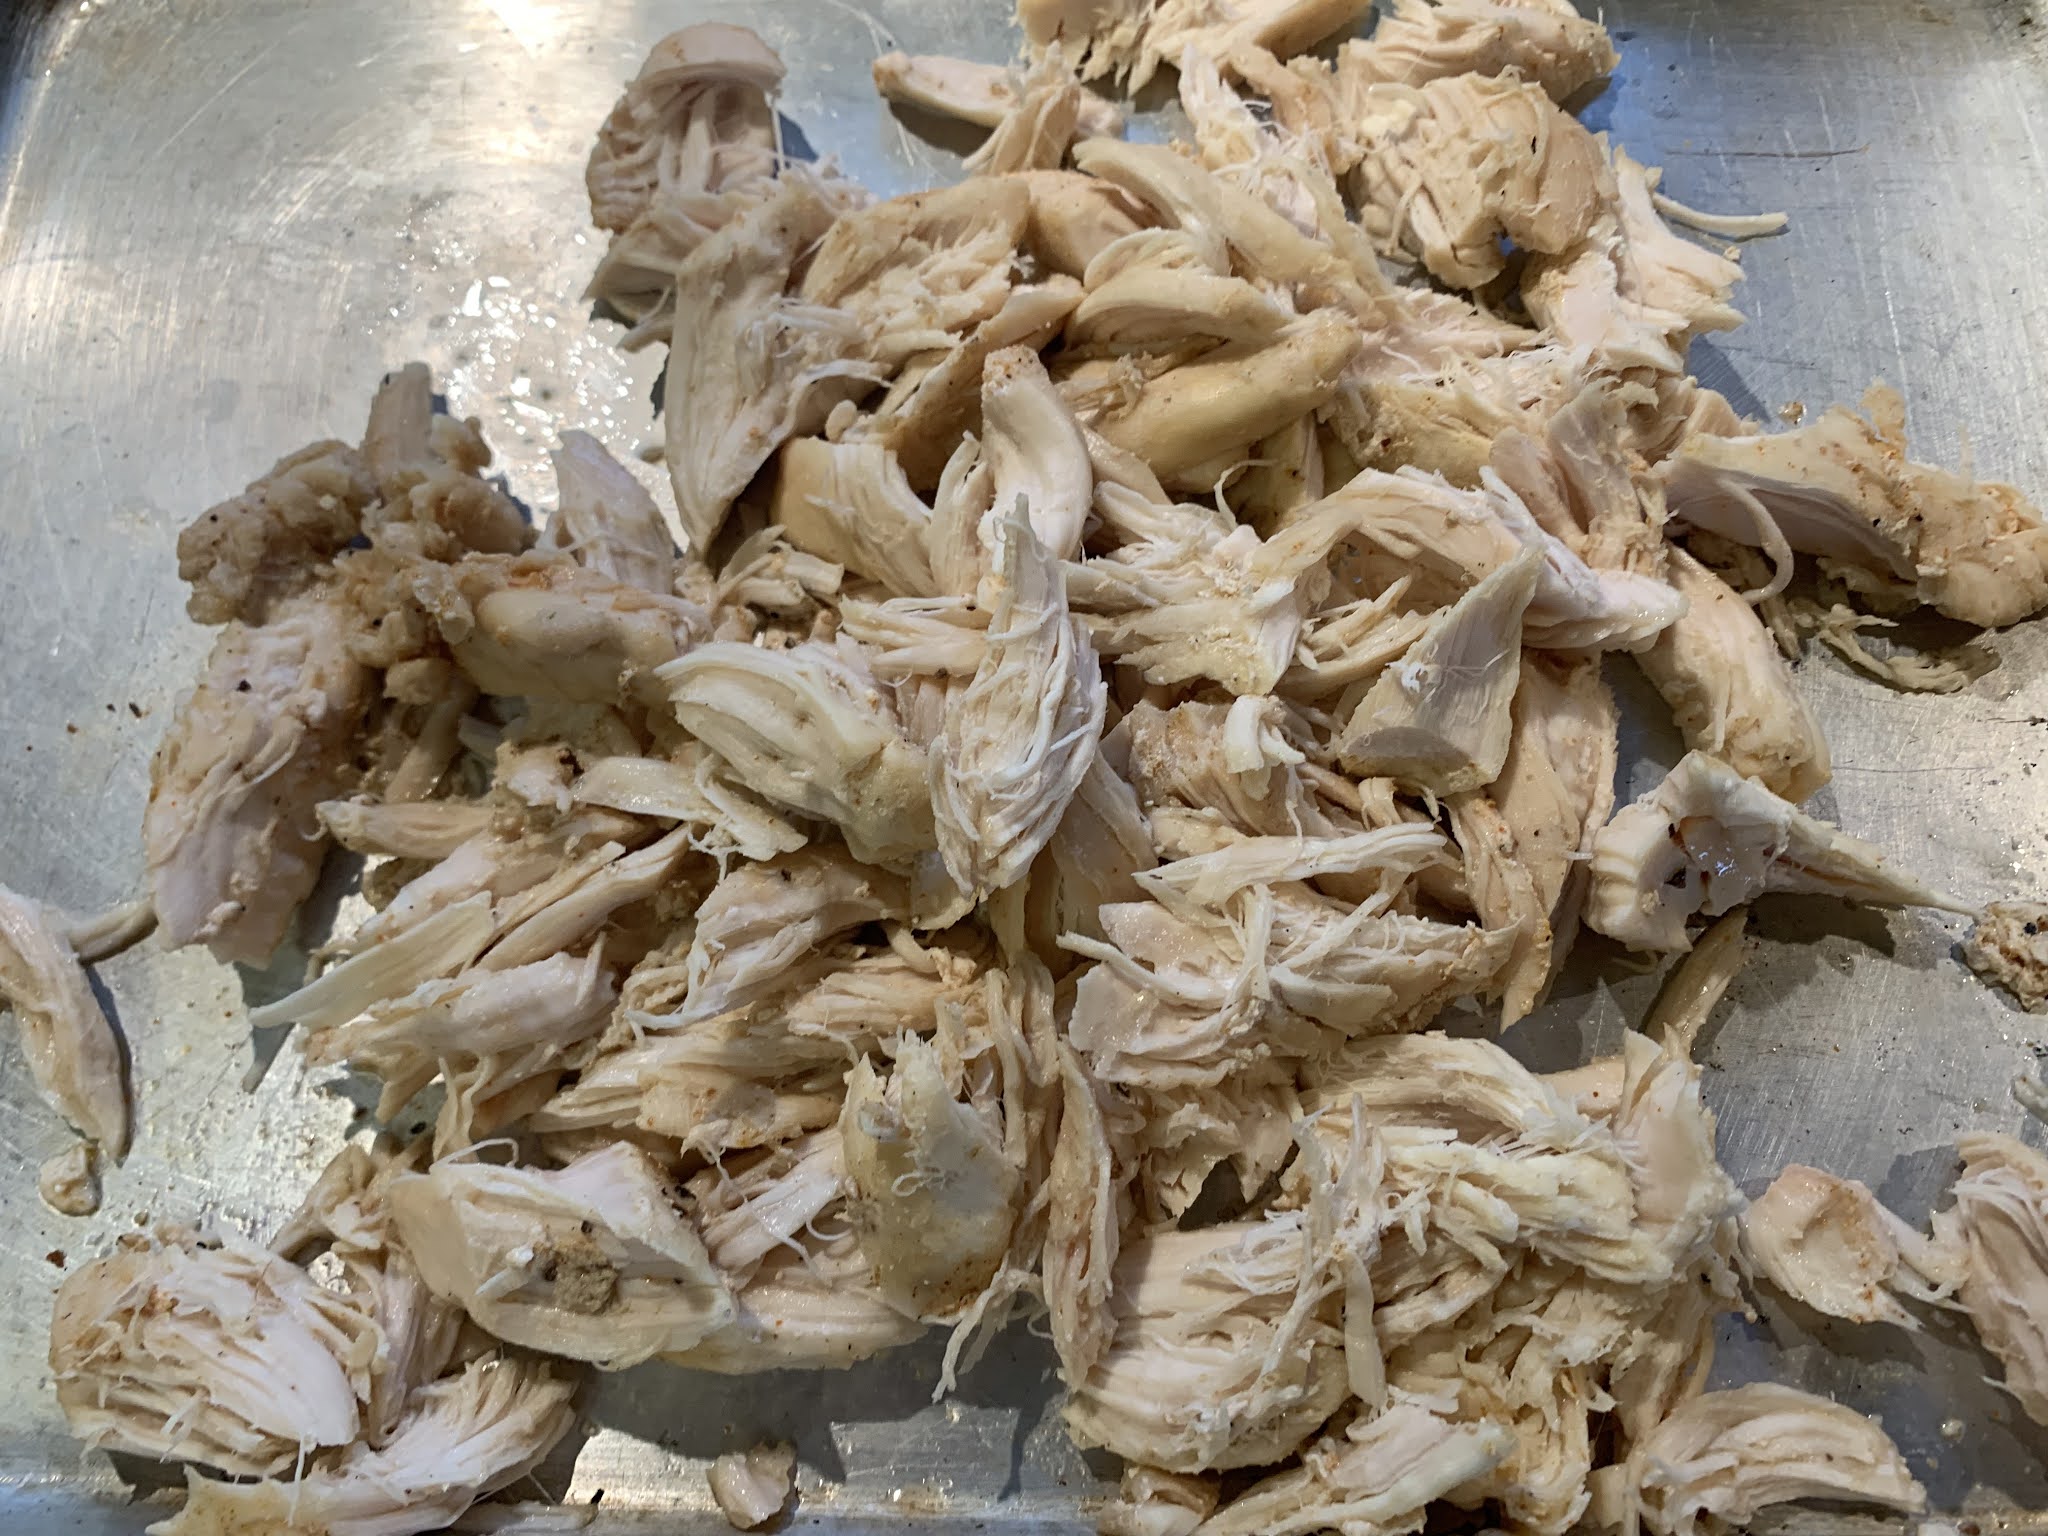
3 1/2 to 4 pounds lean ground beef
1 head cabbage, finely chopped (cabbage size varies but
our general guide is: allow 3 to 5 cups per 1 lb. meat)
1 tablespoon salt (approximately)
Pepper to taste
1 can of sauerkraut, drained (regular size or large can
depending on your preference), optional
Flour - enough to slightly thicken mixture (2 to 4 T.)
-------------------------------------
1 batch roll dough (recipe follows or use your
favorite bread dough recipe)
- Sauté onion in skillet in a little oil. Add meat and cook thorough; drain excess fat (should not be necessary if lean meat is used). Add chopped cabbage, salt and pepper.
- Cover skillet with a lid and steam until cabbage is tender. Add sauerkraut, if desired. Mix in just enough flour to thicken and to create a cohesive mixture.
This is a variable recipe that can be adjusted to your own taste. Also, ingredients can be varied: use part sausage rather than all ground beef; add grated carrots or potatoes, or chopped green pepper along with the cabbage; mix in grated cheese, ketchup and mustard or add a teaspoon of two of other seasonings of your choice; add a small cube of cream cheese to the mixture as you form the bierocks, etc. I've also left out the meat and made vegetarian bierocks for friends.
Rapidmix Cool Rise Roll Dough Makes about 2 to 3 dozen bierocks or shape into 2 1/2 to 3 dozen dinner rolls. ---adapted from Fleischmann’s Bake-it-easy Yeast Book, 1973 as printed in The Kirby House Cookbook, Meta Newell West, Nov. 2001.
5 to 6 cups all-purpose flour, unsifted
2 packages (1/4 oz.) or scant 2 tablespoons yeast (active dry instant)
1/2 cup granulated sugar
1 1/2 teaspoons salt
1/2 cup butter (1 stick), cut into pieces
1 1/2 cups hot water (120° to 130°)
2 large eggs
Cooking oil
- Combine 2 cups flour, undissolved yeast, sugar and salt in large bowl. Stir well to blend. Add butter. Add hot water. Beat with electric mixer at medium speed for 2 minutes. Scrape bowl occasionally. Add eggs and 2 cups more flour. Beat with electric mixer at high speed for 2 minutes or until thick and elastic. Gradually stir in just enough of remaining flour with wooden spoon (or dough hook of mixer) to make a soft dough which leaves sides of bowl. (Dough should be very soft and pliable without being sticky; too much flour will yield a tough dough that is hard to form and resists sealing when formed into a bierock.)
- Turn out onto floured board and knead 5 to 10 minutes or until dough is smooth and elastic (or continue process in mixing bowl, using a dough hook, if preferred). Place dough in a greased bowl (or extra large plastic resealable bag), turning to grease top.
- Cover; let rise in warm place, free from drafts until doubled in size, about 30 minutes. Dough may be used now or placed in refrigerator (make sure surface is well oiled and covered loosely with plastic wrap. Refrigerate 2 to 24 hours. When ready to use, remove from refrigerator and let stand 10 to 15 minutes and proceed with recipe directions.
TO ASSEMBLE BIEROCKS:
- Uncover dough; punch down.
- Pinch or cut off dough balls about the size of a small orange (about 1/4 to 1/3 cup dough) and roll flat — we prefer a thin layer of dough, about 1/8” thickness. Be sure that the edges are very thin to avoid a large “wad” of dough at the closing point. Although I use a rolling pin, I also use my fingers to achieve the desired 1/8” thickness – my final round usually measures about 6 to 7” in diameter.
- Put between 1/4 to 1/3 cup of the beef filling in the center and bring up all sides together and pinch. Be sure they are pinched and sealed securely to avoid bierocks that leak when baking.
- Place on a sprayed baking sheet (I prefer to line the sheet with a silicon baking sheet or parchment paper) and then lightly flatten with your hand.
- Bake in a preheated oven set at 375° to 400° for 15 to 20 minutes.
Entertaining Ideas:
“Party-size” Bierocks – make mini bierocks and serve as an offering on a buffet along with other bite-size foods.
“Assemble Your Own” Bierock Party – have the bread dough made & portioned; portion the meat filling too. Cover and refrigerate both until right before guests arrive. Gather guests in the kitchen to roll and assemble their own bierocks. Line baking sheets with parchment paper and have markers available so everyone can label the bierocks they have made.
To reheat frozen bierocks:
Microwave – Place 1 frozen (or slightly thawed) bierock in microwave & heat on high for approximately 1 1/2 minutes; check & continue to heat only if needed.
Oven – Place frozen (or slightly thawed) bierocks on a cookie sheet, cover with foil and heat @ 350° for approximately 20 to 30 minutes or until heated through.
Stove Top or Electric Skillet – Place slightly thawed bierock in skillet on low. Warm uncovered, adding lid near end of heating process.
------
Recipe without photos . . . Bierocks
Filling Enough filling for about 2 to 3 dozen medium to large bierocks
1 large onion, finely chopped + a little oil for sautéing
3 1/2 to 4 pounds lean ground beef
1 head cabbage, finely chopped (cabbage size varies but
our general guide is: allow 3 to 5 cups per 1 lb. meat)
1 tablespoon salt (approximately)
Pepper to taste
1 can of sauerkraut, drained (regular size or large can
depending on your preference), optional
Flour - enough to slightly thicken mixture (2 to 4 T.)
-------------------------------------
1 batch roll dough (recipe follows or use your
favorite bread dough recipe)
- Sauté onion in skillet in a little oil. Add meat and cook thorough; drain excess fat (should not be necessary if lean meat is used). Add chopped cabbage, salt and pepper.
- Cover skillet with a lid and steam until cabbage is tender. Add sauerkraut, if desired. Mix in just enough flour to thicken and to create a cohesive mixture.
This is a variable recipe that can be adjusted to your own taste. Also, ingredients can be varied: use part sausage rather than all ground beef; add grated carrots or potatoes, or chopped green pepper along with the cabbage; mix in grated cheese, ketchup and mustard or add a teaspoon of two of other seasonings of your choice; add a small cube of cream cheese to the mixture as you form the bierocks, etc. I've also left out the meat and made vegetarian bierocks for friends.
Rapidmix Cool Rise Roll Dough Makes about 2 to 3 dozen bierocks or shape into 2 1/2 to 3 dozen dinner rolls. ---adapted from Fleischmann’s Bake-it-easy Yeast Book, 1973 as printed in The Kirby House Cookbook, Meta Newell West, Nov. 2001.
5 to 6 cups all-purpose flour, unsifted
2 packages (1/4 oz.) or scant 2 tablespoons yeast (active dry instant)
1/2 cup granulated sugar
1 1/2 teaspoons salt
1/2 cup butter (1 stick), cut into pieces
1 1/2 cups hot water (120° to 130°)
2 large eggs
Cooking oil
- Combine 2 cups flour, undissolved yeast, sugar and salt in large bowl. Stir well to blend. Add butter. Add hot water. Beat with electric mixer at medium speed for 2 minutes. Scrape bowl occasionally. Add eggs and 2 cups more flour. Beat with electric mixer at high speed for 2 minutes or until thick and elastic. Gradually stir in just enough of remaining flour with wooden spoon (or dough hook of mixer) to make a soft dough which leaves sides of bowl. (Dough should be very soft and pliable without being sticky; too much flour will yield a tough dough that is hard to form and resists sealing when formed into a bierock.)
- Turn out onto floured board and knead 5 to 10 minutes or until dough is smooth and elastic (or continue process in mixing bowl, using a dough hook, if preferred). Place dough in a greased bowl (or extra large plastic resealable bag), turning to grease top.
- Cover; let rise in warm place, free from drafts until doubled in size, about 30 minutes. Dough may be used now or placed in refrigerator (make sure surface is well oiled and covered loosely with plastic wrap. Refrigerate 2 to 24 hours. When ready to use, remove from refrigerator and let stand 10 to 15 minutes and proceed with recipe directions.
TO ASSEMBLE BIEROCKS:
- Uncover dough; punch down.
- Pinch or cut off dough balls about the size of a small orange (about 1/4 to 1/3 cup dough) and roll flat — we prefer a thin layer of dough, about 1/8” thickness. Be sure that the edges are very thin to avoid a large “wad” of dough at the closing point. Although I use a rolling pin, I also use my fingers to achieve the desired 1/8” thickness – my final round usually measures about 6 to 7” in diameter.
- Put between 14 to 1/3 cup of the beef filling in the center and bring up all sides together and pinch. Be sure they are pinched and sealed securely to avoid bierocks that leak when baking.
- Place on a sprayed baking sheet (I prefer to line the sheet with a silicon baking sheet or parchment paper) and then lightly flatten with your hand.
- Bake in a preheated oven set at 375° to 400° for 15 to 20 minutes.
Entertaining Ideas:
“Party-size” Bierocks – make mini bierocks and serve as an offering on a buffet along with other bite-size foods.
“Assemble Your Own” Bierock Party – have the bread dough made & portioned; portion the meat filling too. Cover and refrigerate both until right before guests arrive. Gather guests in the kitchen to roll and assemble their own bierocks. Line baking sheets with parchment paper and have markers available so everyone can label the bierocks they have made.
To reheat frozen bierocks:
Microwave – Place 1 frozen (or slightly thawed) bierock in microwave & heat on high for approximately 1 1/2 minutes; check & continue to heat only if needed.
Oven – Place frozen (or slightly thawed) bierocks on a cookie sheet, cover with foil and heat @ 350° for approximately 20 to 30 minutes or until heated through.
Stove Top or Electric Skillet – Place slightly thawed bierock in skillet on low. Warm uncovered, adding lid near end of heating process.