
Mmm was the sound that came out of Barry’s mouth after one bite of our latest butternut recipe. I found smaller sized butternut in our winter stash of veggies, and this is how I fixed them . . .
Twice Baked Butternut
Butternut squash
Olive oil, Kosher salt & black pepper
Sour cream
Butter, softened
Fresh thyme leaves or dried
Cheese – Monterey Jack, Parmesan, Cheddar or your preference
- Roasting Squash: Preheat the oven to 375°F. For easy cutting: Using a knife, make several cuts into butternut squash, then microwave for up to 2 1/2 minutes in 1 minute intervals (1 minute for smaller sized). (This technique also makes the squash a lot easier to peel if a recipe calls for a peeled squash.) Cool slightly, then cut the butternut squash in half and scoop out the seeds with a spoon; discard.
- Place both squash halves, flesh side up, in a foil-lined baking pan with sides. Drizzle with olive oil and sprinkle with salt and pepper.
- Turn the squash flesh side down and pour about 2 to 3 tablespoons of water in the bottom of the pan.
- Bake in the oven, uncovered, for about 40 to 45 minutes, until the squash becomes really soft and can easily be pierced with the tip of a sharp knife. Check from time to time—water should eventually completely evaporate allowing the squash to caramelize but not burn. Add a little more water if squash begins to appear dry.

- Squash Mash: Carefully remove cooked squash from shell (leaving enough so shell is sturdy)
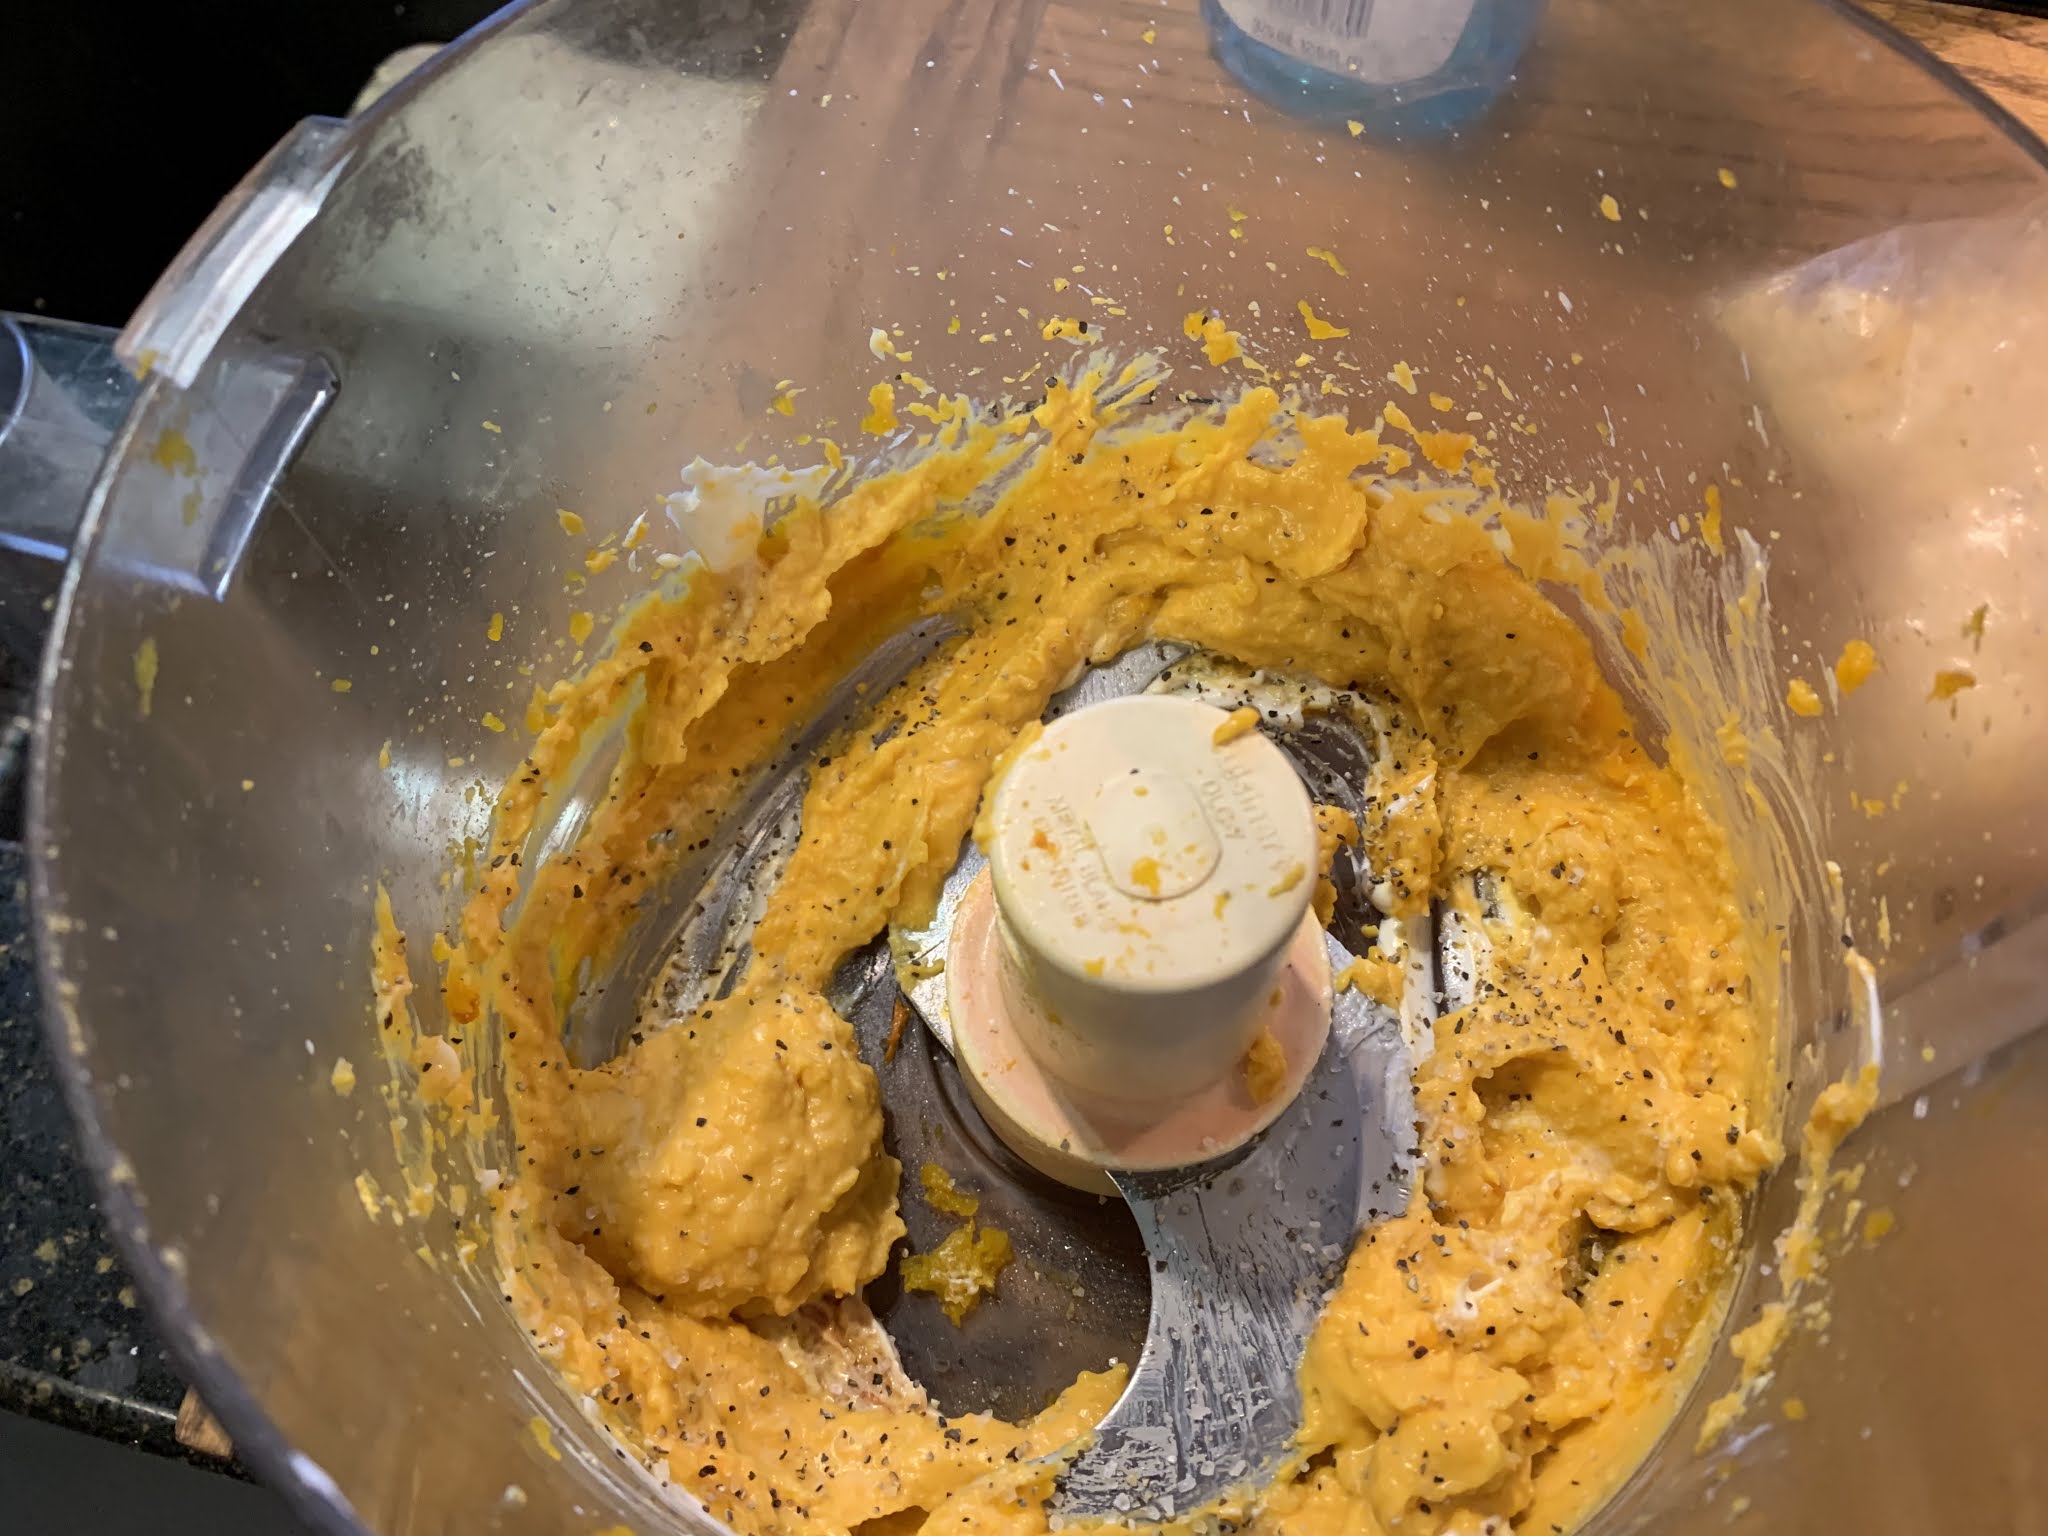
- Add squash to the work bowl of a food processor along with sour cream and butter (amount depends of size of squash – I used about 2-3 Tbsp. of sour cream and 1 Tbsp. of butter for a small squash). Blend ‘til smooth. Taste and adjust sour cream, butter and seasonings as needed.

- Place shells on a parchment or foil lined pan. Add butternut filling back to the shells. Top with thyme leaves and a light topping of the cheese of your choice.

- Place squash in a preheated 400° oven and bake for 10 to 15 minutes or until the mixture is heated through. (Squash can be prepared ahead, refrigerated and then baked — allow extra time for baking if refrigerated)


Recipe without photos . . .
Twice Baked Butternut
Butternut squash
Olive oil, Kosher salt & black pepper
Sour cream
Butter, softened
Fresh thyme leaves or dried
Cheese – Monterey Jack, Parmesan, Cheddar or your preference
- Roasting Squash: Preheat the oven to 375°F. For easy cutting: Using a knife, make several cuts into butternut squash, then microwave for up to 2 1/2 minutes in 1 minute intervals (1 minute for smaller sized). (This technique also makes the squash a lot easier to peel if a recipe calls for a peeled squash.) Cool slightly, then cut the butternut squash in half and scoop out the seeds with a spoon; discard.
- Place both squash halves, flesh side up, in a foil-lined baking pan with sides. Drizzle with olive oil and sprinkle with salt and pepper.
- Turn the squash flesh side down and pour about 2 to 3 tablespoons of water in the bottom of the pan.
- Bake in the oven, uncovered, for about 40 to 45 minutes, until the squash becomes really soft and can easily be pierced with the tip of a sharp knife. Check from time to time—water should eventually completely evaporate allowing the squash to caramelize but not burn. Add a little more water if squash begins to appear dry.
- Squash Mash: Carefully remove cooked squash from shell (leaving enough so shell is sturdy)
- Add squash to the work bowl of a food processor along with sour cream and butter (amount depends of size of squash – I used about 2-3 Tbsp. of sour cream and 1 Tbsp. of butter for a small squash). Blend ‘til smooth. Taste and adjust sour cream, butter and seasonings as needed.
- Place shells on a parchment or foil lined pan. Add butternut filling back to the shells. Top with thyme leaves and a light topping of the cheese of your choice.
- Place squash in a preheated 400° oven and bake for 10 to 15 minutes or until the mixture is heated through. (Squash can be prepared ahead, refrigerated and then baked — allow extra time for baking if refrigerated)

No comments:
Post a Comment