Garden grown spicy jalapeno peppers are stuffed with a rich cheese and bacon-studded filling, and then finished with crispy seasoned panko. Included are make ahead instructions + also explanations on freezing pepper poppers so they can be enjoyed later.

Oven Baked Jalapeño Pepper Poppers Yield: 12 peppers
12 medium (1 lb.) jalapeno peppers, halved
1 (8 oz.) pkg. cream cheese, softened
1/2 cup (4 oz.) shredded Pepper Jack or Monterey Jack cheese
1/2 cup (4 oz.) shredded sharp Cheddar cheese
4 slices bacon, cooked and finely chopped + a extra slice or two for garnishing
2 tablespoons thinly sliced green onions + an extra tablespoon for garnishing
1 teaspoon minced garlic (1 clove)
Salt and black pepper
3/4 cup+ panko bread crumbs
1 tablespoon+ olive oil
- Preheat oven to 400° F. in peppers are to be baked after assembly
- Wearing food grade gloves, remove seeds and ribs from jalapeños. To remove additional heat, soak the pepper in ice cold water for 15 minutes. Dry and proceed . . .
- Transfer peppers cut side up to a parchment lined baking sheet.
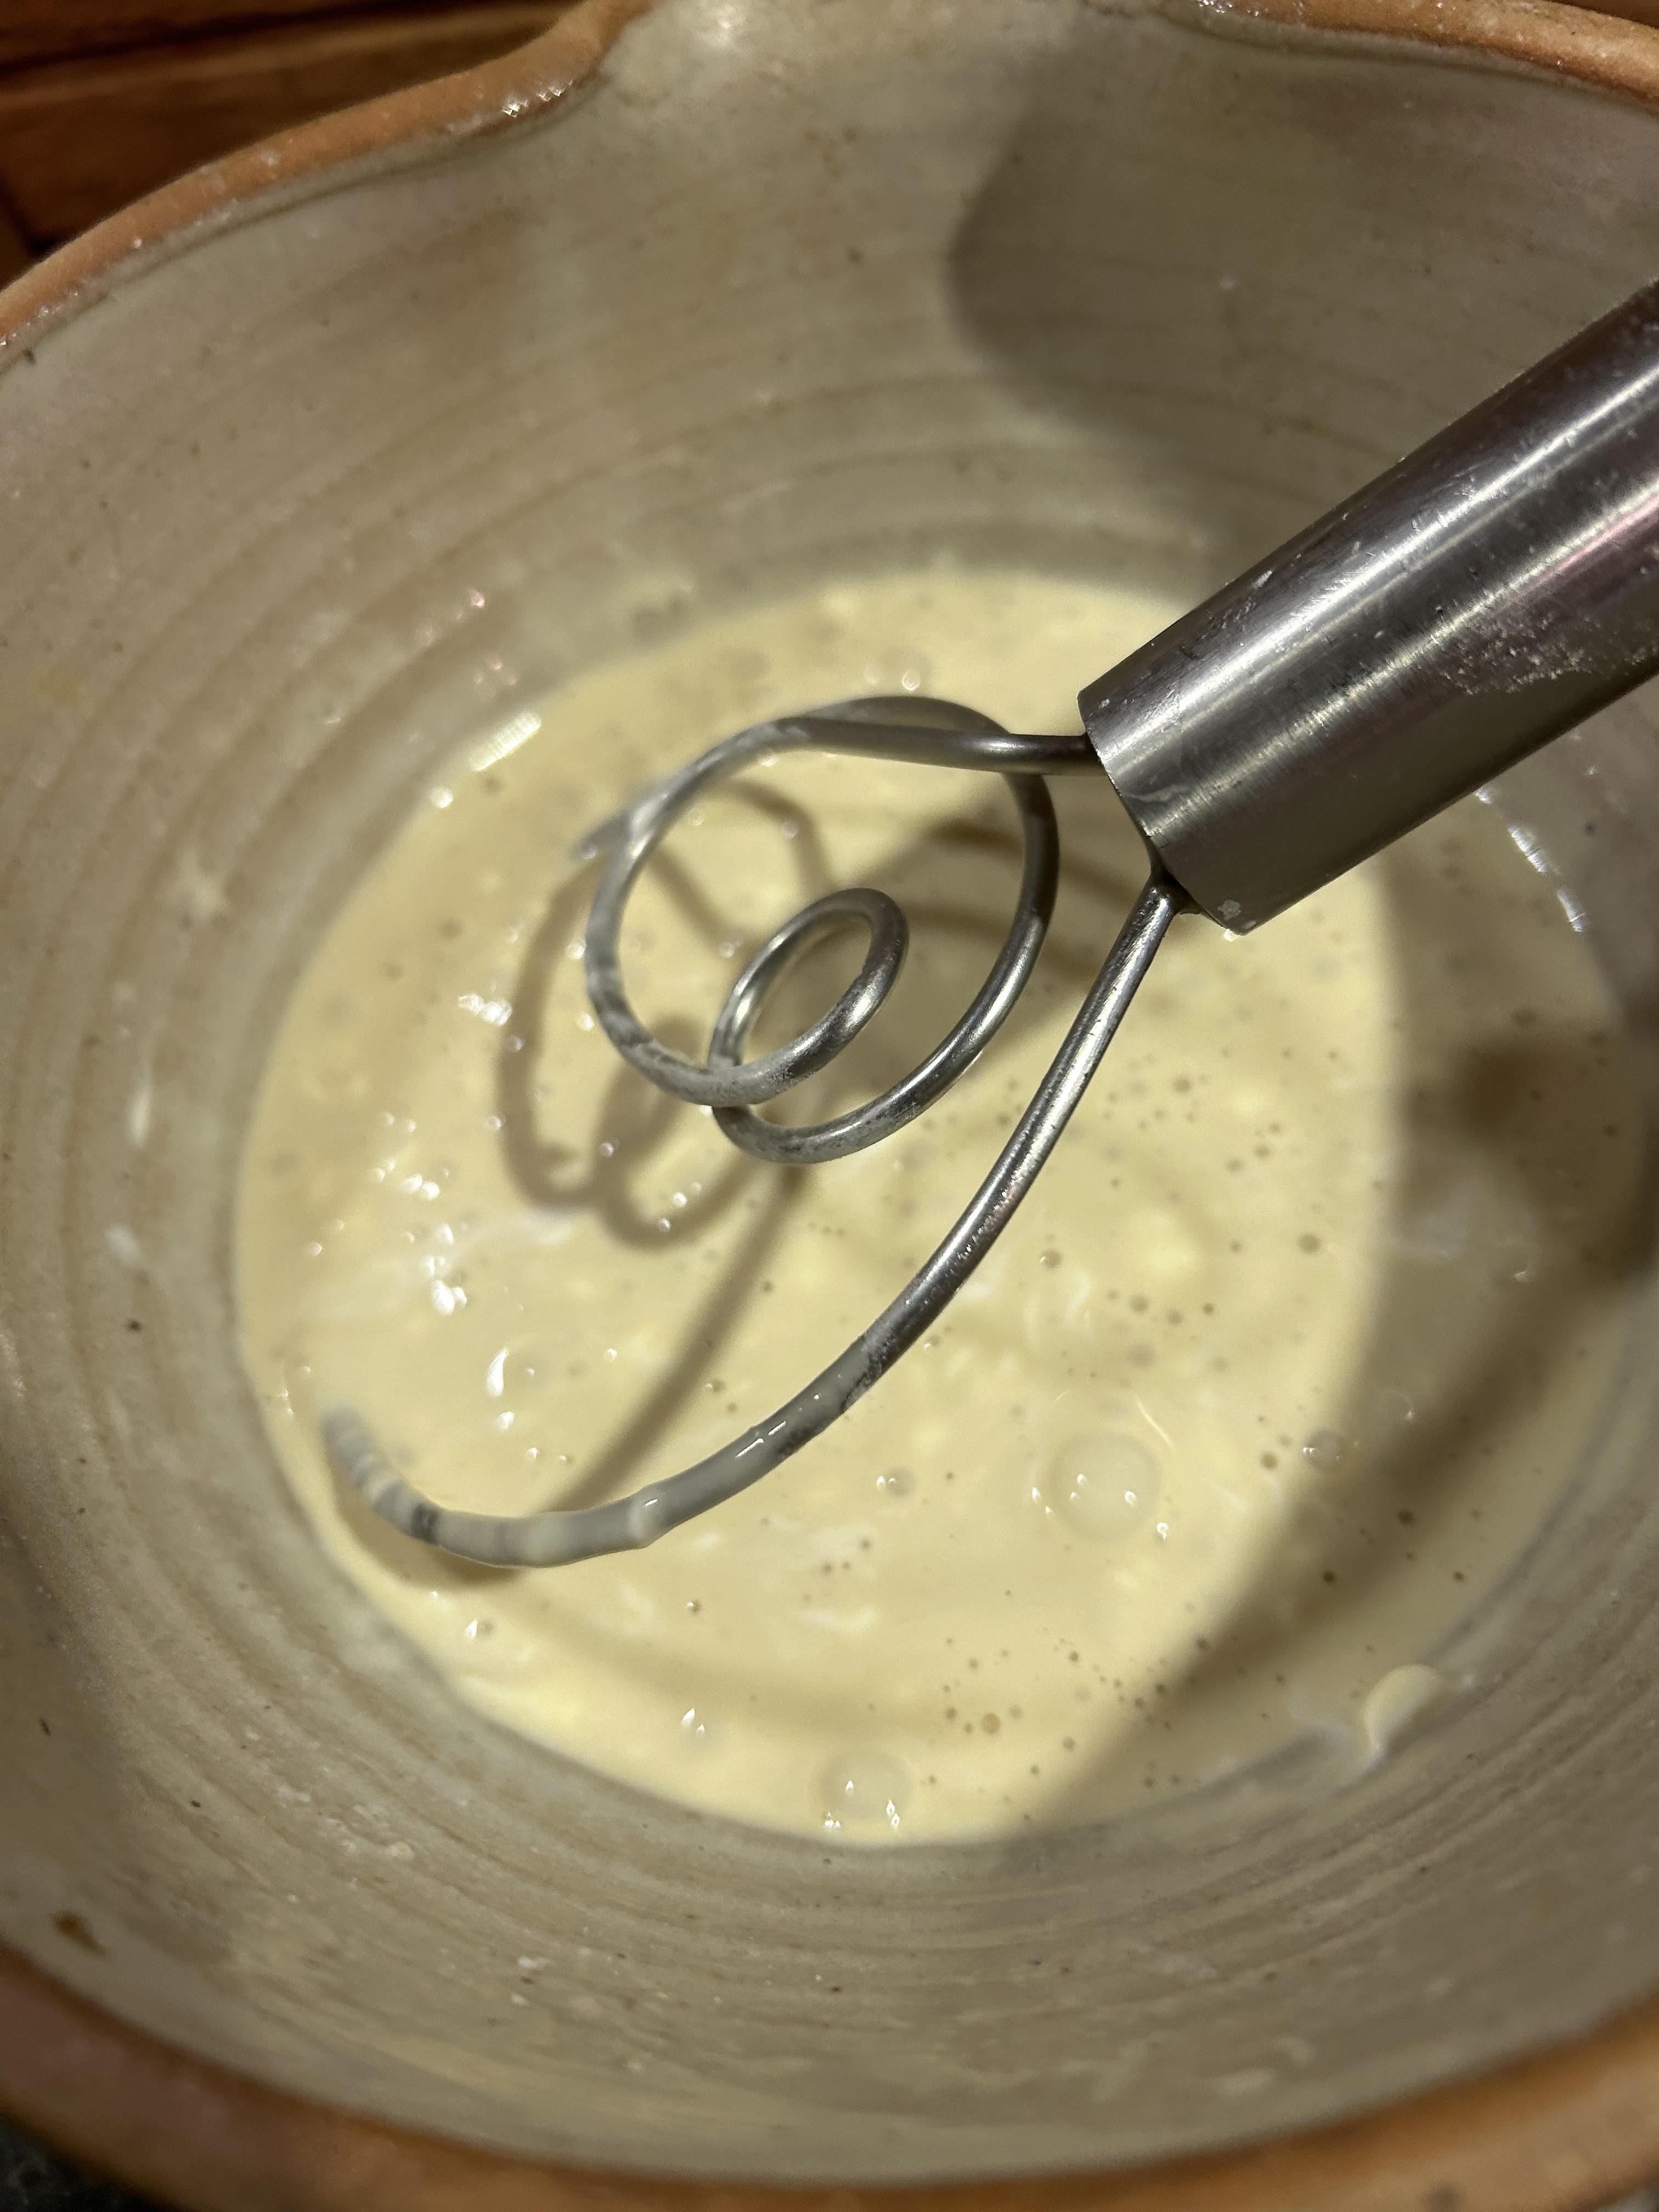
- In a medium mixing bowl add cream cheese, 2 cheeses, bacon, green onions, and garlic; season with salt and pepper to taste. Stir with a spoon until well combined.
- Spoon and spread mixture into each jalapeno halve, it should be just slightly heaping. TO MAKE A DAY AHEAD: Store stuffed peppers in fridge. When ready to bake, proceed with recipe. Increase baking time by about 3 to 5 minutes.
- In a low, flat mixing bowl using a fork stir together panko, salt to taste and olive oil until mixture is evenly coated.
Adding olive oil panko allows the breadcrumbs to brown as the poppers bake. - Dip cheese side of each stuffed pepper into panko – cheese should be evenly covered with panko. Return to baking tray. TO FREEZE & BAKE LATER: Bake unthawed peppers as instructed below but increase time to 20 to 25 minutes.
- Bake in preheated oven until peppers are tender and cheese is melted, about 14 to 18 minutes.
- If desired, garnish baked peppers with extra finely chopped bacon and green onions.


Recipe without photos . . . Oven Baked Jalapeño Pepper Poppers Yield: 12 peppers
12 medium (1 lb.) jalapeno peppers, halved
1 (8 oz.) pkg. cream cheese, softened
1/2 cup (4 oz.) shredded Pepper Jack or Monterey Jack cheese
1/2 cup (4 oz.) shredded sharp Cheddar cheese
4 slices bacon, cooked and finely chopped + a extra slice or two for garnishing
2 tablespoons thinly sliced green onions + an extra tablespoon for garnishing
1 teaspoon minced garlic (1 clove)
Salt and black pepper
3/4 cup+ panko bread crumbs
1 tablespoon+ olive oil
- Preheat oven to 400° F. in peppers are to be baked after assembly
- Wearing food grade gloves, remove seeds and ribs from jalapeños. To remove additional heat, soak the pepper in ice cold water for 15 minutes. Dry and proceed . . .
- Transfer peppers cut side up to a parchment lined baking sheet.
- In a medium mixing bowl add cream cheese, 2 cheeses, bacon, green onions, and garlic; season with salt and pepper to taste. Stir with a spoon until well combined.
- Spoon and spread mixture into each jalapeno halve, it should be just slightly heaping. TO MAKE A DAY AHEAD: Store stuffed peppers in fridge. When ready to bake, proceed with recipe. Increase baking time by about 3 to 5 minutes.
- In a low, flat mixing bowl using a fork stir together panko, salt to taste and olive oil until mixture is evenly coated.
- Dip cheese side of each stuffed pepper into panko – cheese should be evenly covered with panko. Return to baking tray. TO FREEZE & BAKE LATER: Bake unthawed peppers as instructed below but increase time to 20 to 25 minutes.
- Bake in preheated oven until peppers are tender and cheese is melted, about 14 to 18 minutes.
- If desired, garnish baked peppers with extra finely chopped bacon and green onions.