Twice Baked Butternut – Mmm mmm good!


Mmm
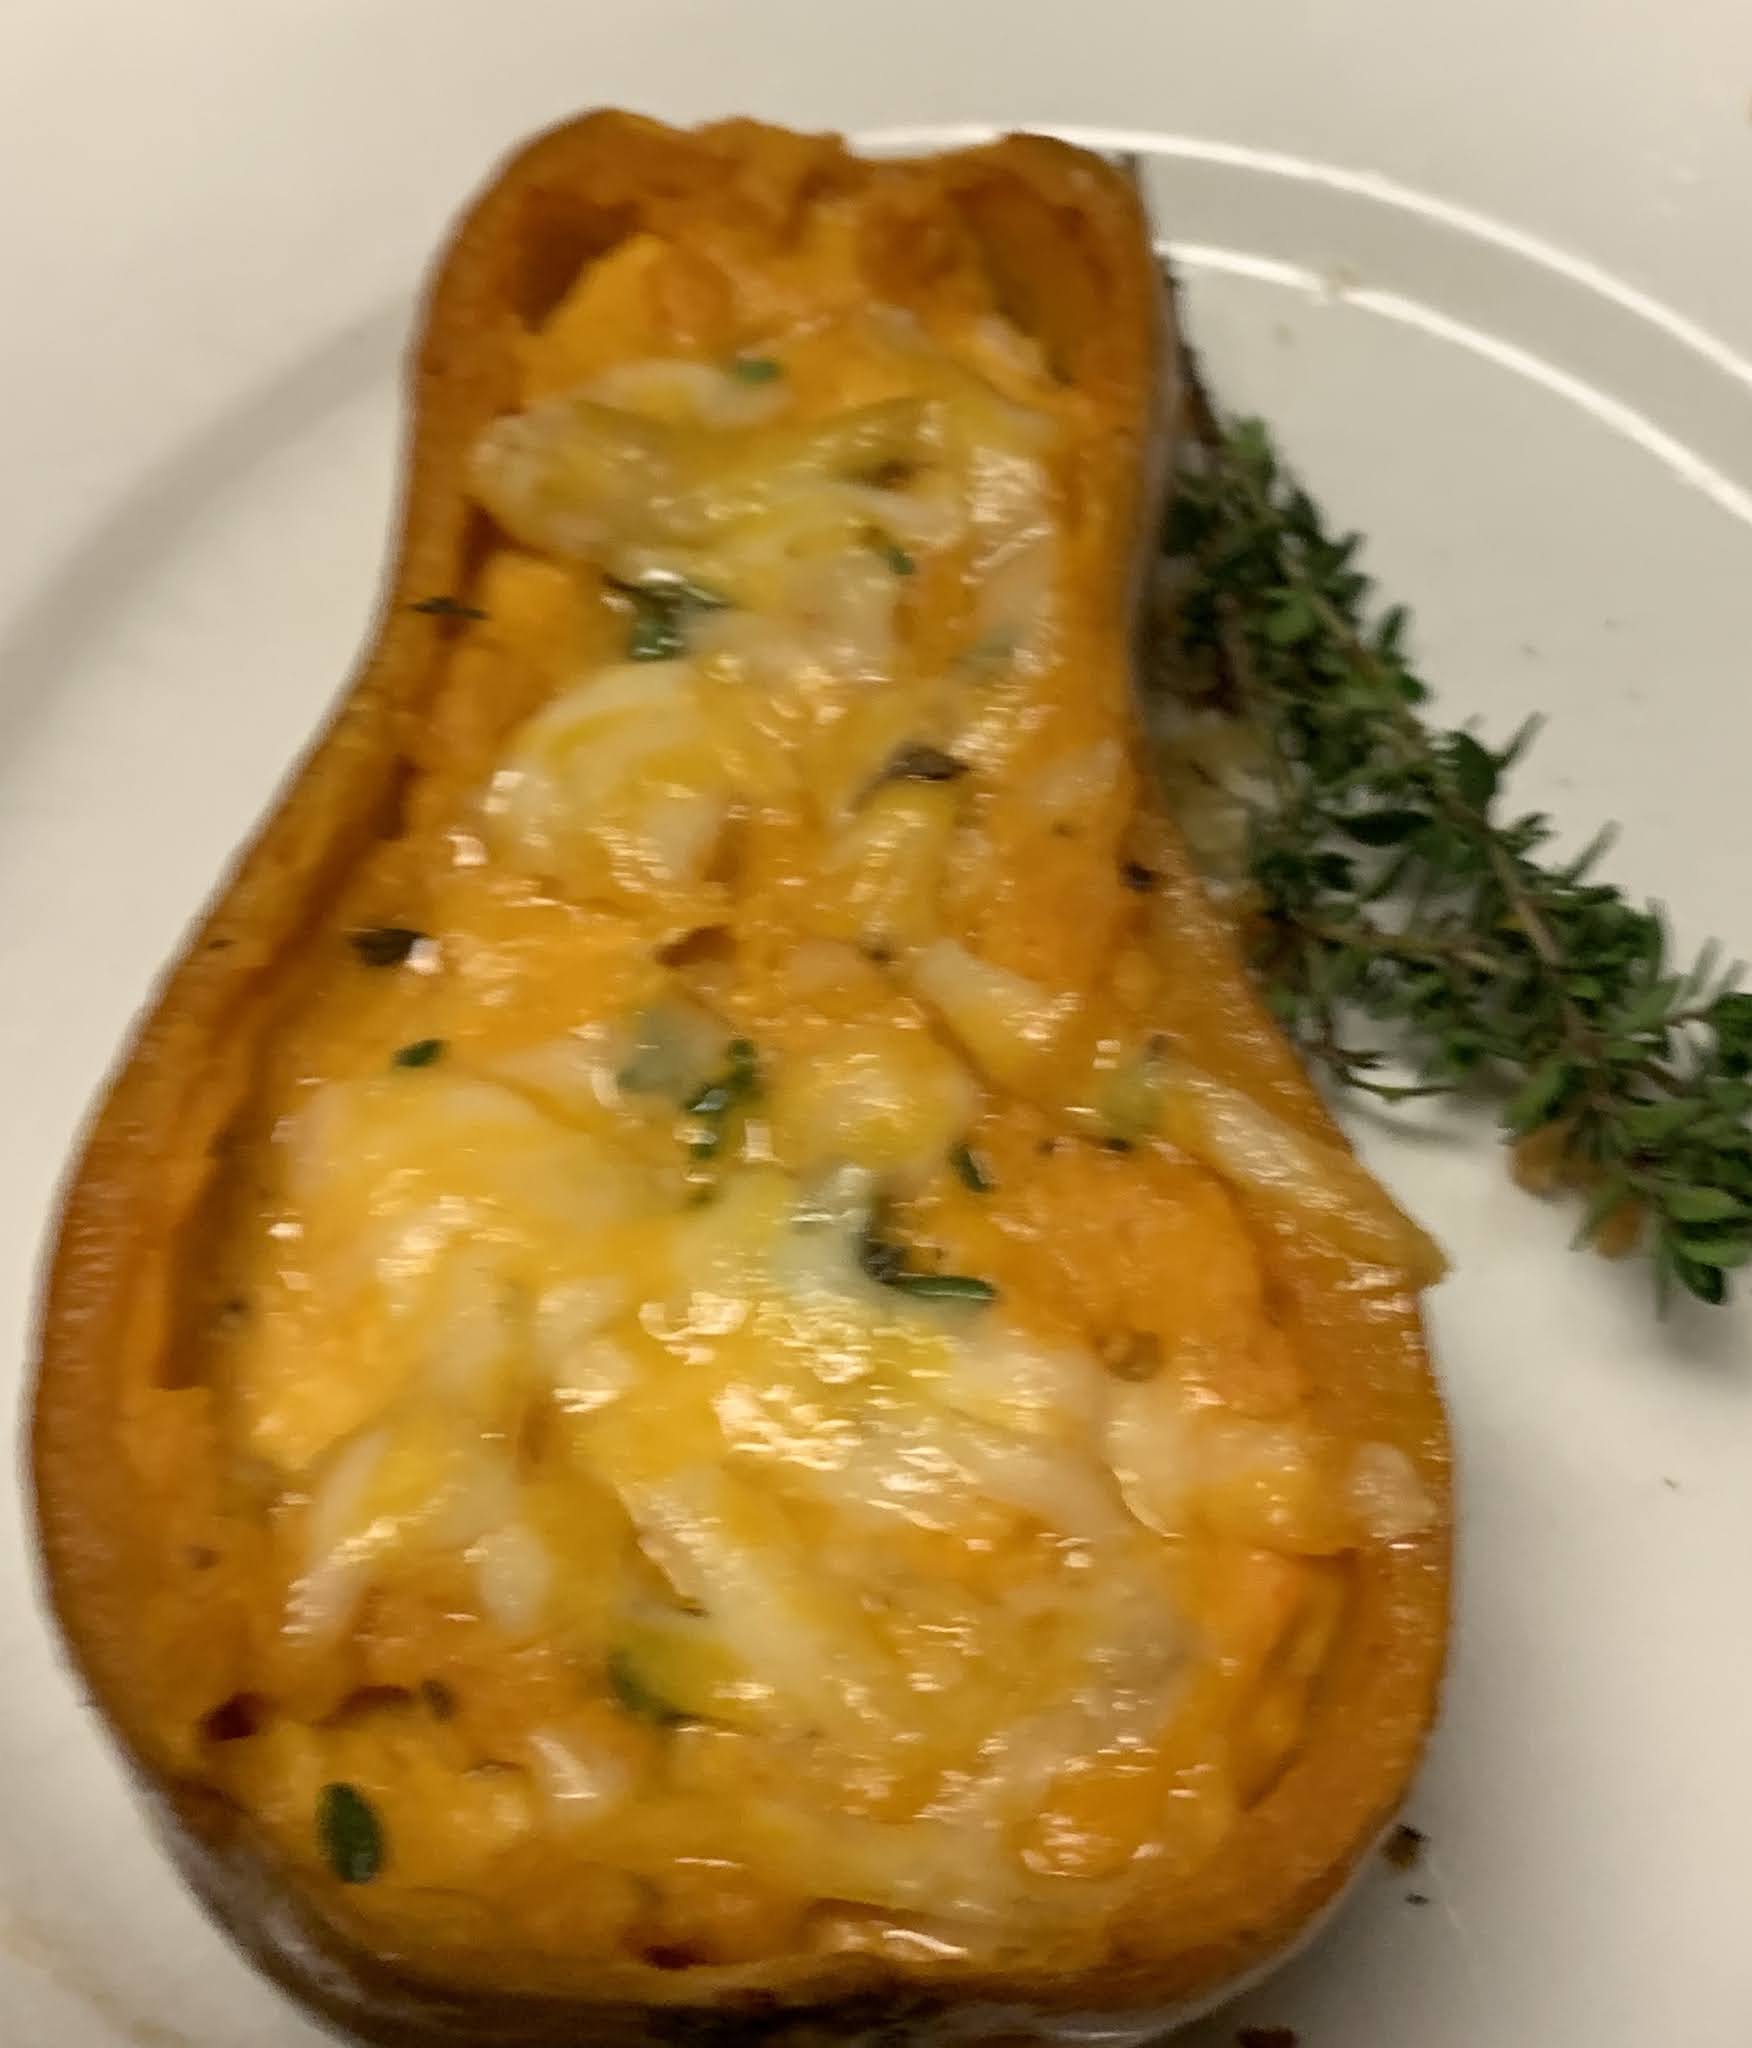
 was the sound that came out of Barry’s mouth after one bite of our latest butternut recipe. I found smaller sized butternut in our winter stash of veggies, and this is how I fixed them . . .


Twice Baked Butternut

Butternut squash

Olive oil, Kosher salt & black pepper

Sour cream

Butter, softened

Fresh thyme leaves or dried

Cheese – Monterey Jack, Parmesan, Cheddar or your preference

  1. Roasting Squash: Preheat the oven to 375°F. For easy cutting: Using a knife, make several cuts into butternut squash, then microwave for up to 2 1/2 minutes in 1 minute intervals (1 minute for smaller sized). (This technique also makes the squash a lot easier to peel if a recipe calls for a peeled squash.) Cool slightly, then cut the butternut squash in half and scoop out the seeds with a spoon; discard.
  2. Place both squash halves, flesh side up, in a foil-lined baking pan with sides. Drizzle with olive oil and sprinkle with salt and pepper.
  3. Turn the squash flesh side down and pour about 2 to 3 tablespoons of water in the bottom of the pan.
  4. Bake in the oven, uncovered, for about 40 to 45 minutes, until the squash becomes really soft and can easily be pierced with the tip of a sharp knife. Check from time to time—water should eventually completely evaporate allowing the squash to caramelize but not burn. Add a little more water if squash begins to appear dry. 

  5. Squash Mash: Carefully remove cooked squash from shell (leaving enough so shell is sturdy) 
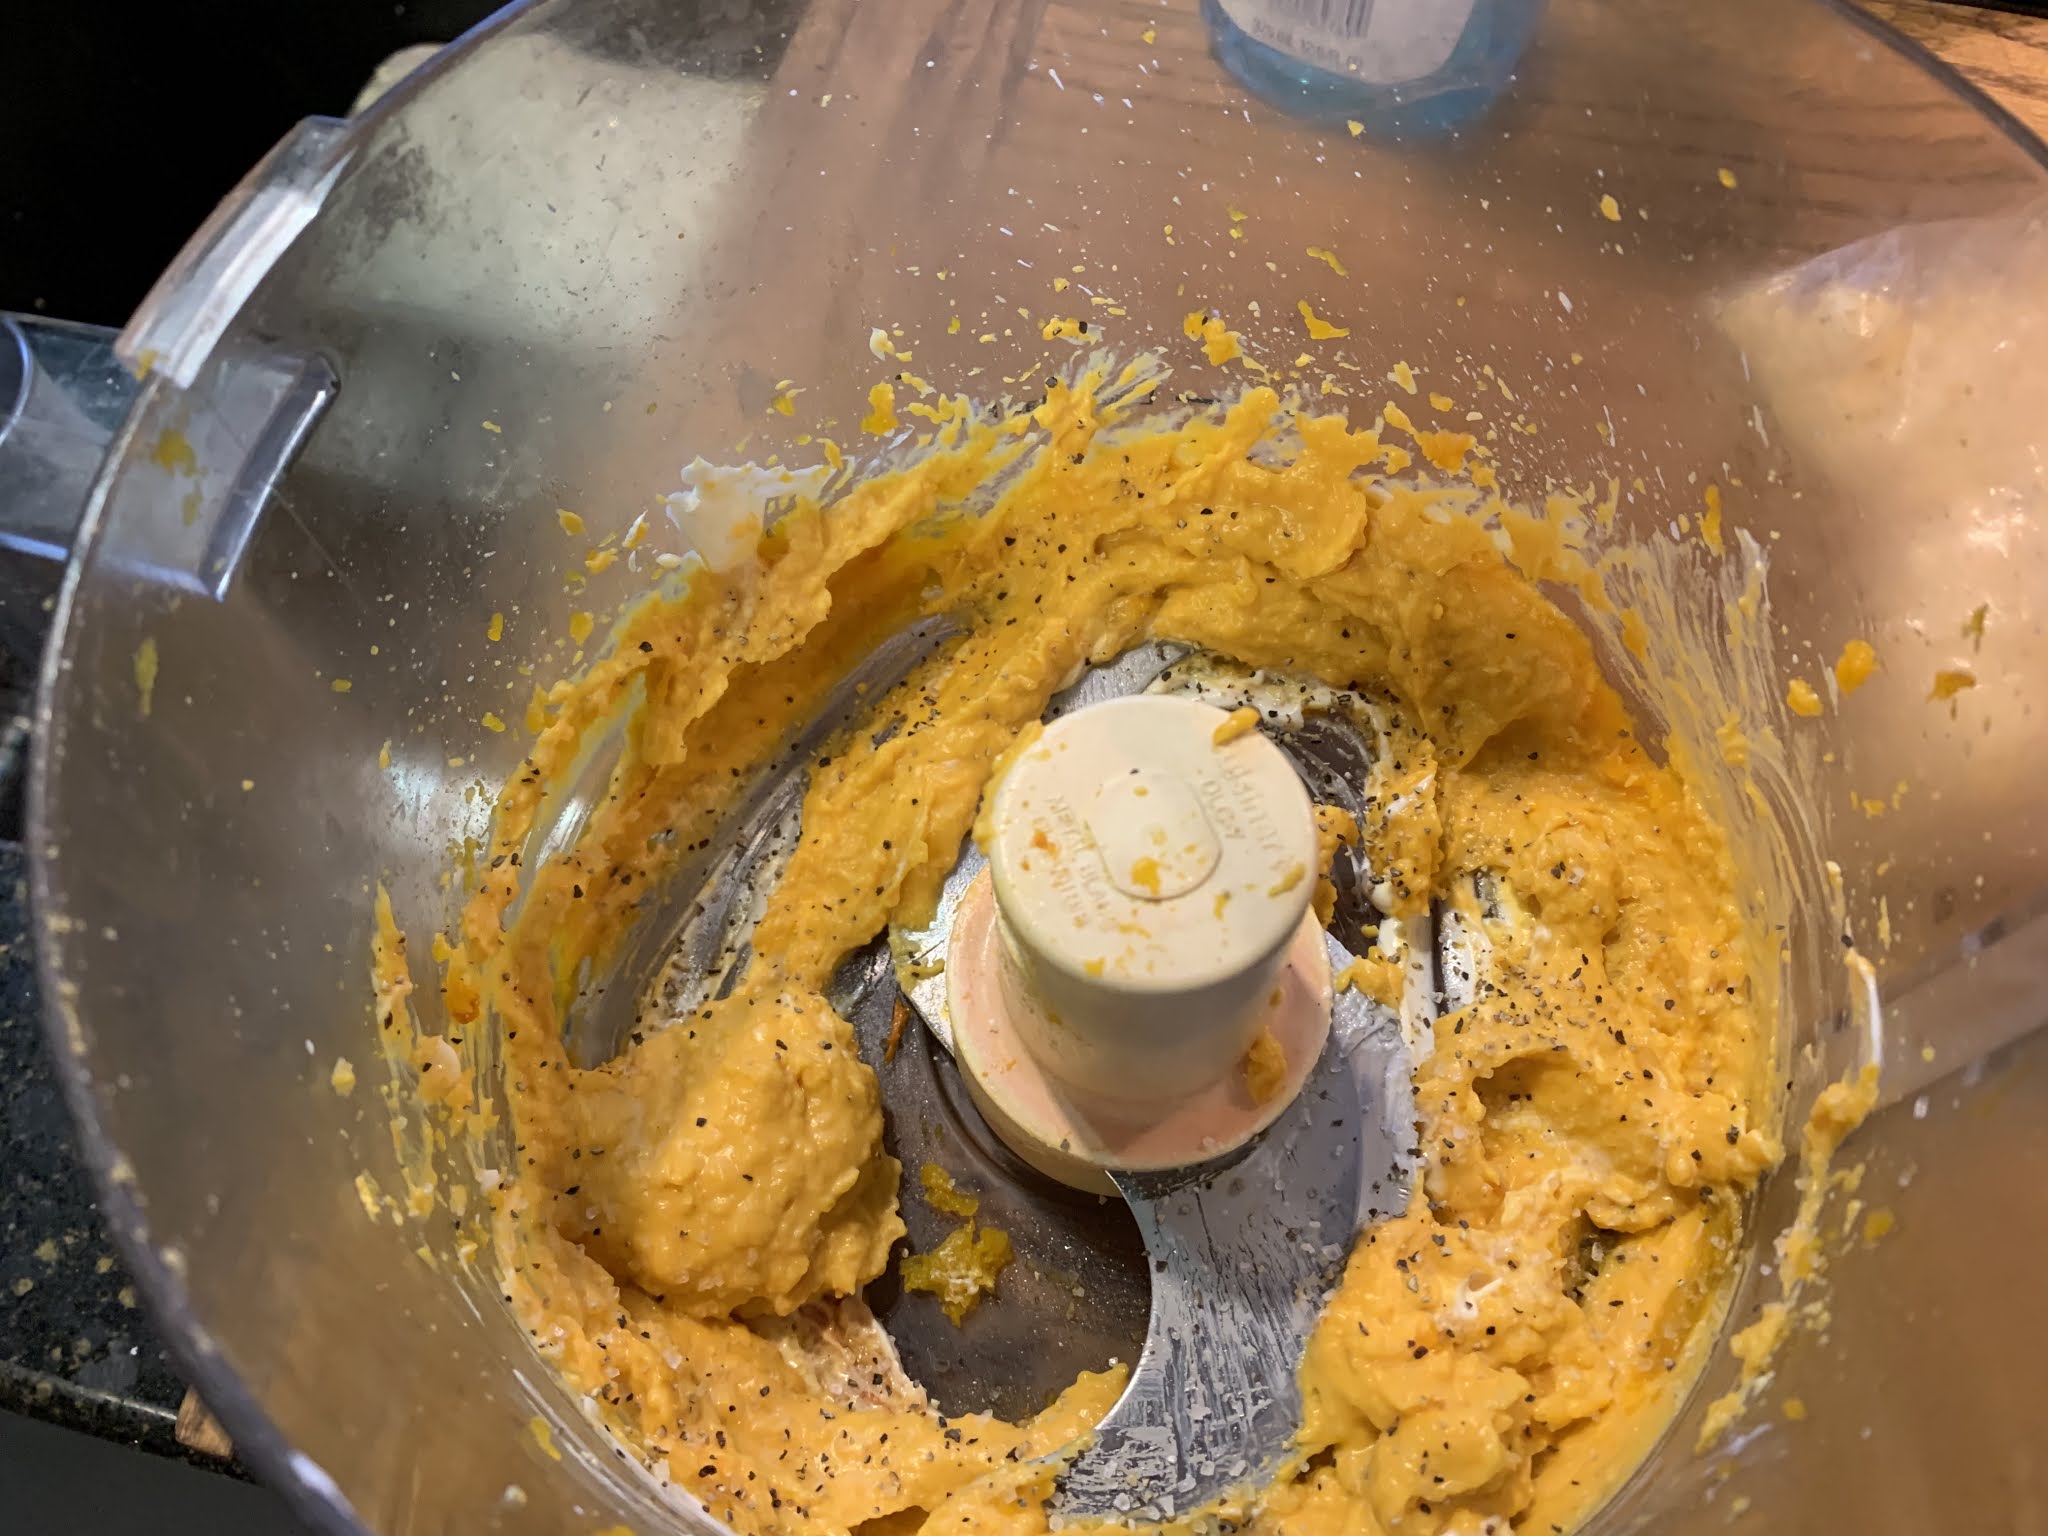
  6. Add squash to the work bowl of a food processor along with sour cream and butter (amount depends of size of squash – I used about 2-3 Tbsp. of sour cream and 1 Tbsp. of butter for a small squash). Blend ‘til smooth. Taste and adjust sour cream, butter and seasonings as needed.
  7. Place shells on a parchment or foil lined pan. Add butternut filling back to the shells. Top with thyme leaves and a light topping of the cheese of your choice. 
  8. Place squash in a preheated 400° oven and bake for  10 to 15 minutes or until the mixture is heated through. (Squash can be prepared ahead, refrigerated and then baked — allow extra time for baking if refrigerated)

Recipe without photos . . .

Twice Baked Butternut

Butternut squash

Olive oil, Kosher salt & black pepper

Sour cream

Butter, softened

Fresh thyme leaves or dried

Cheese – Monterey Jack, Parmesan, Cheddar or your preference

  1. Roasting Squash: Preheat the oven to 375°F. For easy cutting: Using a knife, make several cuts into butternut squash, then microwave for up to 2 1/2 minutes in 1 minute intervals (1 minute for smaller sized). (This technique also makes the squash a lot easier to peel if a recipe calls for a peeled squash.) Cool slightly, then cut the butternut squash in half and scoop out the seeds with a spoon; discard.
  2. Place both squash halves, flesh side up, in a foil-lined baking pan with sides. Drizzle with olive oil and sprinkle with salt and pepper.
  3. Turn the squash flesh side down and pour about 2 to 3 tablespoons of water in the bottom of the pan.
  4. Bake in the oven, uncovered, for about 40 to 45 minutes, until the squash becomes really soft and can easily be pierced with the tip of a sharp knife. Check from time to time—water should eventually completely evaporate allowing the squash to caramelize but not burn. Add a little more water if squash begins to appear dry. 
  5. Squash Mash: Carefully remove cooked squash from shell (leaving enough so shell is sturdy) 
  6. Add squash to the work bowl of a food processor along with sour cream and butter (amount depends of size of squash – I used about 2-3 Tbsp. of sour cream and 1 Tbsp. of butter for a small squash). Blend ‘til smooth. Taste and adjust sour cream, butter and seasonings as needed.
  7. Place shells on a parchment or foil lined pan. Add butternut filling back to the shells. Top with thyme leaves and a light topping of the cheese of your choice. 
  8. Place squash in a preheated 400° oven and bake for  10 to 15 minutes or until the mixture is heated through. (Squash can be prepared ahead, refrigerated and then baked — allow extra time for baking if refrigerated)
St. Andrew's Ham Loaf and Spicy Mustard Sauce


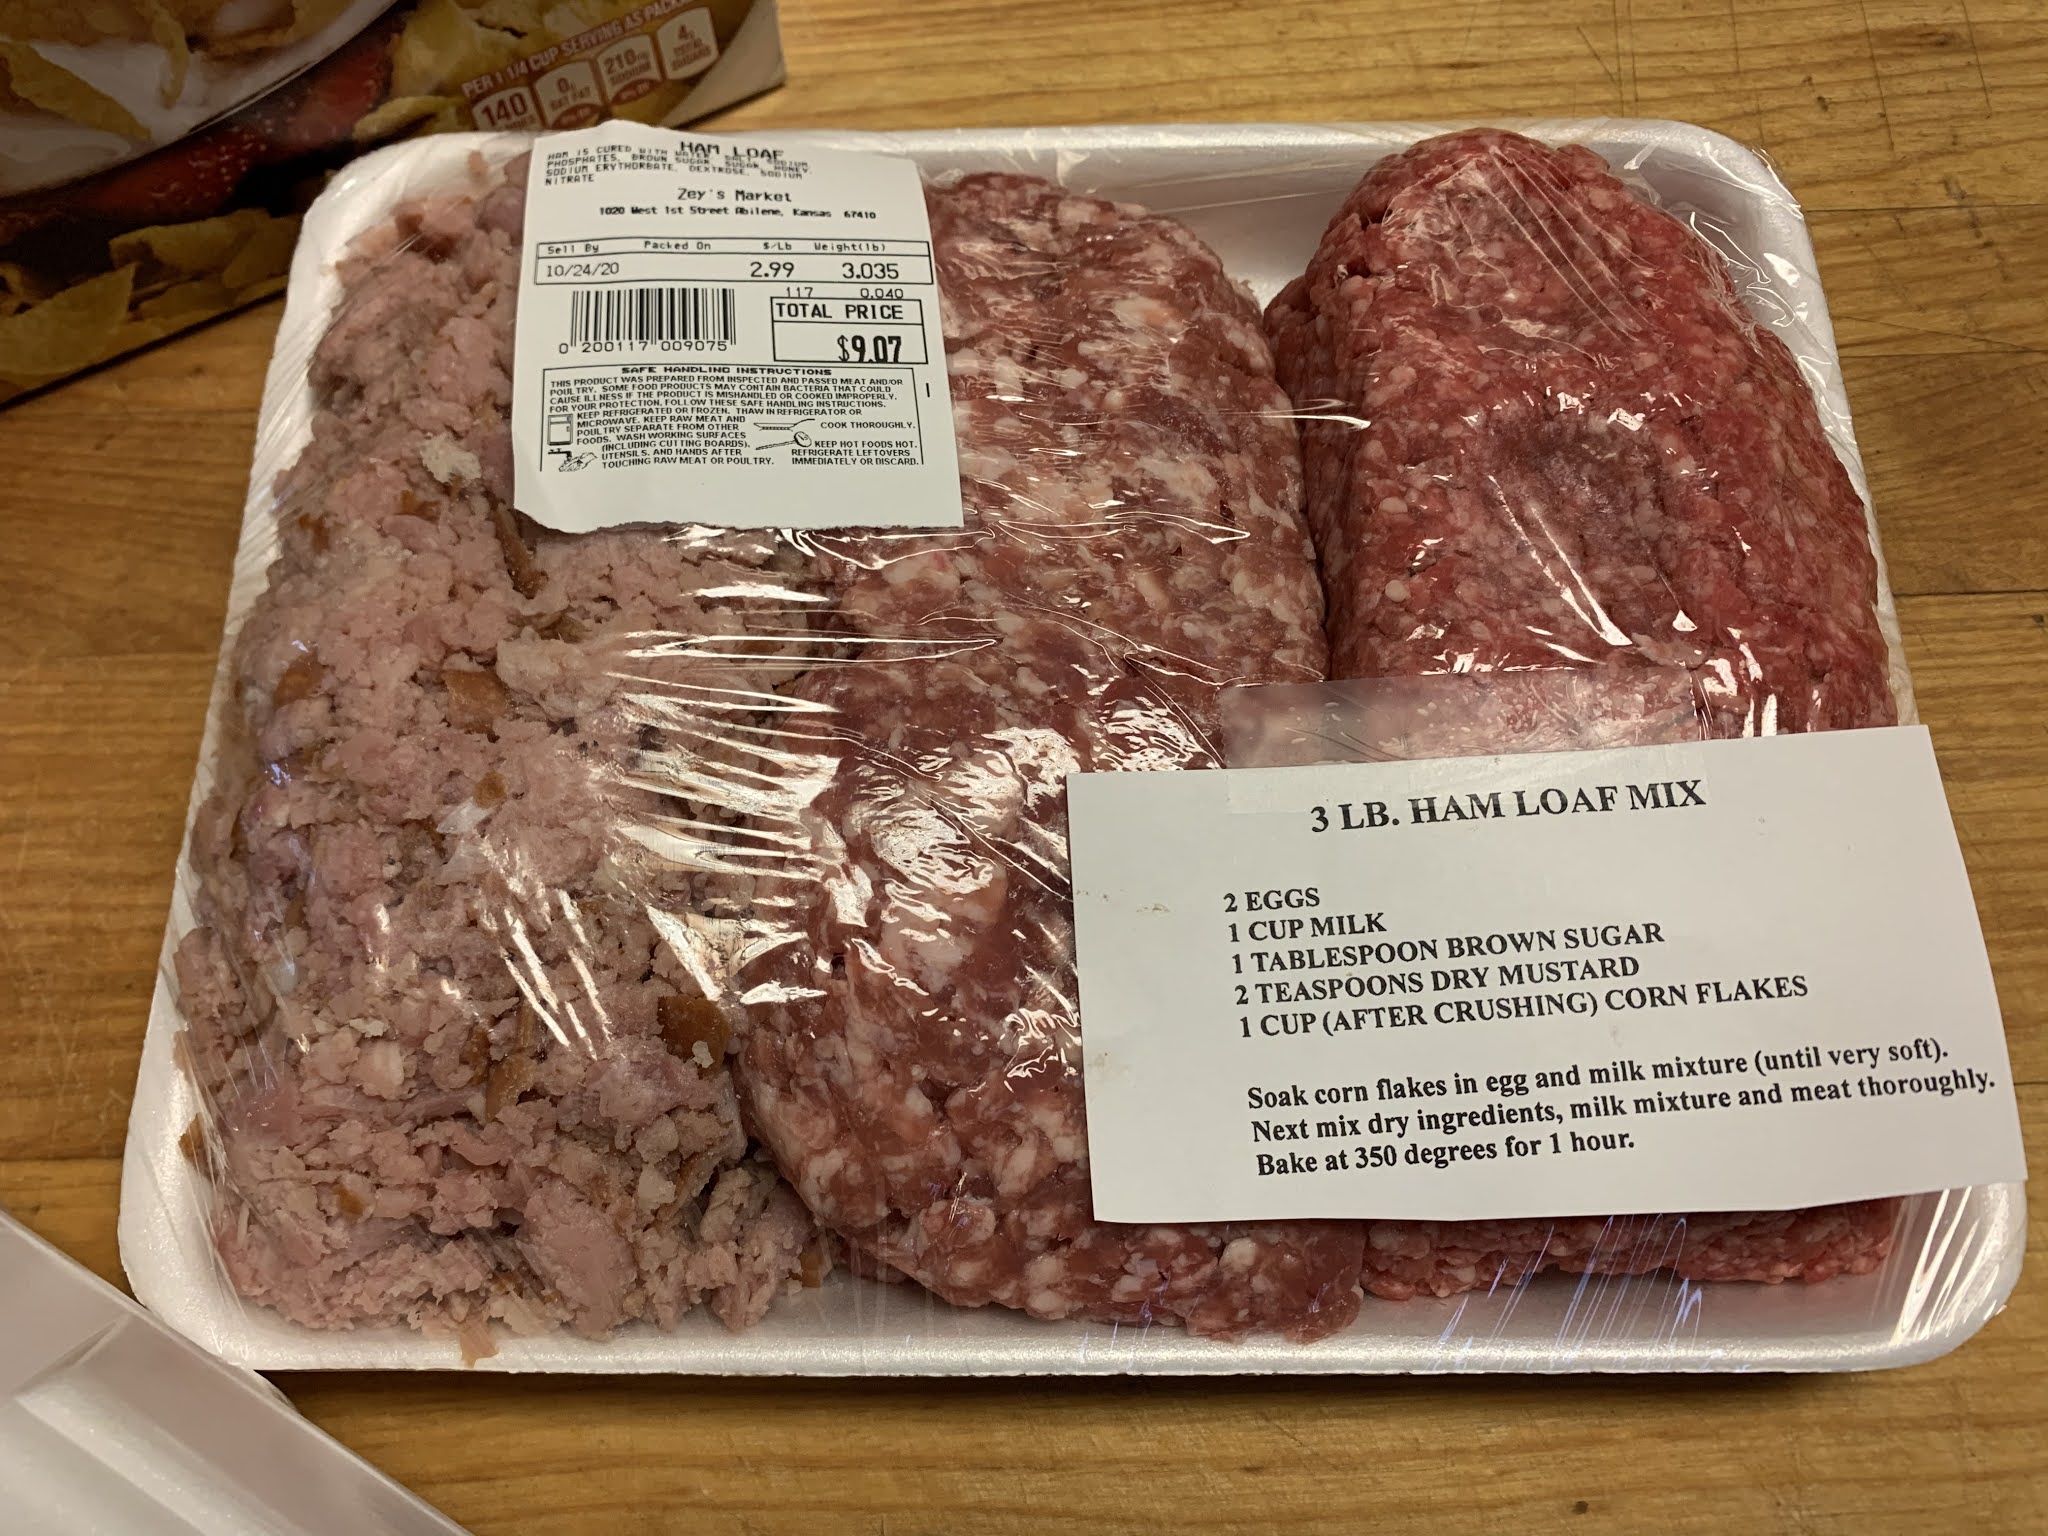
Portion sizes at the annual St. Andrew’s Catholic Church Ham Loaf Dinner are huge. Yet, after we finished leftovers, we hadn’t had quite enough. So, we headed for Zey’s Market, the grocery store that prepares the three-meat mixture used in the church’s famous loaf. Their family size version even includes a recipe. After preparing the loaf, I divided it in between two smaller loaf pans and put both in the freezer to enjoy later. When it was time for ham loaf, I also prepared some the church’s standard sides—Creamed Potatoes, slaw, rolls and of course the requisite mustard sauce. Jill’s Mustard Sauce originated with Jill Royer, the force behind the church dinner that began in the early 1960s.  


St. Andrew's Ham Loaf     Make 1 large loaf or 2 smaller loaves

2 eggs

1 cup milk

1 cup (after crushing) corn flakes

1 (3-lb.) ham loaf mix (made up of 1 lb. each ground beef, pork & ham)

1 tablespoon brown sugar

1 teaspoon dry mustard

  1. Mix eggs and milk. Stir in crushed corn flakes and let soak until mixture is very soft.
  2. Next mix in ham loaf mix, brown sugar and mustard; mix thoroughly without over mixing. 

  3. Add to greased or sprayed baking pan(s) or dish. 
  4. Bake large loaf for 1 hour; smaller loaves for about 45 minutes in a preheated 350° oven — Ham loaf is officially done baking when a meat thermometer inserted in the center of the loaf reads 160°.  

    Ham Loaf & Spicy Mustard Sauce served with Mom's Slaw w/ Celery Seed DressingCreamed Potatoes (made by adding White Sauce to boiled potatoes) and Fluffy Rolls.

A word or two about the Mustard Sauce — I knew I had a hand written recipe card in my recipe box this sauce. Details of where it came from or who gave it to me are long gone. As I reviewed the recipe I was rather astonished at the amount of dry mustard in proportion to the rest of the ingredients. Dry mustard by itself has no flavor or taste but when combined with liquid, it releases the essential oil responsivle for its piquant zing of flavor—which is a nice way of saying “the stuff is HOT”! Worried that perhaps the zing might be a bit much, I checked with a couple of church members and they verified amounts; I even found a similar recipe online that used 1 1/4 cups of dry mustard instead of 1 cup. So I proceeded according to the directions that follow. 

HOWEVER, IF I MAKE IT AGAIN, I WILL DEFINITELY CUT THE MUSTARD DOWN BY AT LEAST A FOURTH (maybe more). Although it is the perfect sauce for ham loaf, it is just a bit hot even for me . . . and I welcome hot and spicy! 


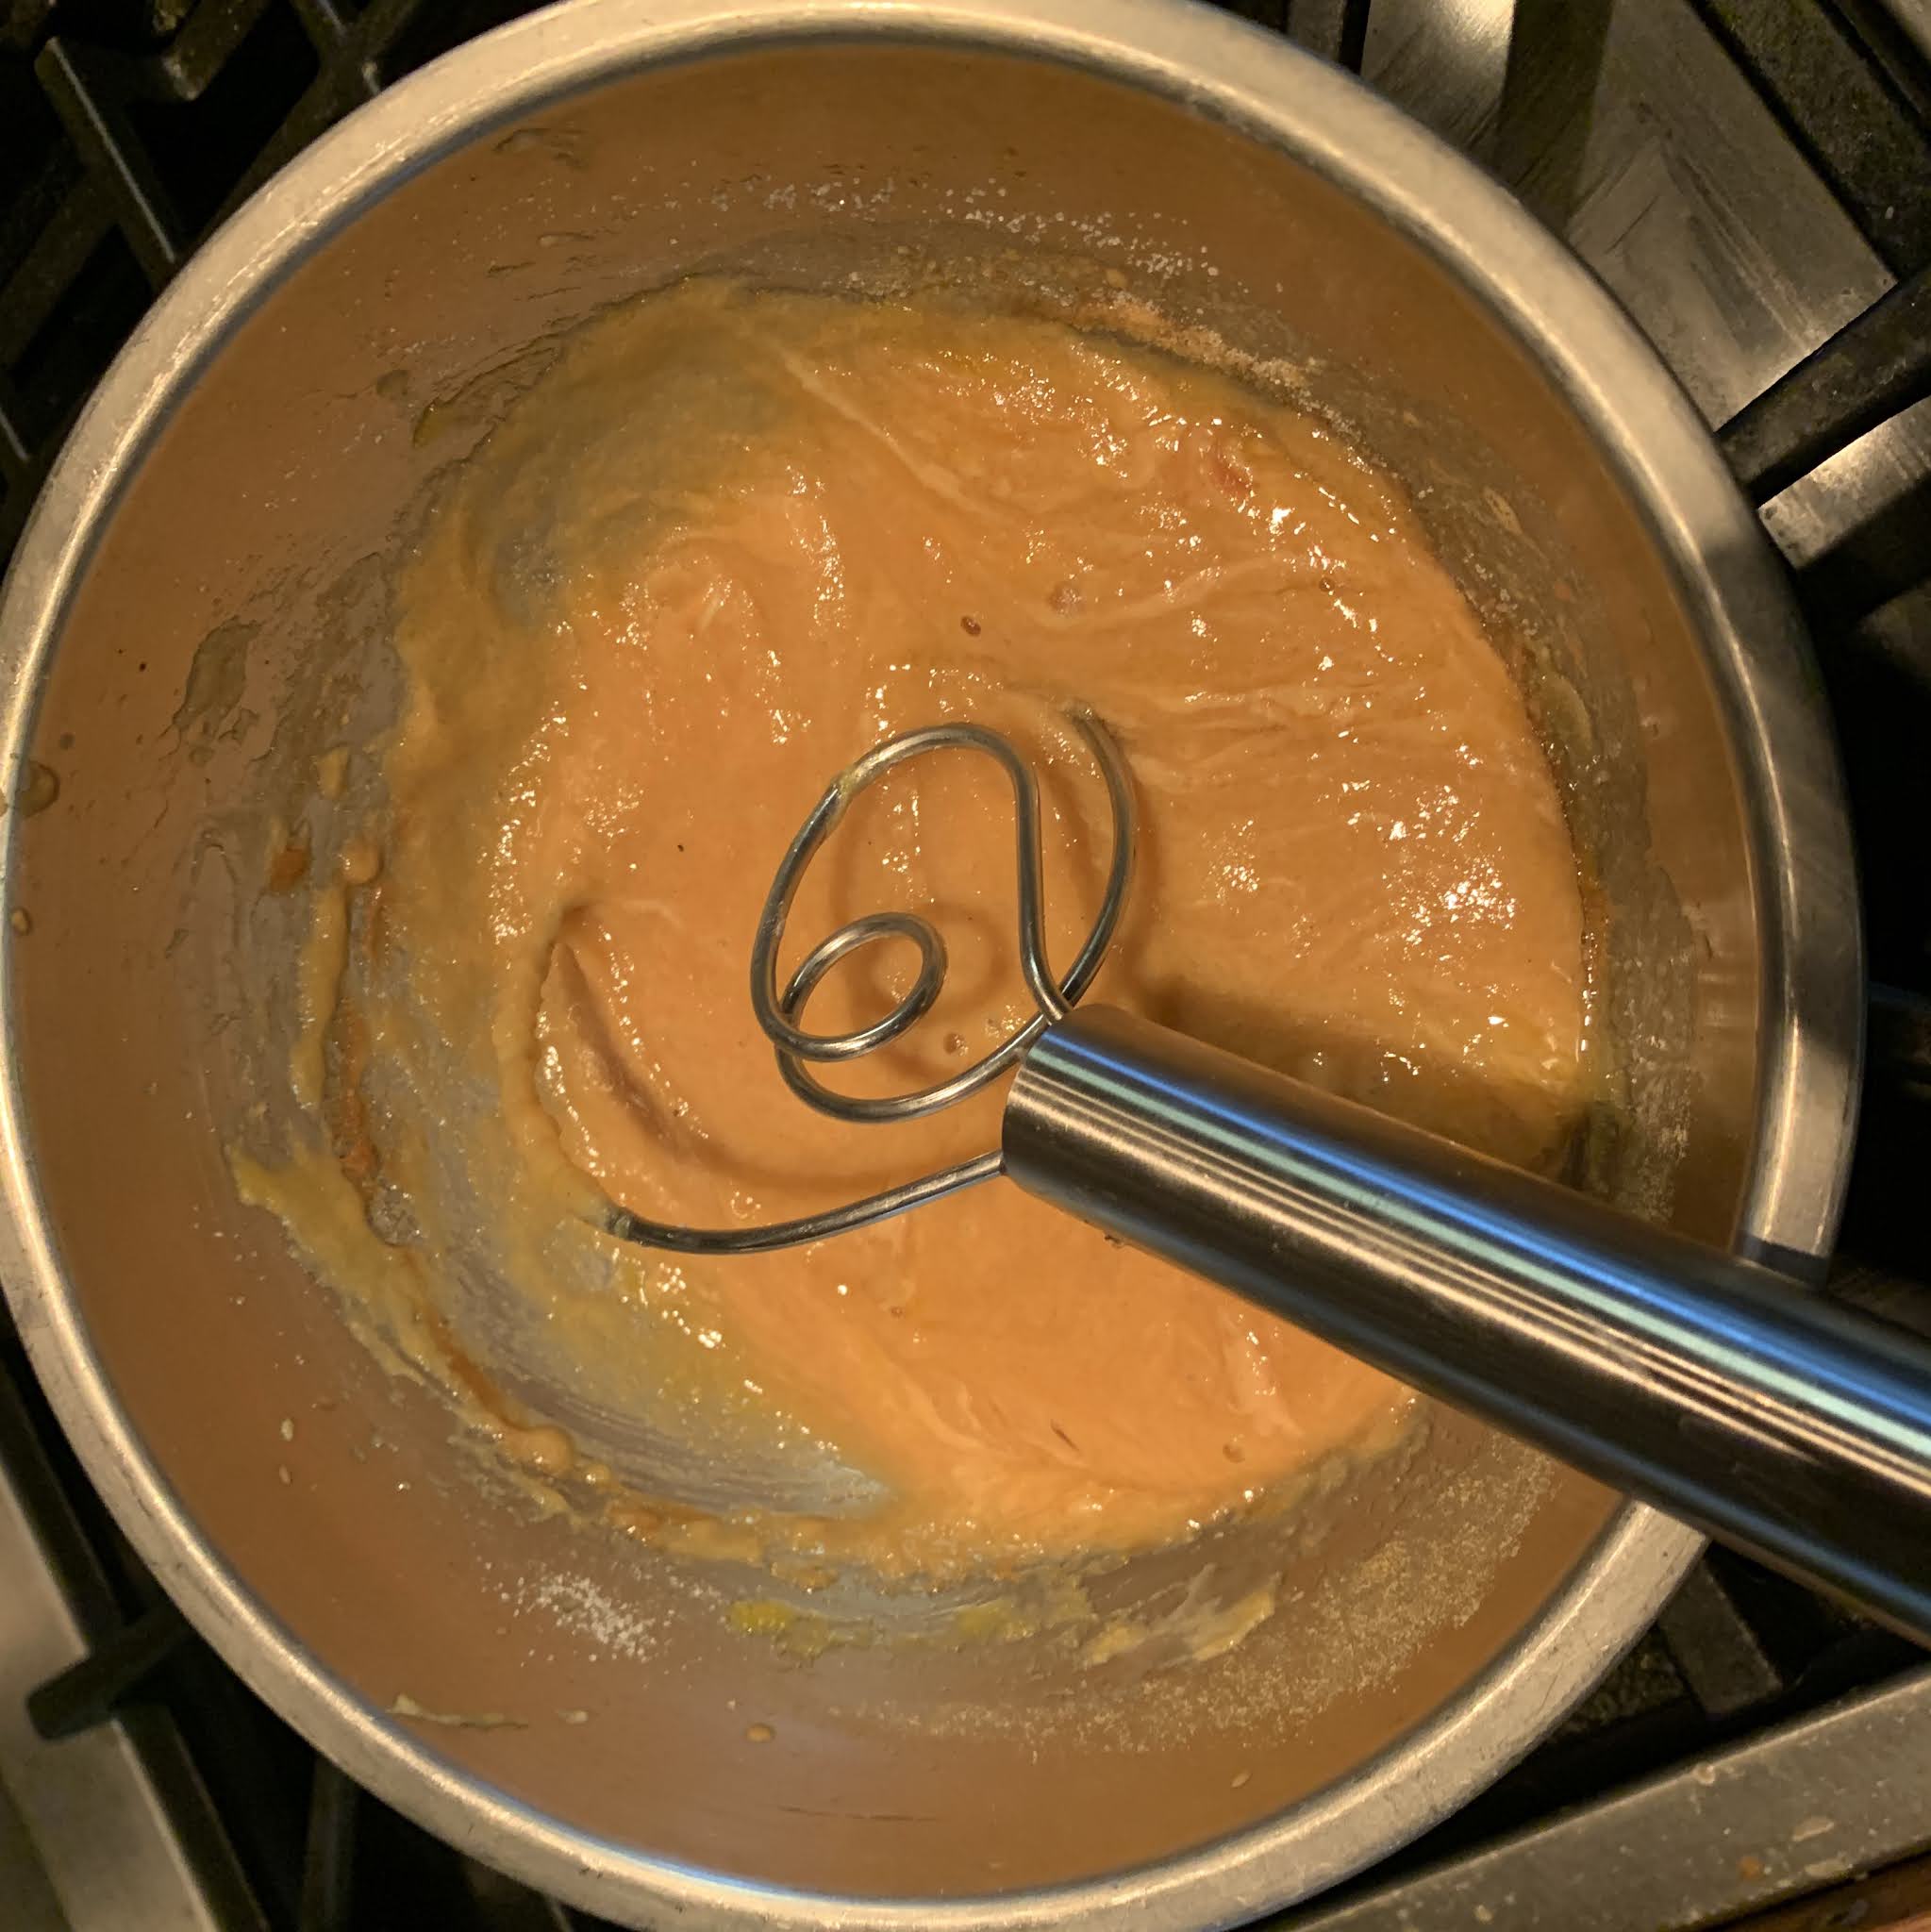
Jill’s Mustard Sauce  Makes 1 1/2 pints (could be cut in half for smaller batch)

1 cup dry mustard (such as Coleman’s® brand)

1 cup white vinegar

2 eggs

1 cup granulated sugar

Pinch salt

1 jigger sherry (2 fluid ounces)

  1. In a large heatproof saucepan, mix dry mustard and vinegar. Cover and let set overnight.
  2. Next day, mix in eggs, sugar and a pinch of salt.
  3. Place heatproof saucepan on top of a saucepan of boiling water to create a double boiler (water should not touch bottom of saucepan). 
  4. Boil mixture, stirring often, until it’s the consistency of a thin custard and coats a metal spoon—about 10 minutes.
  5. Add a jigger of sherry.

Ham Loaf recipe without photos . . .

St. Andrew's Ham Loaf     Make 1 large loaf or 2 smaller loaves

2 eggs

1 cup milk

1 cup (after crushing) corn flakes

1 (3-lb.) ham loaf mix (made up of 1 lb. each ground beef, pork & ham)

1 tablespoon brown sugar

1 teaspoon dry mustard

  1. Mix eggs and milk. Stir in crushed corn flakes and let soak until mixture is very soft.
  2. Next mix in ham loaf mix, brown sugar and mustard; mix thoroughly without over mixing. 
  3. Add to greased or sprayed baking pan(s) or dish. 
  4. Bake large loaf for 1 hour; smaller loaves for about 45 minutes in a preheated 350° oven — Ham loaf is officially done baking when a meat thermometer inserted in the center of the loaf reads 160°.  

Quick & Easy Caramel Apples . . . no cooking involved

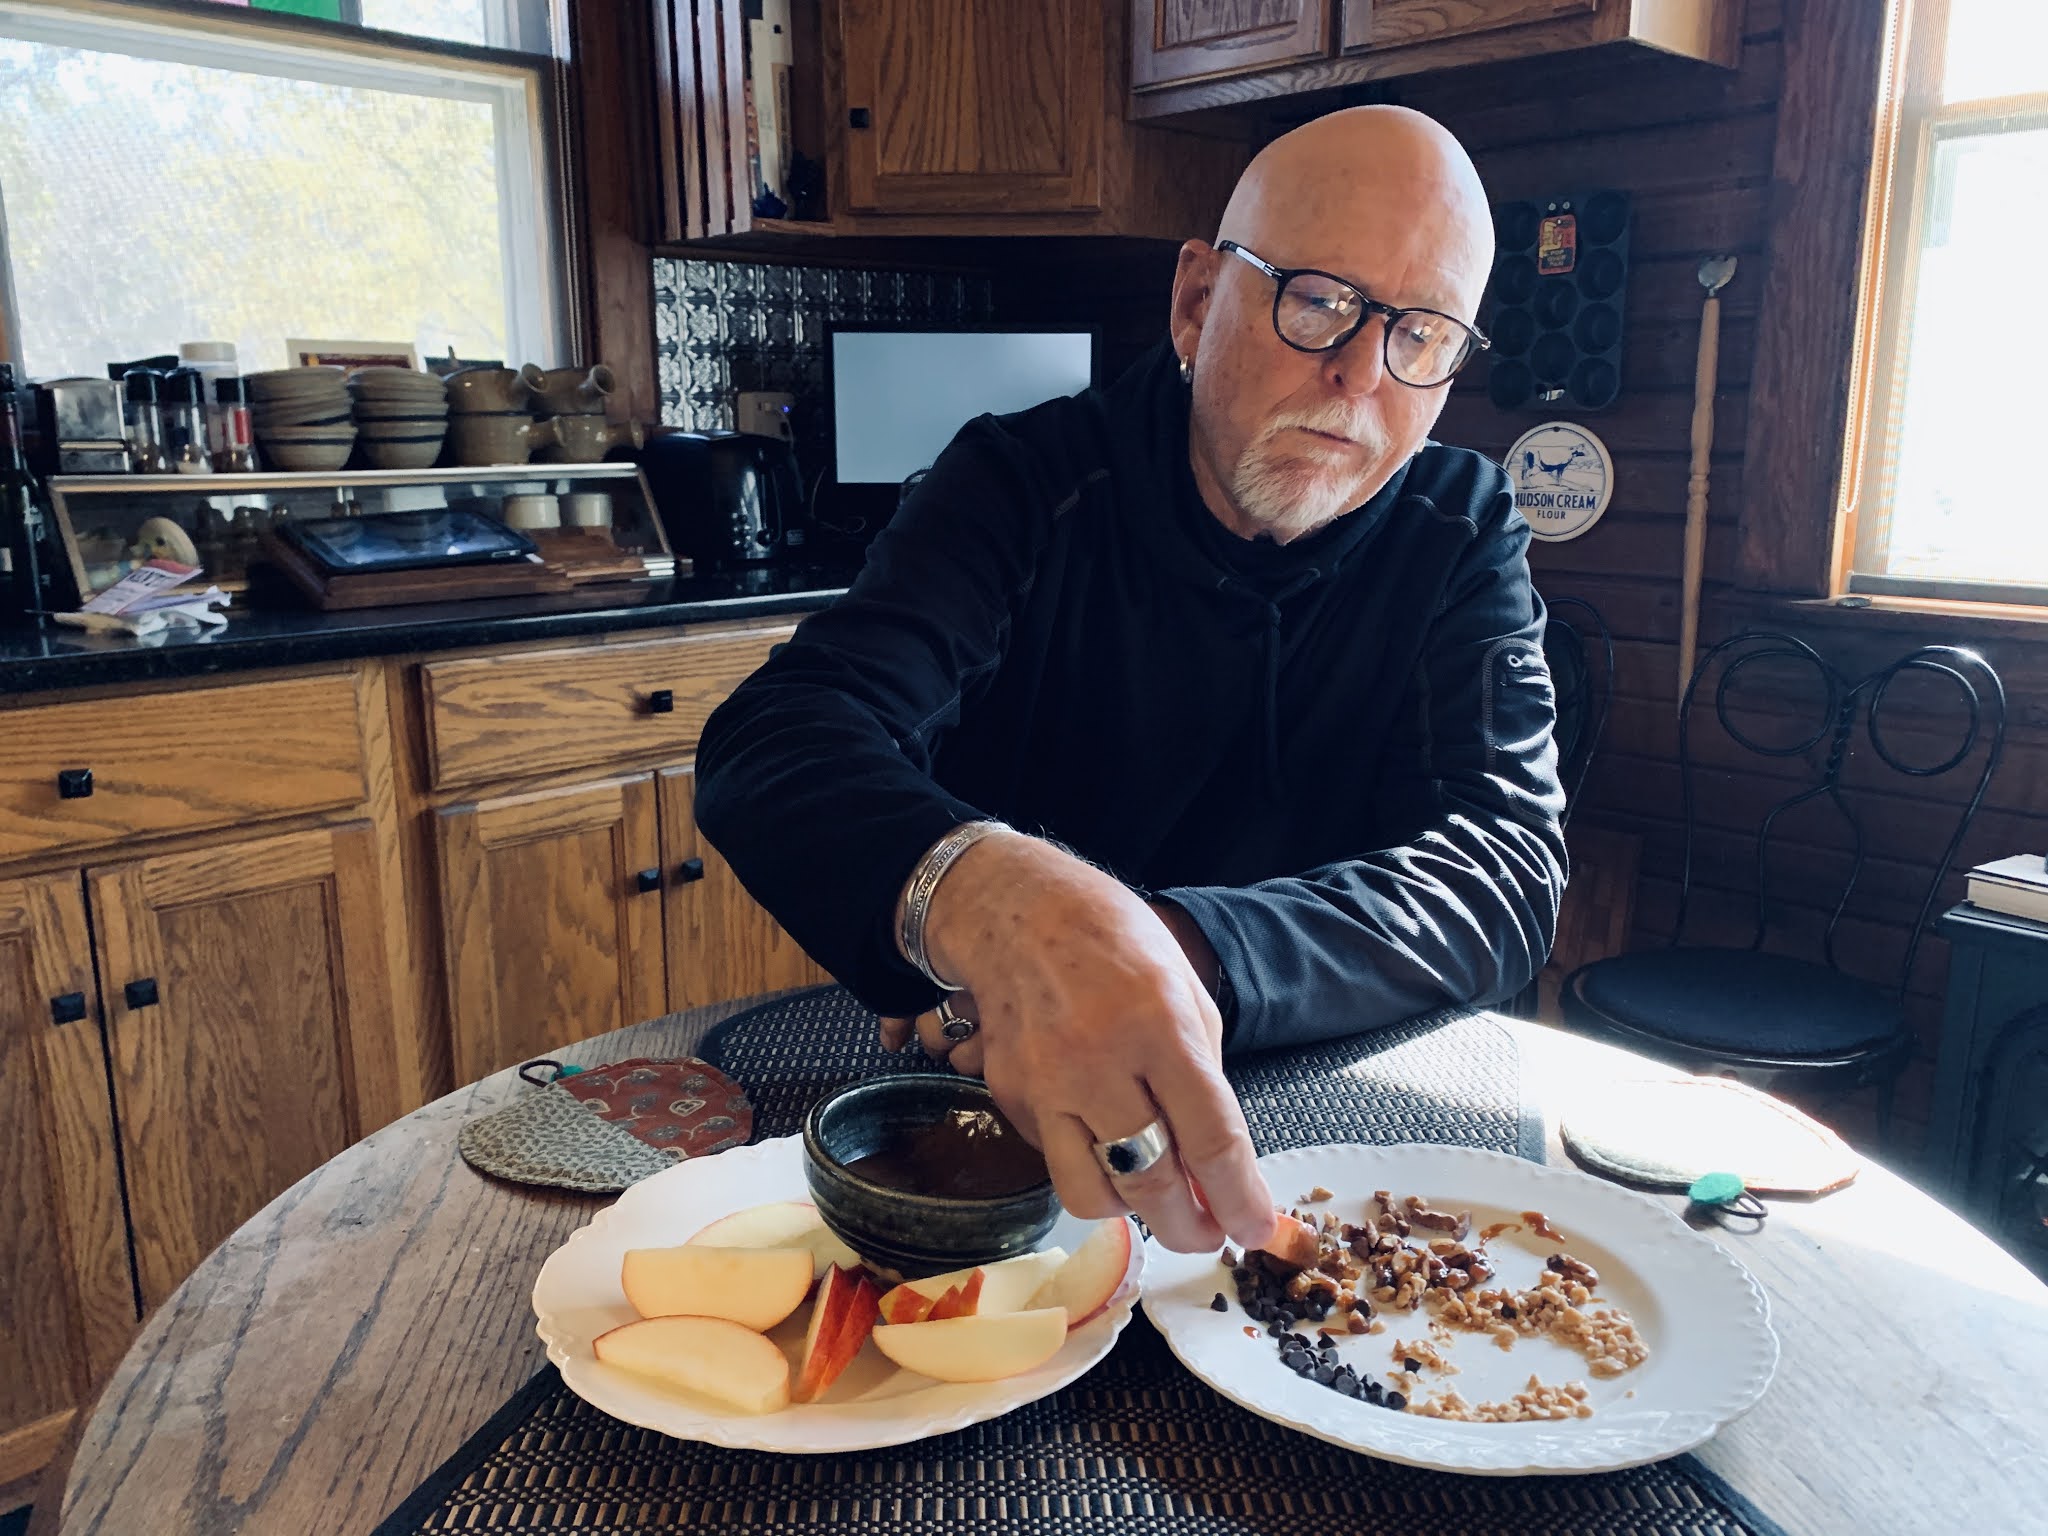
It's Halloween and I was on the way to the pantry to grab a jar of caramel sauce when Barry said, "I'm hungry for something caramel. It was kind of SPOOKY! He sliced the apples, I warmed the sauce and arranged some dippers: chopped pecans, toffee bits and some mini chocolate chips. Our Quick & Easy Caramel Apples were a spook-tachular treat! 


PREP: Arrange sliced apples (we used Honeycrisp), warm caramel sauce (we used a jarred sauce but we also recommend a homemade version), and toppers of your choice. 

Individual Pumpkin Cheesecakes – a perfect dessert for fall!


These self-portioned desserts feature a gingersnap cookie crust with a creamy, dreamy pumpkin filling. Bake, chill and enjoy. Or, freeze them for a delicious make-ahead fall dessert. 

Individual Pumpkin Cheesecakes with Gingersnap Crusts   Makes 10 muffin-sized desserts

Crust:

3/4 cup gingersnap cookie crumbs (process gingersnap cookies in food processor)

2 tablespoon granulated sugar

2 tablespoons salted butter, melted

Pumpkin Cheesecake Filling:

1(8oz) package, cream cheese softened to room temperature

1/2 cup granulated sugar

1 teaspoon vanilla

1 teaspoon pumpkin pie spice (click HERE for homemade version)

3/4 cup homemade pumpkin puree or purchased pie filling without added sugar or spices) 

1 large egg at room temperature

Ground or chopped pecans for topping

  1. Crust: Preheat oven to 325°F. Spray each cavity of 10 muffin tins with nonstick cooking spray and set aside, OR fit them with cupcake liners and spray, OR use silicon cupcake liners arranged on a baking sheet (as shown below). 
  2. Place prepare cookie crumbs in a mixing bowl. Add sugar and melted butter; mix until fully combined. 
  3. Evenly distribute the mixture between all 10 cavities of the muffin tins. Use your fingers to evenly press the mixture to the bottom and push and press it part way up the side.  
  4. Bake at 325°F for 10 minutes, remove from the oven and set aside to cool. Keep oven temperature at 325°F while you make the filling.
  5. Pumpkin Cheesecake Filling: In the bowl of a stand mixer fitted with the paddle attachment, beat the cream cheese, sugar, vanilla, and pumpkin pie spice for 1 to 2 minutes until smooth and creamy. 
  6. Add in the pumpkin puree and mix until fully combined, making sure to scrape down the sides of the bowl as needed. 
  7. Add in the egg and mix on low speed until just combined.
  8. Evenly distribute the filling between all 10 cavities in the muffin pan; sprinkle with ground or chopped pecans. (I used a little less than 1/4 cup per cavity.)
  9. Return to the oven and bake at 325°F for 15 to 20 minutes or until the tops of the cheesecakes are set.
  10. Remove from the oven and allow to cool at room temperature for at least 1 hour. 
  11. Cover tightly with plastic wrap and transfer to the refrigerator to chill for at least 3 hours or overnight. 
  12. Once the cheesecakes are chilled, carefully remove them from the pan. Individual cheesecakes may also be wrapped in foil or inserted in freezer pans and frozen.
  13. Additional pecans may be used to garnish dessert plates if desired.
Recipe without photos . . Individual Pumpkin Cheesecakes with Gingersnap Crusts    Makes 10 muffin-sized desserts

Crust:

3/4 cup gingersnap cookie crumbs (process gingersnap cookies in food processor)

2 tablespoon granulated sugar

2 tablespoons salted butter, melted

Pumpkin Cheesecake Filling:

1(8oz) package, cream cheese softened to room temperature

1/2 cup granulated sugar

1 teaspoon vanilla

1 teaspoon pumpkin pie spice (click HERE for homemade version)

3/4 cup homemade pumpkin puree or purchased pie filling without added sugar or spices) 

1 large egg at room temperature

Ground or chopped pecans for topping

  1. Crust: Preheat oven to 325°F. Spray each cavity of 10 muffin tins with nonstick cooking spray and set aside, OR fit them with cupcake liners and spray, OR use silicon cupcake liners arranged on a baking sheet (as shown below). 
  2. Place prepare cookie crumbs in a mixing bowl. Add sugar and melted butter; mix until fully combined. 
  3. Evenly distribute the mixture between all 10 cavities of the muffin tins. Use your fingers to evenly press the mixture to the bottom and push and press it part way up the side.  
  4. Bake at 325°F for 10 minutes, remove from the oven and set aside to cool. Keep oven temperature at 325°F while you make the filling.
  5. Pumpkin Cheesecake Filling: In the bowl of a stand mixer fitted with the paddle attachment, beat the cream cheese, sugar, vanilla, and pumpkin pie spice for 1 to 2 minutes until smooth and creamy. 
  6. Add in the pumpkin puree and mix until fully combined, making sure to scrape down the sides of the bowl as needed. 
  7. Add in the egg and mix on low speed until just combined.
  8. Evenly distribute the filling between all 10 cavities in the muffin pan; sprinkle with ground or chopped pecans. (I used a little less than 1/4 cup per cavity.)
  9. Return to the oven and bake at 325°F for 15 to 20 minutes or until the tops of the cheesecakes are set.
  10. Remove from the oven and allow to cool at room temperature for at least 1 hour. 
  11. Cover tightly with plastic wrap and transfer to the refrigerator to chill for at least 3 hours or overnight. 
  12. Once the cheesecakes are chilled, carefully remove them from the pan. Individual cheesecakes may also be wrapped in foil or inserted in freezer pans and frozen.
  13. Additional pecans may be used to garnish dessert plates if desired.

Kombucha Notes, Directions & a Beginner’s “Things to Remember”

Video References 

https://www.youtube.com/watch?v=D3Axb37lMWI&feature=youtu.be

https://www.youtube.com/watch?v=8SOPeZWkc1k&feature=youtu.be

https://www.youtube.com/watch?v=SnOyOo5fNj0&t=1935s

MY NOTES:

·   A scoby conforms to the shape of the jar; a gallon jar in ideal.

·    Scobies do not like to be cold. Keep at room temp; Ideal temp is 68 to 80° F.

·    Extra scobies can be put in a hotel or cut up and put in compost. See details below about how to create a scabby hotel.

·   A new scoby will grow each time you make a new batch of kombucha; the new scoby is lighter in color than the “mother” scoby. 

·   Handle scoby with CLEAN HANDS; do not use disinfectant! Use clean jars and utensils, rinsing with a vinegar water is also an option.

·   SCOBY is the commonly used acronym for "symbiotic culture of bacteria and yeast," and is formed after the completion of a unique fermentation process of lactic acid bacteria (LAB), acetic acid bacteria (AAB), and yeast to form several sour foods and beverages such as kombucha and kimchi.

STEPS AND NOTES TO MAKE SWEETENED BLACK TEA FOR 1ST FERMENTATION

1.   PREPARING BLACK TEA FOR NEW BATCH:In a gallon jar, brew tea bags (enough to make 3 quarts of tea) in 3 quarts + 2 cups of hot water for 10 minutes. Remove tea bags (I used silicon coated tongs to remove the bags) but no not squeeze in order to not release too much tannic acid.

2.   Then add 1 cup sugar (cane or organic recommended). Cool to room temp. – somewhere between 68-80° F.  Stir with a wooden spoon. Add fresh scoby and 1 cup of fermented tea. 

3.   DEALING WITH FERMENTED (PRIMARY) STARTER TEA: Remove scoby and place in another jar to create a scoby hotel adding at least 2 cups of the starter tea. (Note: 1 cup stays in the scoby hotel; another goes into the next batch of starter tea for the next 1st fermentation.

4.  Rest of the fermented tea is now ready to remove from container to bottles; it can be bottled with or without flavoring (see directions below). I do strain the fermented tea/kombucha before bottling as it often contains some scoby sediment.

5.   RESTARTING A BATCH OF STARTER TEA: Add the new scoby + 1 cup of fermented tea (from last batch) to the room temp sweetened tea. Cover tightly with a breathable cloth or coffee filter.

6.   Allow it to ferment for 7, 10 or 14 days at room temp . . . begin tasting (siphon off liquid with a paper straw) and check – should be tart and not too sweet, according to your preference. Temp should be between 68-80° F.

2ND FERMENTATION – CREATING CARBONATION AND ADDING FLAVORS 

7.   Add desired flavorings (or just bottle without flavorings) to clean bottles (I use 16 oz. swing top bottles that aid in the process of carbonation; bottles with plastic lids can also be used). (See flavoring ideas below).

8.   Add fermented tea—leave 2” to 3” headspace in bottle.

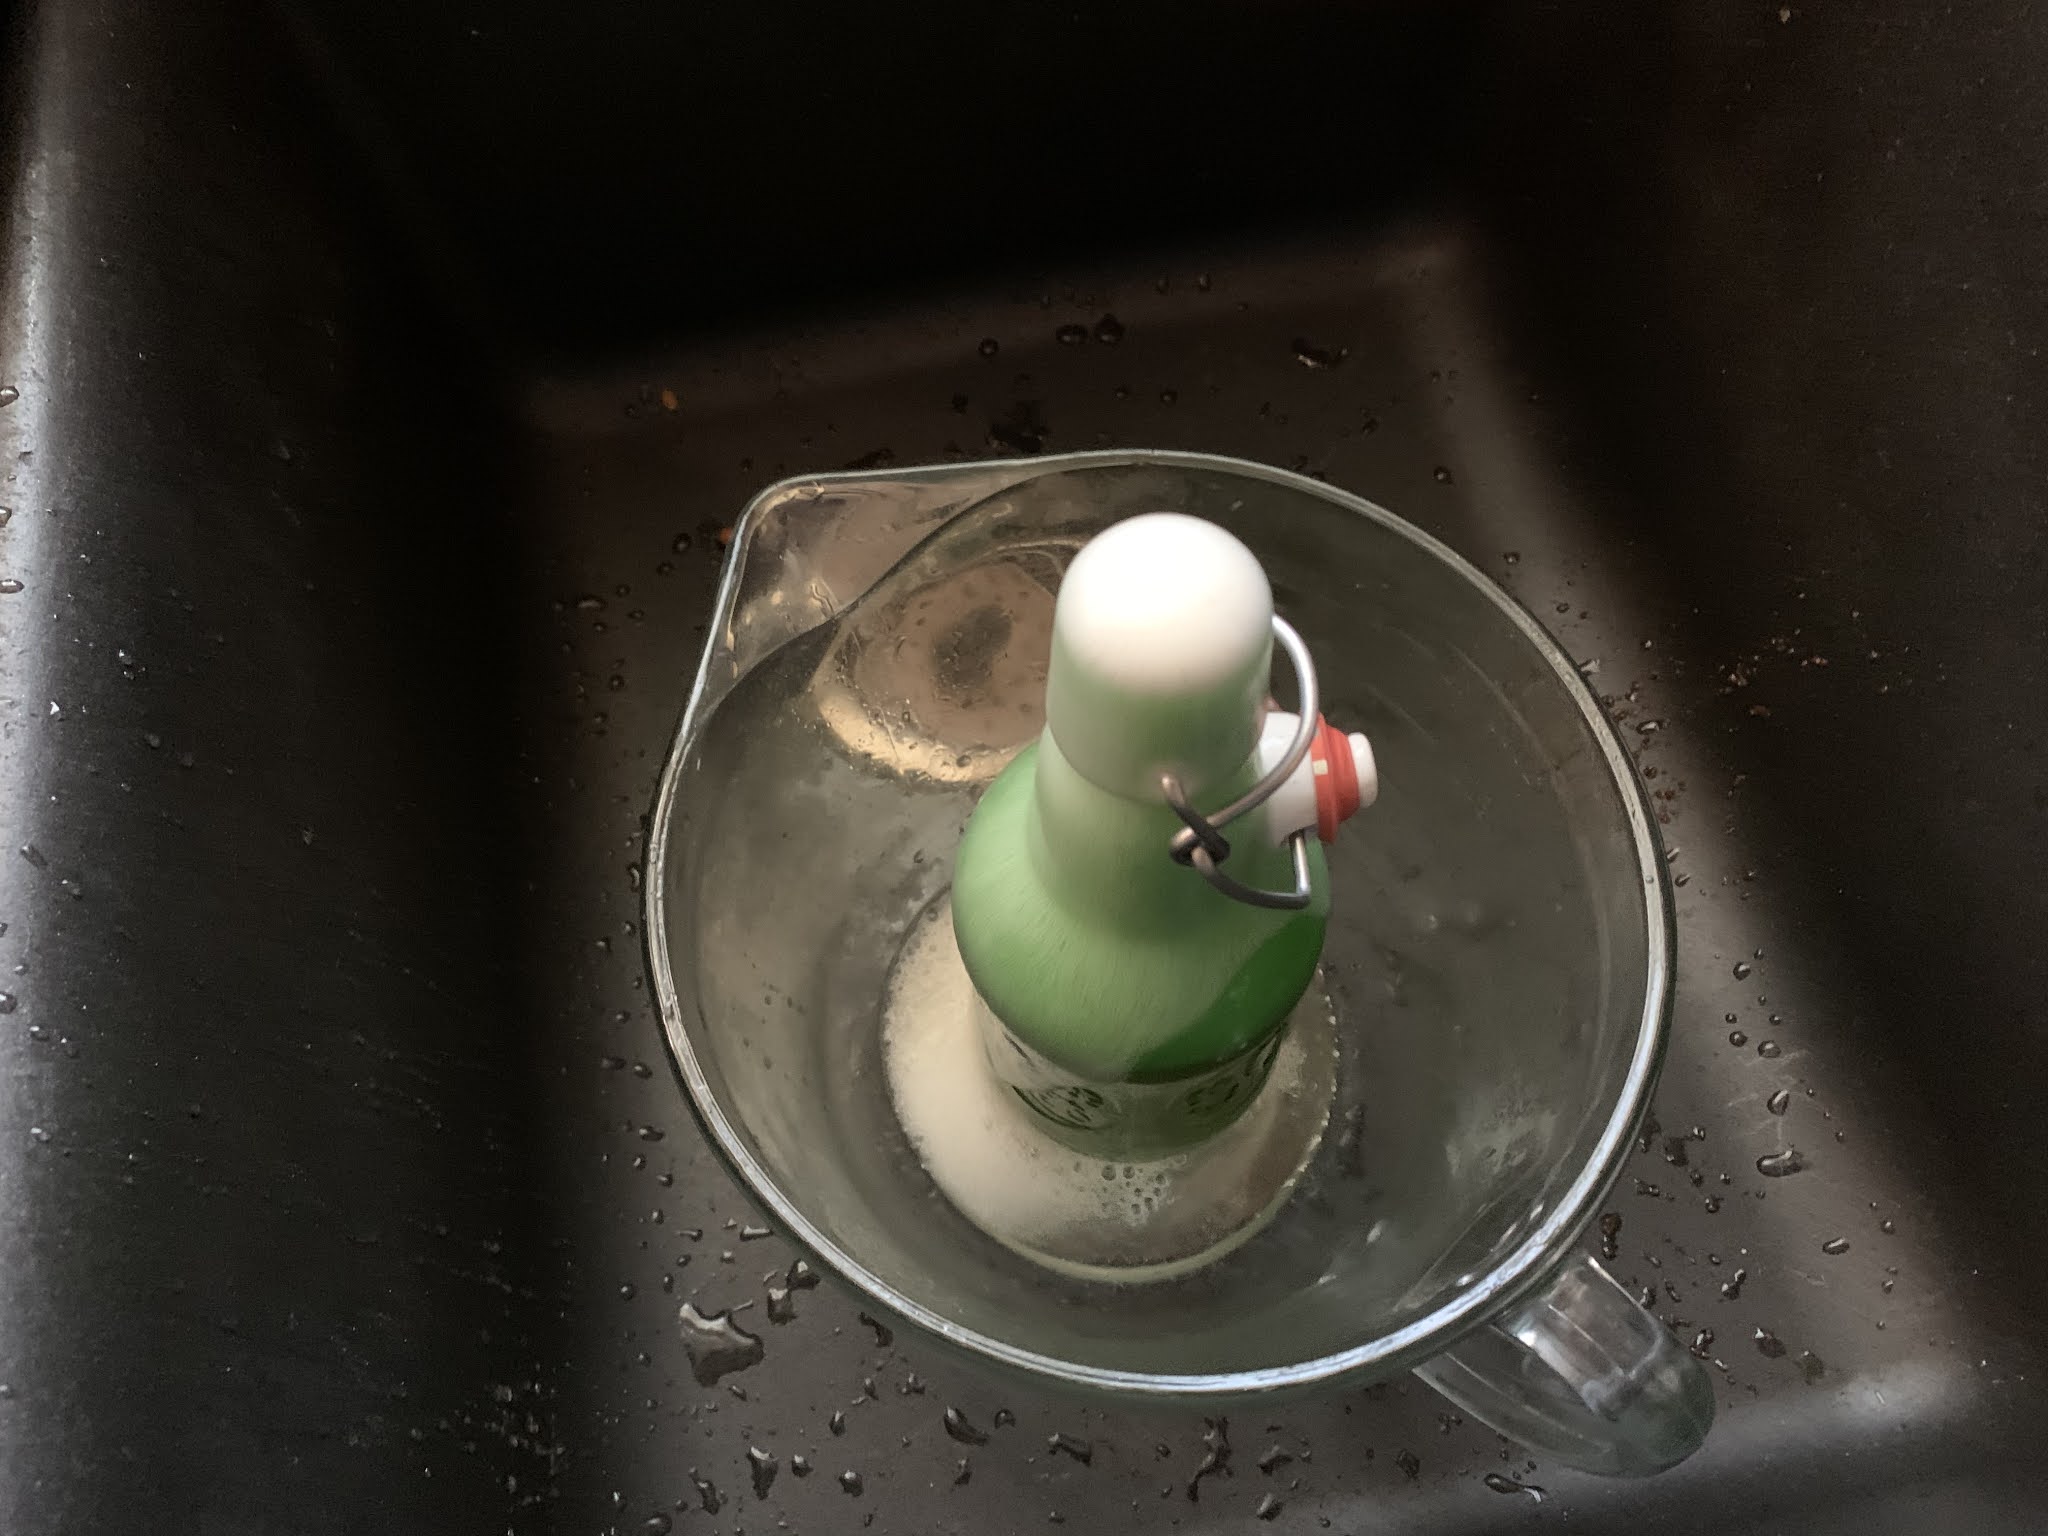
9.   Set the bottle in a space that maintains the 68-80° F. temp. for 3 to  4 days. Burp the bottles twice a day,  in the morning and evening. HELPS: To counter the excess fizz, I've been burping in a large measuring bowl set inside the sink; I then pour the run-off back into the bottle.  

To counter the fruit flies that seem to be drawn to the bottles of kombucha going through their second ferment, I place them in a large plastic bag with a sealable top during the spring and summer months. 

10.  Refrigerate bottles after 4 to 5 days. It is now ready to drink. 

FLAVORINGS I’VE TRIED AND COMMENTS

  •  Apple Cinnamon – added about 3 tablespoons of finely chopped apples (with peels) to jar + 1 cinnamon stick. Tasted like a fermented cider. However it was hard to get the chopped apples both in and out of narrow topped jars—perhaps make an apple puree next time or experiment with apple juice. Cinnamon sticks expand as they set in liquid so they were hard to remove; next time I'll break them into smaller pieces. No added sugar due to the sugars in apples.

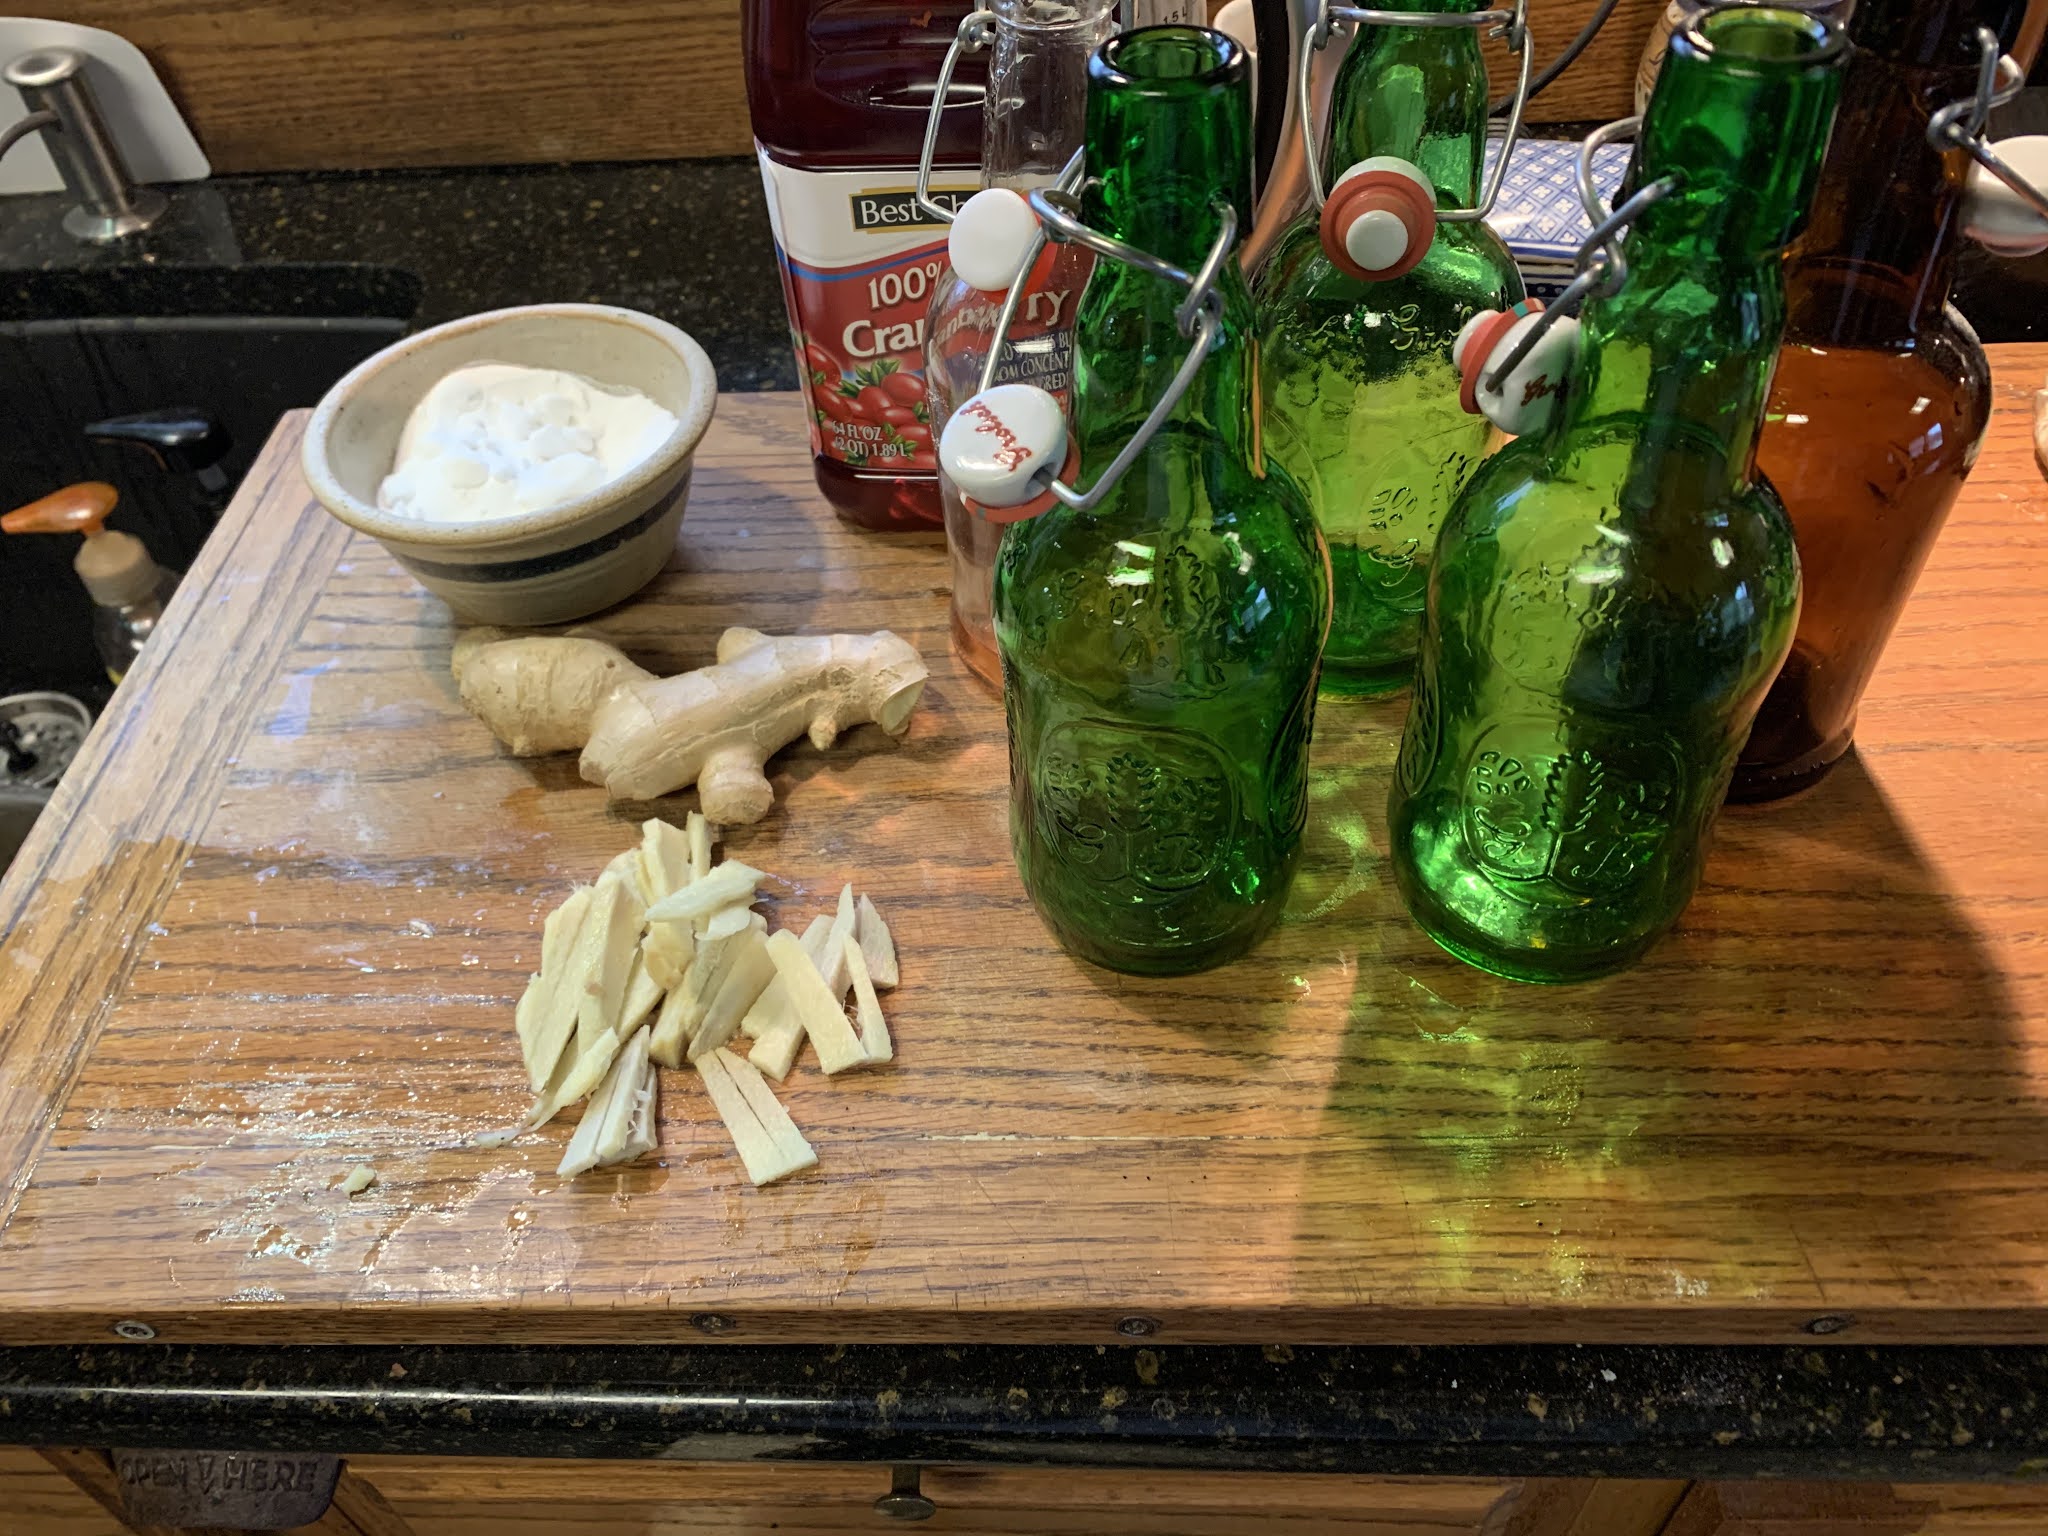
  • Cranberry Ginger – added about 1 tablespoon of 100% cranberry juice to 1 teaspoon of sugar and mixed well; added that amount to each bottle. Added 3 to 4 matchstick of fresh ginger to each bottle and 3 to 4 frozen cranberries. (Barry's favorite to date.)

  • Orange Gingeradded 2 to 3 ounces of  prepared orange juice to each bottle along with 3 to 4 matchstick of fresh ginger. Added 1/2 to 1 tsp. of cane sugar to increase carbonation. 
  • Pomengrate Ginger & Craisins - added 2 to 3 ounces of 100% poremgrate juice to each bottle along with a couple of matchstick pieces  fresh ginger and a few craisins.  Added 1/2 to 1 tsp. of cane sugar to increase carbonation. Variation: omit ginger and use cinnamon sticks.
  • Cream Soda -- mix 3 tablespoons of brown sugar and 1 tablespoon of vanilla with a little bit of the kombucha; divide among bottles of recently fermented k0mbucha tea. 

Thanks to Jay Johnson for providing the original scoby, starter, instructions and tips.

Slow Cooker Chicken and Noodles

Since we are missing the annual Solomon Catholic Church Chicken and Noodle dinner, I decided to make our own church dinner complete with mashed potatoes . . . but certainly not all the salads and pies that normally accompany their meal. Although I usually make chicken and noodles on the stovetop, I was interested in trying a slow cooker version. I consulted several recipes for times and tips. All used canned soups as a thickening agent but I simply made a VeloutĆ© Sauce to use in it’s place — it’s easy (a simple white sauce that uses broth instead of milk for the liquid) and I rarely purchase canned soups + it uses basic, simple ingredients I already have on hand.                                                                             

My BIG QUESTION: How would the noodles cook in the slow cooker? I discovered that they cook perfectly. I will be using the method again!

Slow Cooker Chicken and Noodles    4 to 6 servings

2 chicken thighs or breasts 

Water to cover thighs or breast – about 3 cups 

1/2 teaspoon salt

1/2 teaspoon black pepper

3/4 teaspoon garlic powder

3 or 4 sage leaves or about 1/4 teaspoon dried

1 sprig fresh rosemary or about 1/4 teaspoon dried

1/4 teaspoon poultry seasoning 

1 recipe medium White Sauce  or VeloutĆ© Sauce (using 2 T. butter, 2 T. flour, salt & pepper and 1 c. milk for white sauce or 1 c.  chicken broth for VeloutĆ© Sauce)  

Extra chicken broth as needed 

About 12 ounces homemade egg noodles, homemade or commercial frozen noodles ( I make a big batch of egg noodles and portion them for the freezer)  

Mashed Potatoes  

1.   Place the chicken breasts in the slow cooker. Cover with water and sprinkle with the seasoning. 


2.   Place the lid on the crock and cook on Low for 5 to 6 hours, or until chicken is done and can be easily shredded.


3.   Remove the chicken to a plate using tongs; set aside.
Strain the broth and add back to the slow cooker—if you don’t have 3 cups, add additional chicken broth or if you have extra, reserve some for a later addition as needed or to use in the VeloutĆ© Sauce. 

4.   Add the White Sauce or VeloutĆ© Sauce to the broth in the slow cooker. Then add noodles and more chicken broth as needed during the cooking process. Stir well. Place the lid back on and cook on High for another 1 to 2 hours, stirring halfway through cook time.


5.   Meanwhile, use two forks to shred the chicken and re-add to the slow cooker. Taste and adjust seasonings as needed.

6.   If the chicken and noodles are too thick for your liking, just add more broth.

7.   Serve over mashed potatoes. Leftovers can be thinned down with additional broth to become soup. 


Roasted Chicken Legs . . . Sunday Dinner for Two!

Perfectly seasoned and crispy roasted chicken legs make for a tasty and easy Sunday dinner. It began with a simple DIY seasoning blend that can be used on two or 12+ chicken pieces.  A high oven temp then finishes the process. Add favorite sides and dinner is ready—it’s as simple as that! 
Roasted Chicken Leg w/ Potato-Turnip Mash,
Sliced Garden Tomatoes and Fluffy Rolls

Roasted Chicken Legs

About 1 teaspoon of Paprika Seasoning Blend for every 2 piece of chicken + extra for sprinkling (recipe follows)

About 1 tablespoon+ olive oil for every 2 pieces of chicken + extra for brushing on pan

2 chicken legs

  1. Preheat oven to 425°. Cover a baking sheet with foil; drizzle with a little olive oil and brush to evenly distribute.
  2. Add Paprika Seasoning Blend and olive oil to a zip top bag and seal. Add chicken and “smush” to coat it in the seasoning.
  3. Arrange chicken on the baking sheet and sprinkle with a little additional Paprika Seasoning Blend.
  4. Bake for 40 to 45 minutes or until a thermometer reads at least 165°. (Our preference is to go to a higher temp.)

Paprika Seasoning Blend . . . use it on chicken, pork, or add it to soups

Mix up the following, use what you need, label and store for future use. 

2 tablespoons paprika (smoked paprika is preferred)

2 tablespoons onion powder

2 tablespoons garlic powder

1 tablespoon salt (Kosher or sea salt preferred)

1 tablespoon black pepper (coarse preferred)


Recipe without photos . . .

Roasted Chicken Legs

About 1 teaspoon of Paprika Seasoning Blend for every 2 piece of chicken + extra for sprinkling (see recipe above)

About 1 tablespoon+ olive oil for every 2 pieces of chicken + extra for brushing on pan

2 chicken legs

  1. Preheat oven to 425°. Cover a baking sheet with foil; drizzle with a little olive oil and brush to evenly distribute.
  2. Add Paprika Seasoning Blend and olive oil to a zip top bag and seal. Add chicken and “smush” to coat it in the seasoning.
  3. Arrange chicken on the baking sheet and sprinkle with a little additional Paprika Seasoning Blend.
  4. Bake for 40 to 45 minutes or until a thermometer reads at least 165°. (Our preference is to go to a higher temp.)