
Forgot the outer edges and enjoy the center of the cinnamon roll in every bite of these minis. Besides, they are fun to make, too! This recipe, along with the cutting and rolling technique come from Life Made Simple blog. I've made these twice and have make some adjustments, added extra explanations and tips + rearranged the list of ingredients so they appear in their order of use.
Mini Cinnamon Rolls with Cream Cheese Frosting Yield: 44 mini rolls
Rolls
2¾ cups all-purpose flour
1 tablespoon active dry yeast (instant)
1 teaspoon salt
1 teaspoon salt
¼ cup granulated sugar
2 tablespoons unsalted butter
½ cup water
¼ cup whole milk
1 egg
Filling
¼ cup (½ stick) butter, melted
⅔ cup packed brown sugar
1 tablespoon. + 1 teaspoon ground cinnamon
1 teaspoon vanilla
Cream Cheese Frosting
4 oz. cream cheese, room temperature
¼ cup (1/2 stick) unsalted butter, room temperature
1 cup powdered sugar
1 to 2 tablespoons whole milk (to desired thickness)
½ teaspoon vanilla
- Rolls: In a large bowl or the bowl of a stand mixer, combine the flour, yeast and salt.

- In a small microwave safe bowl (or glass measuring cup), combine the sugar, butter, water and milk.
- Heat in the microwave until the mixture is hot (about 1 minute) and the butter is almost melted; mixture should be 120°-let it cool if higher.
- Gradually add the milk mixture into the flour mixture.
- Add the egg and mix until a soft and sticky dough forms.

- Set oven on “ bread proof” or if proof setting if not available, set oven temperature to 200’.
- If using a stand mixer, switch to the dough hook and set on the lowest mixing setting for 4 minutes or until the dough becomes elastic or knead by hand on a lightly floured surface for 3 to 4 minutes.

- Cover the dough with plastic wrap and allow it to rest on the counter for 10 minutes.
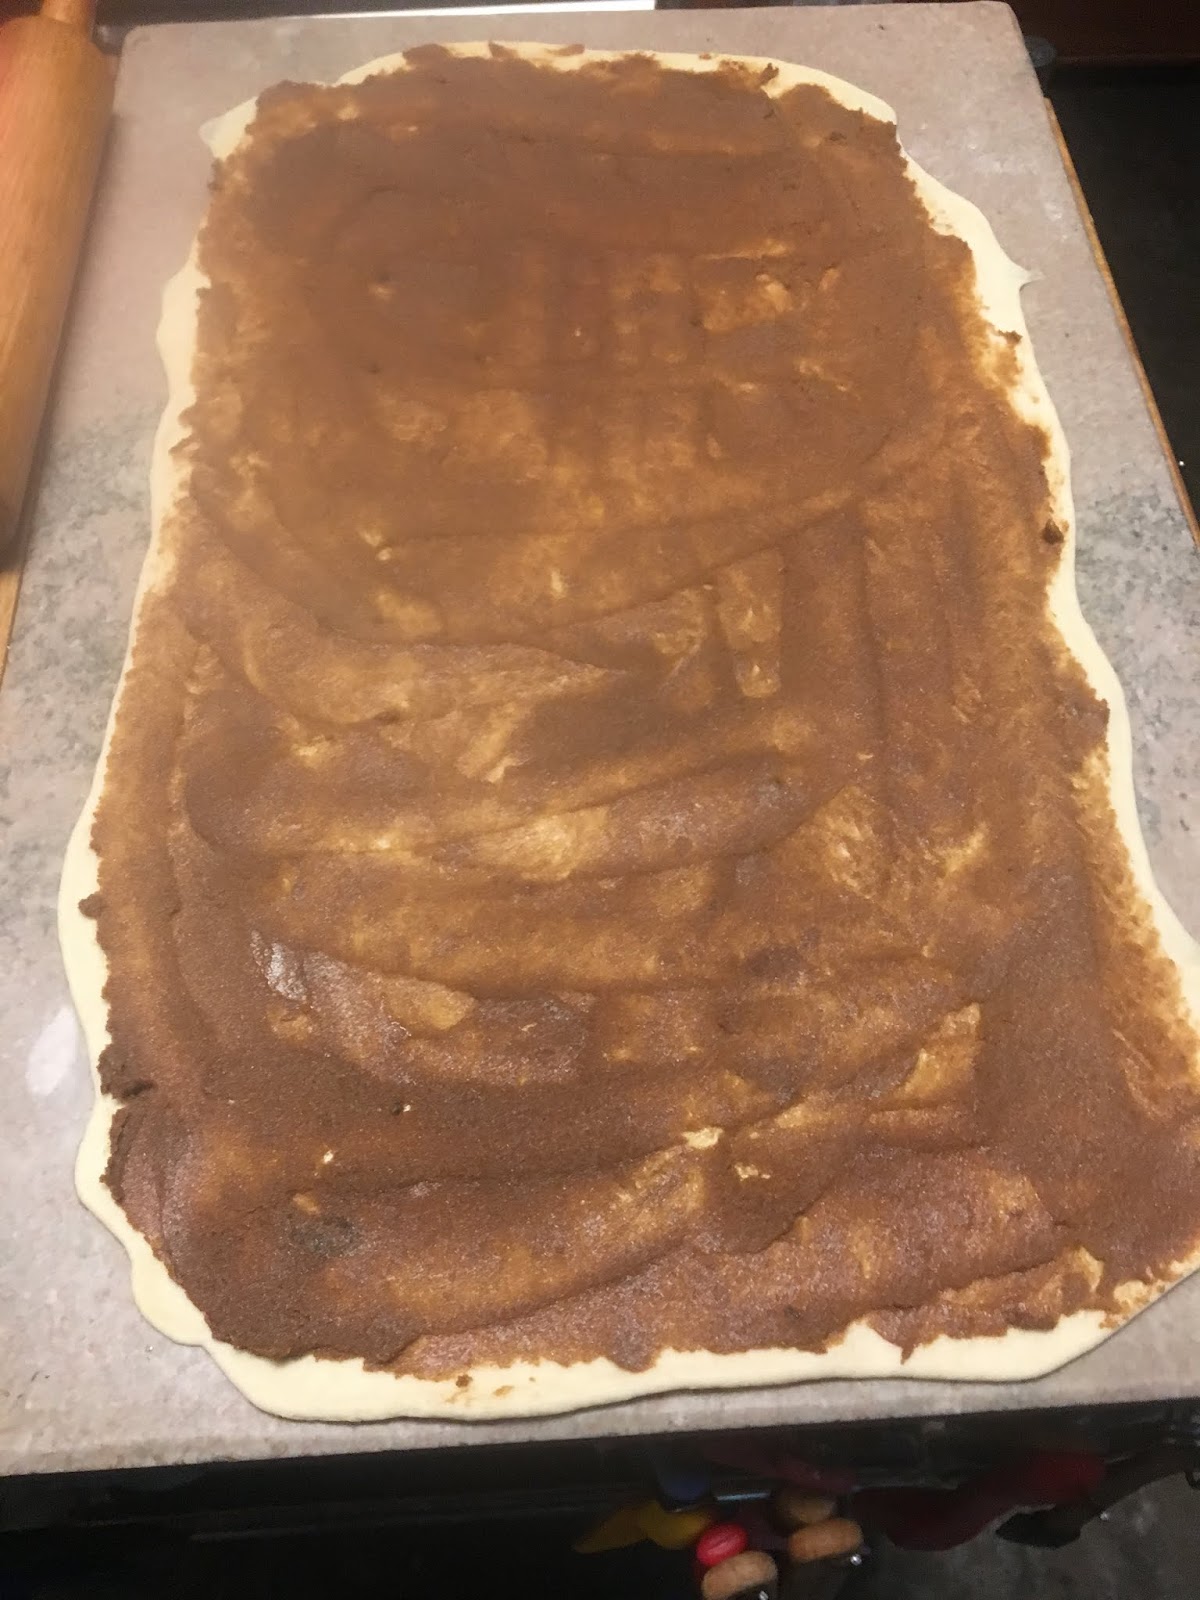
- Once the dough has rested, roll it out on a lightly floured surface until it ideally measures a 24×16” rectangle, or a 22x14” rectangle is fine . . . although a perfect rectangle would be easiest to work with, it can certainly be rather rustic in shape.

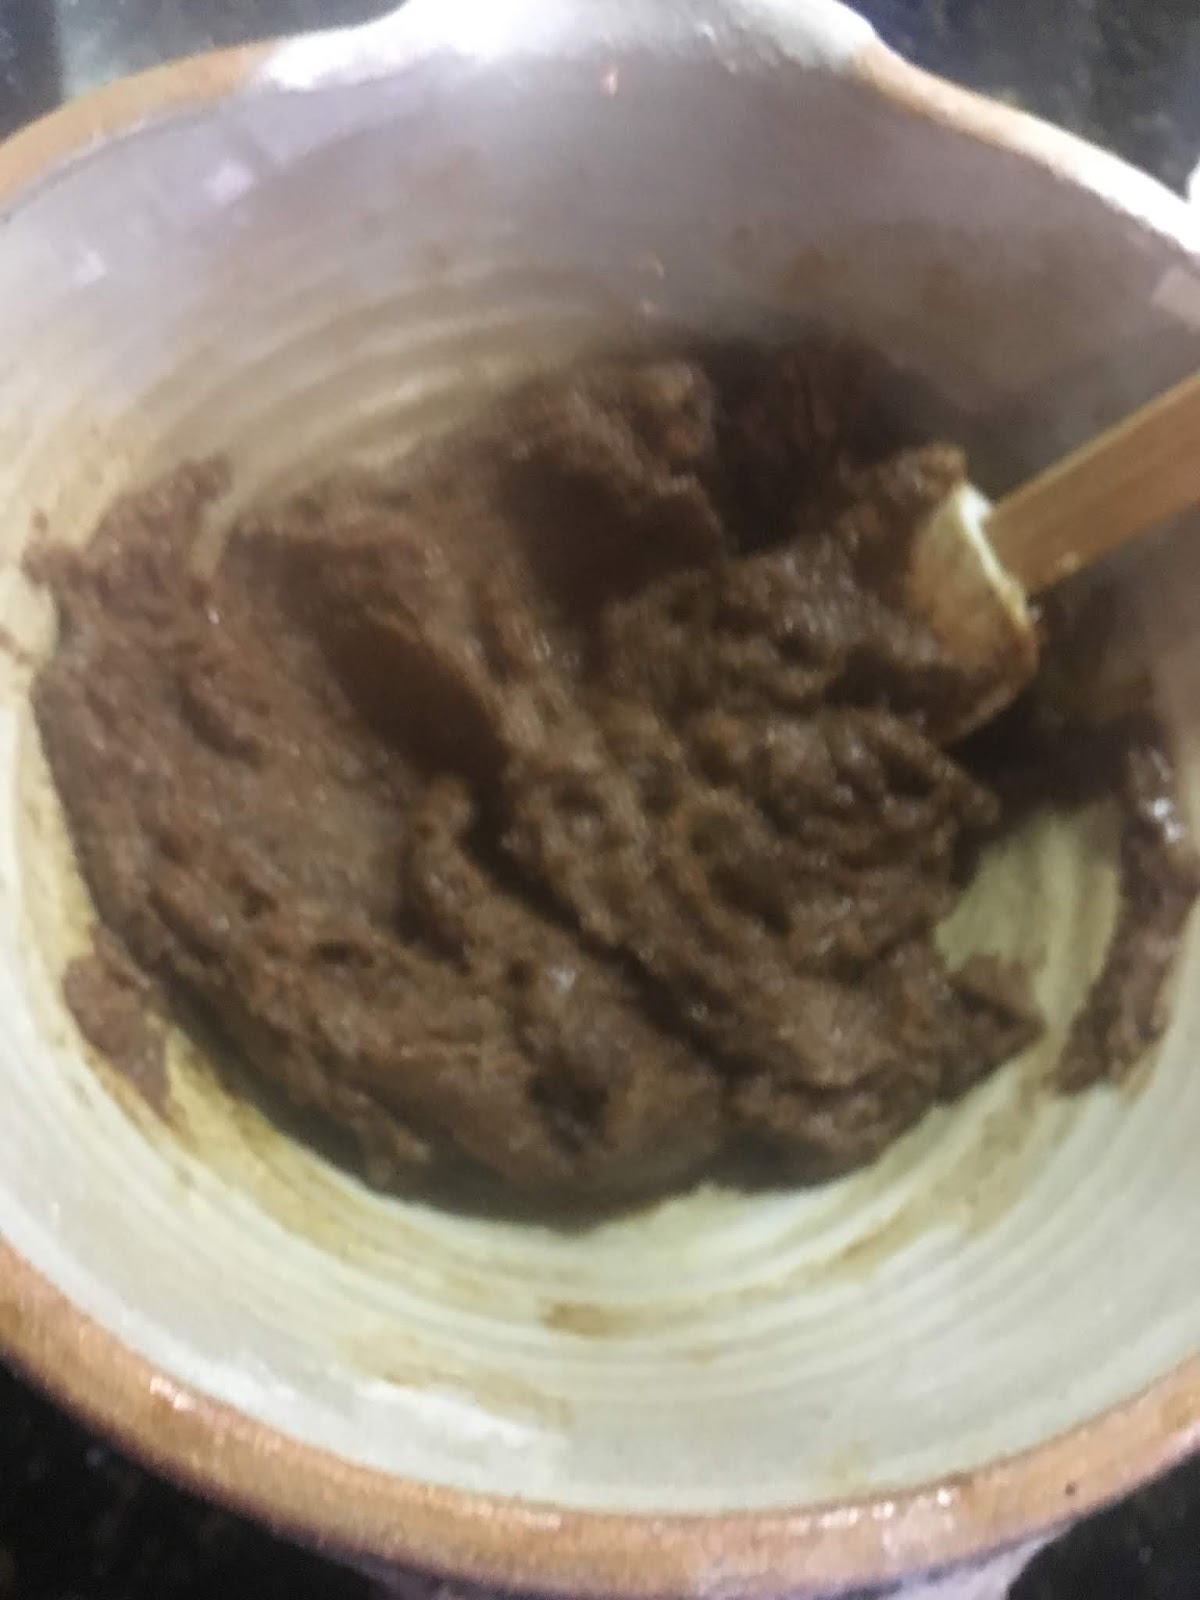
- Filling: Prepare the filling by combining all of the ingredients in a small mixing bowl except for the butter.

- Spread the butter over the top of the rolled dough, then cover with the filling. The filling will seem very thin but it is just the right amount so don’t be tempted to add more.

- Shaping: Using a pizza roller/cutter, cut 1” strips of dough—a total of 22 to 24 strips; then cut down the middle of the dough, creating 44 to 48 rolls

- Roll each up into a tight roll. Use a Bench knife (dough scraper) to gently ease any sections that might stick to the work surface.


- Prepare 9x13” pan by lining with a piece of parchment that overlaps on the sides (for easy removal of roll); lightly spray paper.
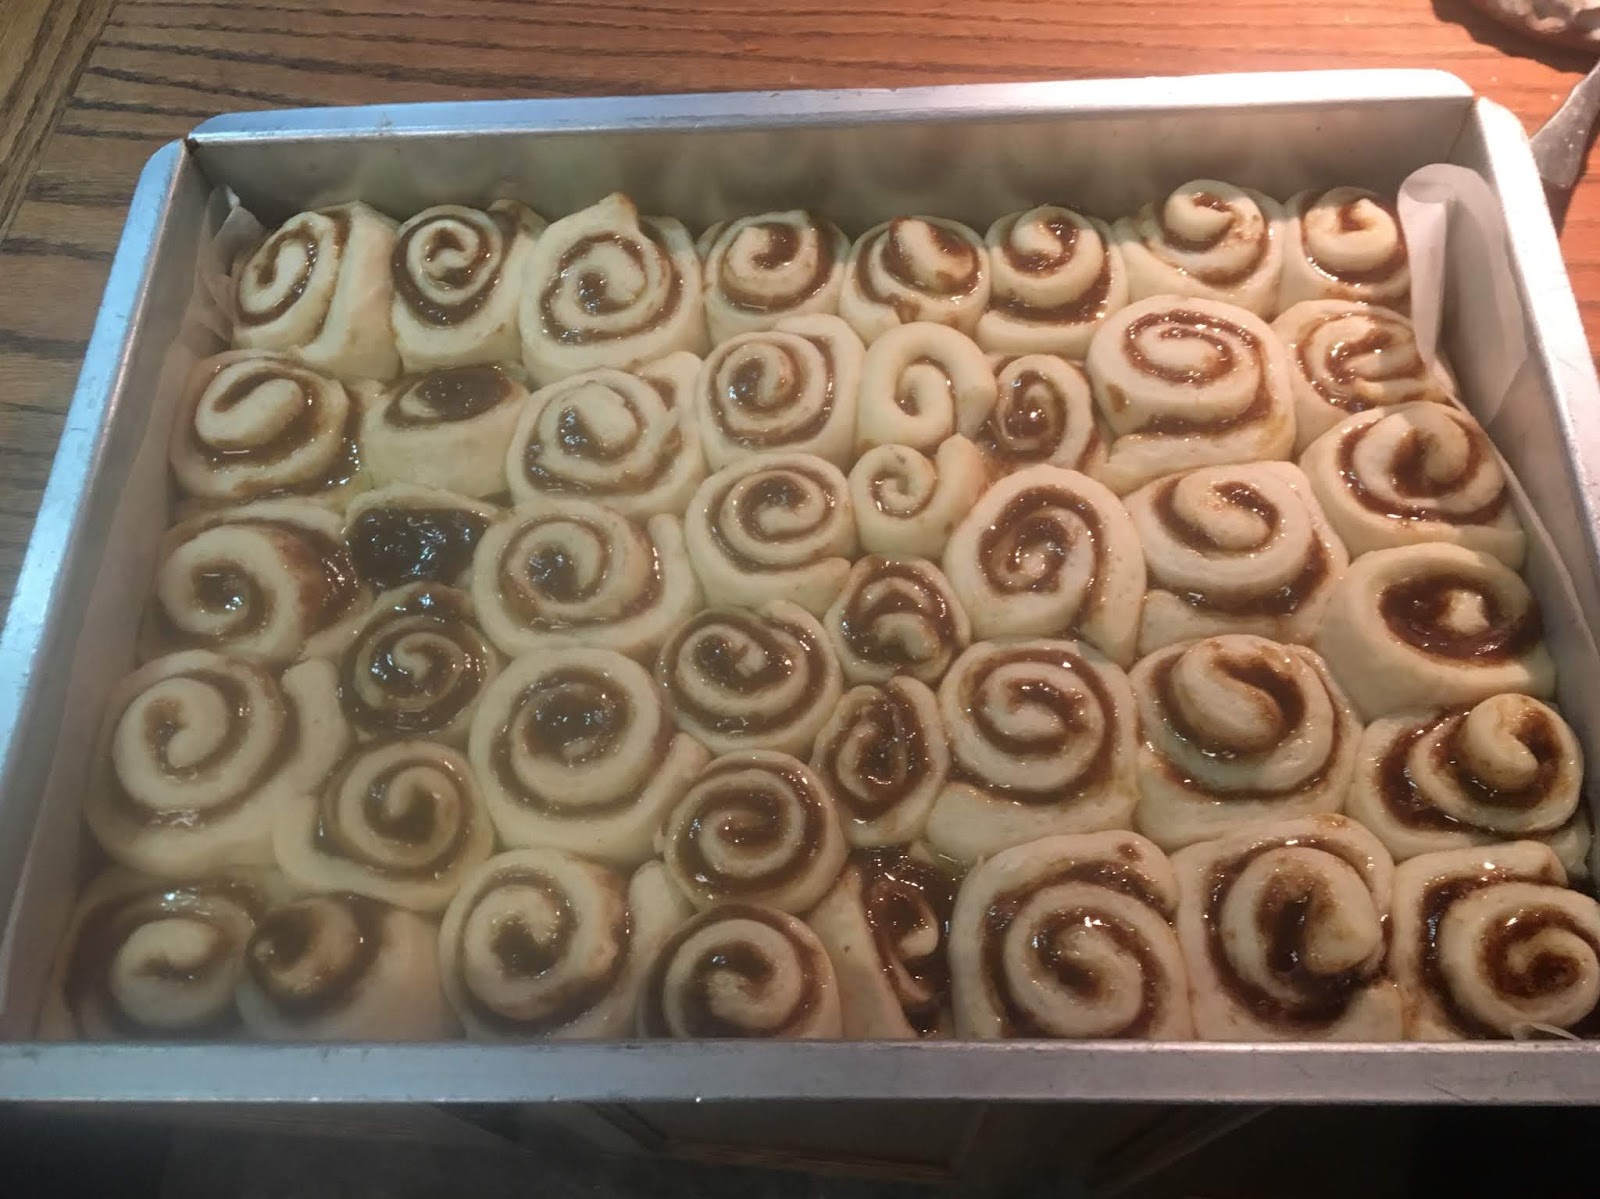
- Place the rolls into prepared baking dish and gently place a piece of aluminum foil over top. (I discovered that adding all of the rolls to this size pan caused some to meld with another; the second time I made them, I put 38 in the prepared pan and the remaining in another baking dish.)

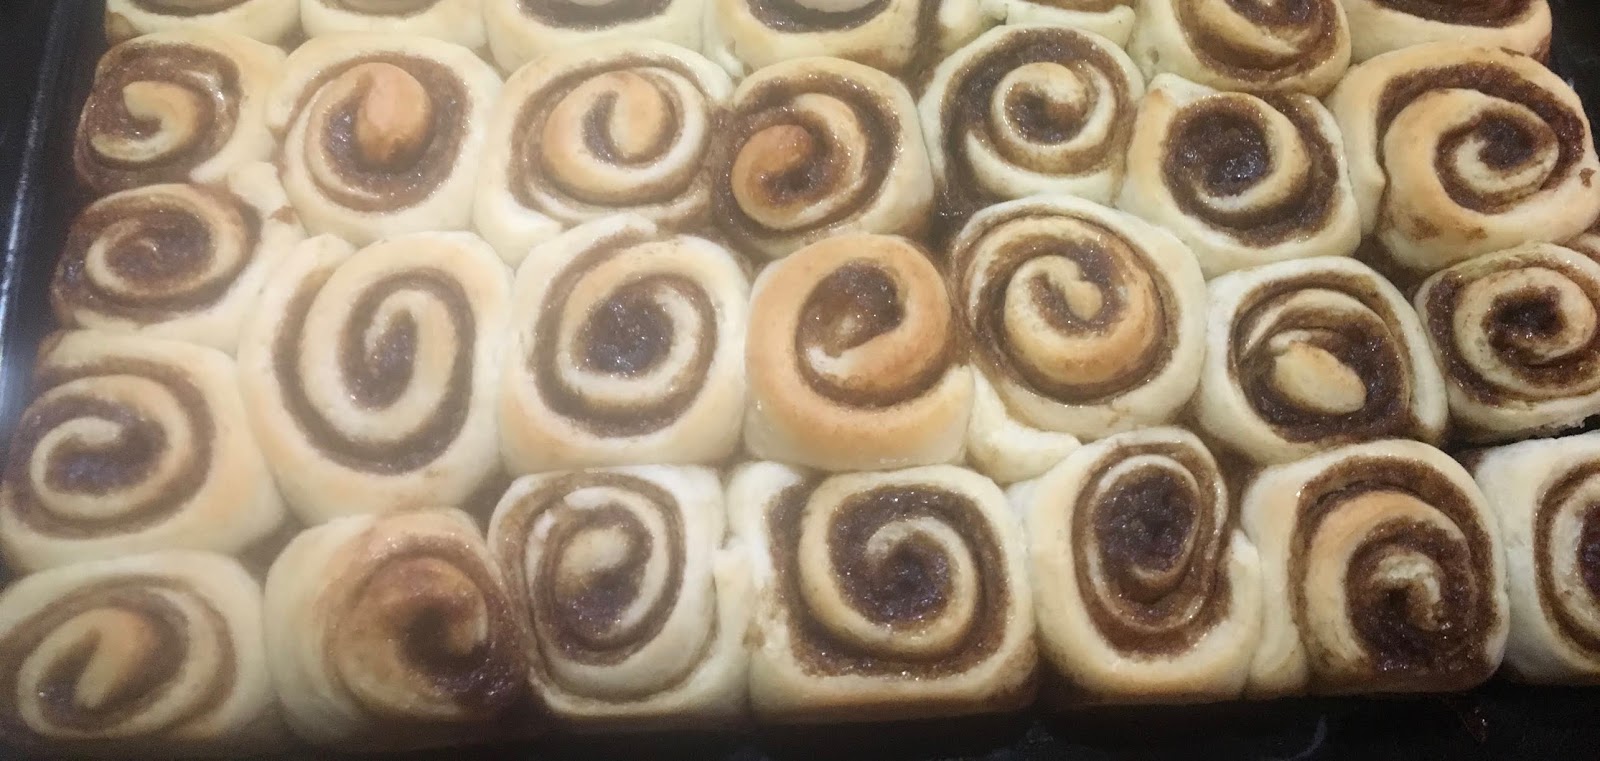
Above -- all 44 are in one baking pan.
Below -- 38 rollin are in the baking pan with the extra in another baking dish. Notice the difference in step #16 after rolls have proofed.
- If oven has been set to 200°, turn it OFF your oven and place the covered rolls inside to rise for about 30 minutes or until rolls rise and fill pan – watch so they do not over-proof. Leave oven set to “bread proof” for the 30 minutes if oven has that option.

Above -- 44 rolls in the baking pan caused overcrowding.
Below -- 38 rolls in pan allowed rolls to retain their individual shapes.
- Remove the rolls from the oven and turn ON your oven to 375°. Once heated, remove the foil and bake the rolls for 15 to 18 minutes or until the centers are lightly golden brown in color.

Above -- 15 minutes in oven produced lightly browned rolls with a soft texture. This was my preference.
Below: 18 minute in oven produced markers, crisper rolls.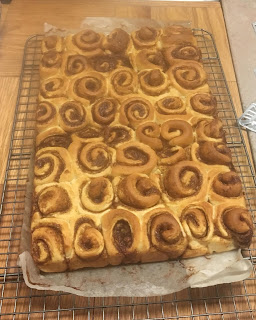
- Remove from the oven; using edges of parchment paper, transfer rolls from baking pan to cooling rack (as pictured above). Allow to cool for a few minutes before frosting.
- Frosting: While rolls are cooling, prepare the frosting by combining all of the ingredients in a small mixing bowl and beating by hand or with a hand mixer until smooth. Spread over the tops of the rolls.


Recipe without photos . . .
Mini Cinnamon Rolls with Cream Cheese Frosting Yield: 44 mini rolls
Rolls
2¾ cups all-purpose flour
1 tablespoon active dry yeast (instant)
1 tablespoon active dry yeast (instant)
1 teaspoon salt
¼ cup granulated sugar
2 tablespoons unsalted butter
½ cup water
¼ cup whole milk
1 egg
Filling
¼ cup (½ stick) butter, melted
⅔ cup packed brown sugar
1 tablespoon + 1 teaspoon ground cinnamon
1 tsp. vanilla
Cream Cheese Frosting
4 oz. cream cheese, room temperature
¼ cup (1/2 stick) unsalted butter, room temperature
1 cup powdered sugar
1 to 2 tablespoons whole milk (to desired thickness)
½ teaspoon vanilla
- Rolls: In a large bowl or the bowl of a stand mixer, combine the flour, yeast and salt.
- In a small microwave safe bowl (or glass measuring cup), combine the sugar, butter, water and milk.
- Heat in the microwave until the mixture is hot (about 1 minute) and the butter is almost melted; mixture should be 120°-let it cool if higher.
- Gradually add the milk mixture into the flour mixture.
- Add the egg and mix until a soft and sticky dough forms.
- Set oven on “ bread proof” or if proof setting if not available, set oven temperature to 200’.
- If using a stand mixer, switch to the dough hook and set on the lowest mixing setting for 4 minutes or until the dough becomes elastic or knead by hand on a lightly floured surface for 3 to 4 minutes.
- Cover the dough with plastic wrap and allow it to rest on the counter for 10 minutes.
- Once the dough has rested, roll it out on a lightly floured surface until it ideally measures a 24×16” rectangle, or a 22x14” rectangle is fine . . . although a perfect rectangle would be easiest to work with, it can certainly be rather rustic in shape.
- Filling: Prepare the filling by combining all of the ingredients in a small mixing bowl except for the butter.
- Spread the butter over the top of the rolled dough, then cover with the filling. The filling will seem very thin but it is just the right amount so don’t be tempted to add more.
- Shaping: Using a pizza roller/cutter, cut 1” strips of dough—a total of 22 to 24 strips; then cut down the middle of the dough, creating 44 to 48 rolls
- Roll each up into a tight roll. Use a Bench knife (dough scraper) to gently ease any sections that might stick to the work surface.
- Prepare 9x13” pan by lining with a piece of parchment that overlaps on the sides (for easy removal of roll); lightly spray paper.
- Place the rolls into prepared baking dish and gently place a piece of aluminum foil over top. (I discovered that adding all of the rolls to this size pan caused some to meld with another; the second time I made them, I put 38 in the prepared pan and the remaining in another baking dish.)
- If oven has been set to 200°, turn it OFF your oven and place the covered rolls inside to rise for about 30 minutes or until rolls rise and fill pan – watch so they do not over-proof. Leave oven set to “bread proof” for the 30 minutes if oven has that option.
- Remove the rolls from the oven and turn ON your oven to 375°. Once heated, remove the foil and bake the rolls for 15 to 18 minutes or until the centers are lightly golden brown in color.
- Remove from the oven; using edges of parchment paper, transfer rolls from baking pan to cooling rack. Allow to cool for a few minutes before frosting.
- Frosting: While rolls are cooling, prepare the frosting by combining all of the ingredients in a small mixing bowl and beating by hand or with a hand mixer until smooth. Spread over the tops of the rolls.

No comments:
Post a Comment