From dry beans to a side dish all in the Instant Pot — no soaking require. For years, pressure cooking was a unit of study I taught in high school home economics and the stove-top version cooking method was one I used at home to speed up cooking. Then, the slow cooker and other new technologies took over. Many of those (with the exemption of the slow cooker) eventually took their place on back shelves, resurrected once a year or so, if at all. So I was reluctant to purchase the latest “fad.” However, I believe this appliance is beyond the “fad” status and I continue to praise it’s usefulness.
Instant Pot Baked Beans — no soaking required / recipe makes about 6+ servings and is adjusted for a 3-quart pot; double recipe for a 6-quart pot
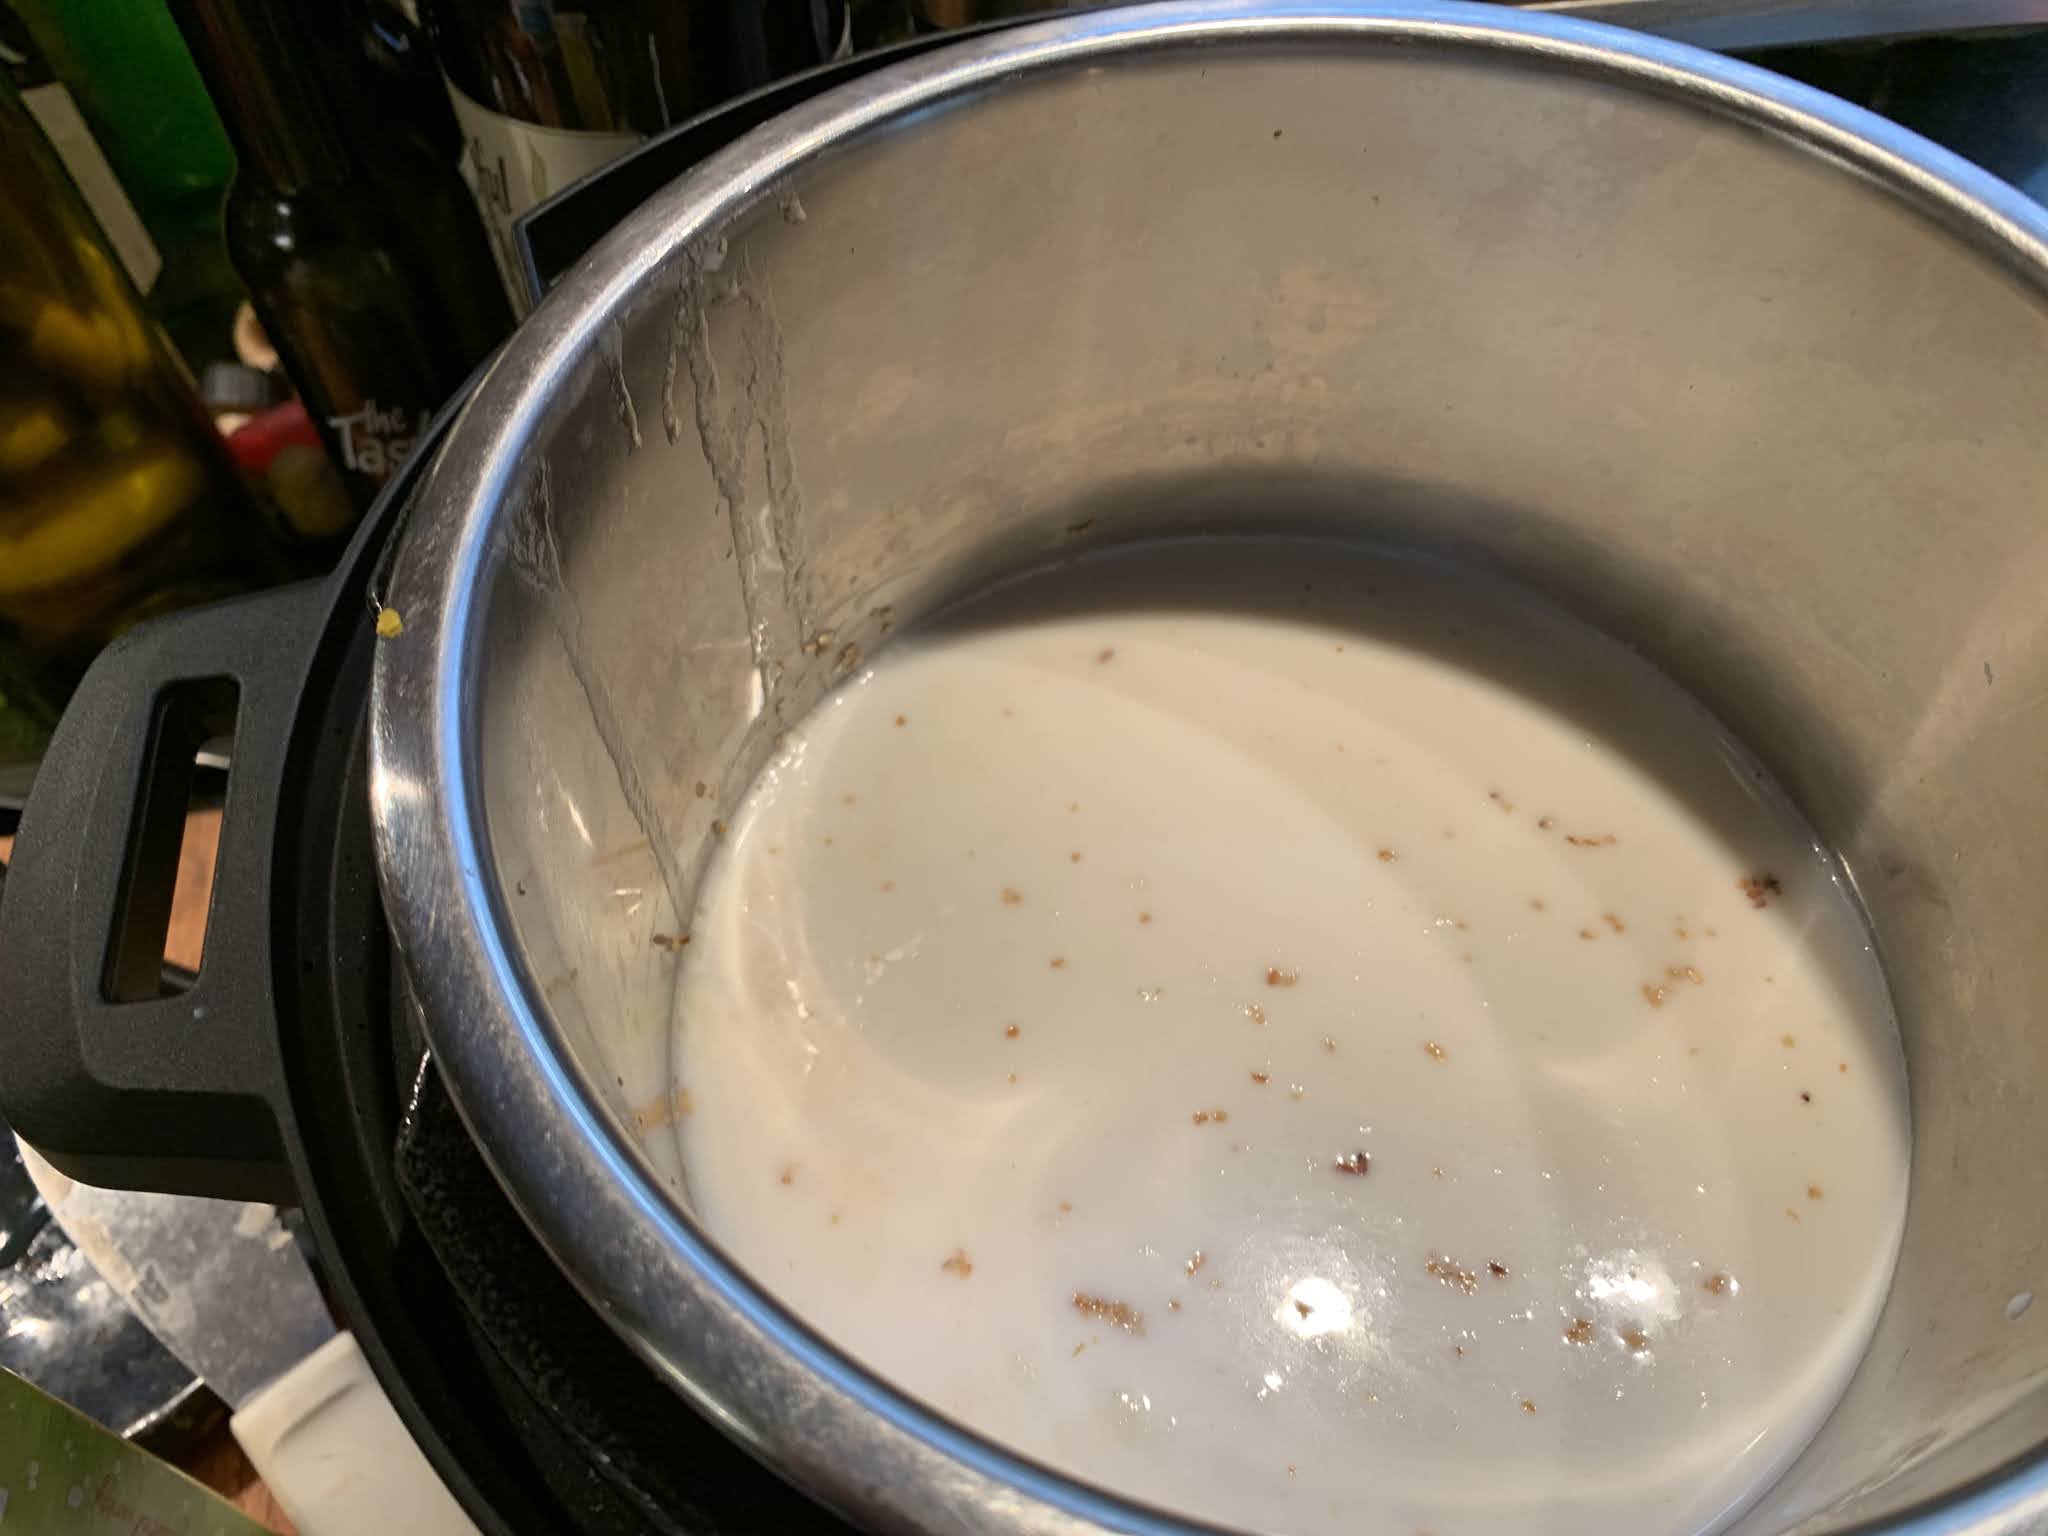
Cook Dry Beans:
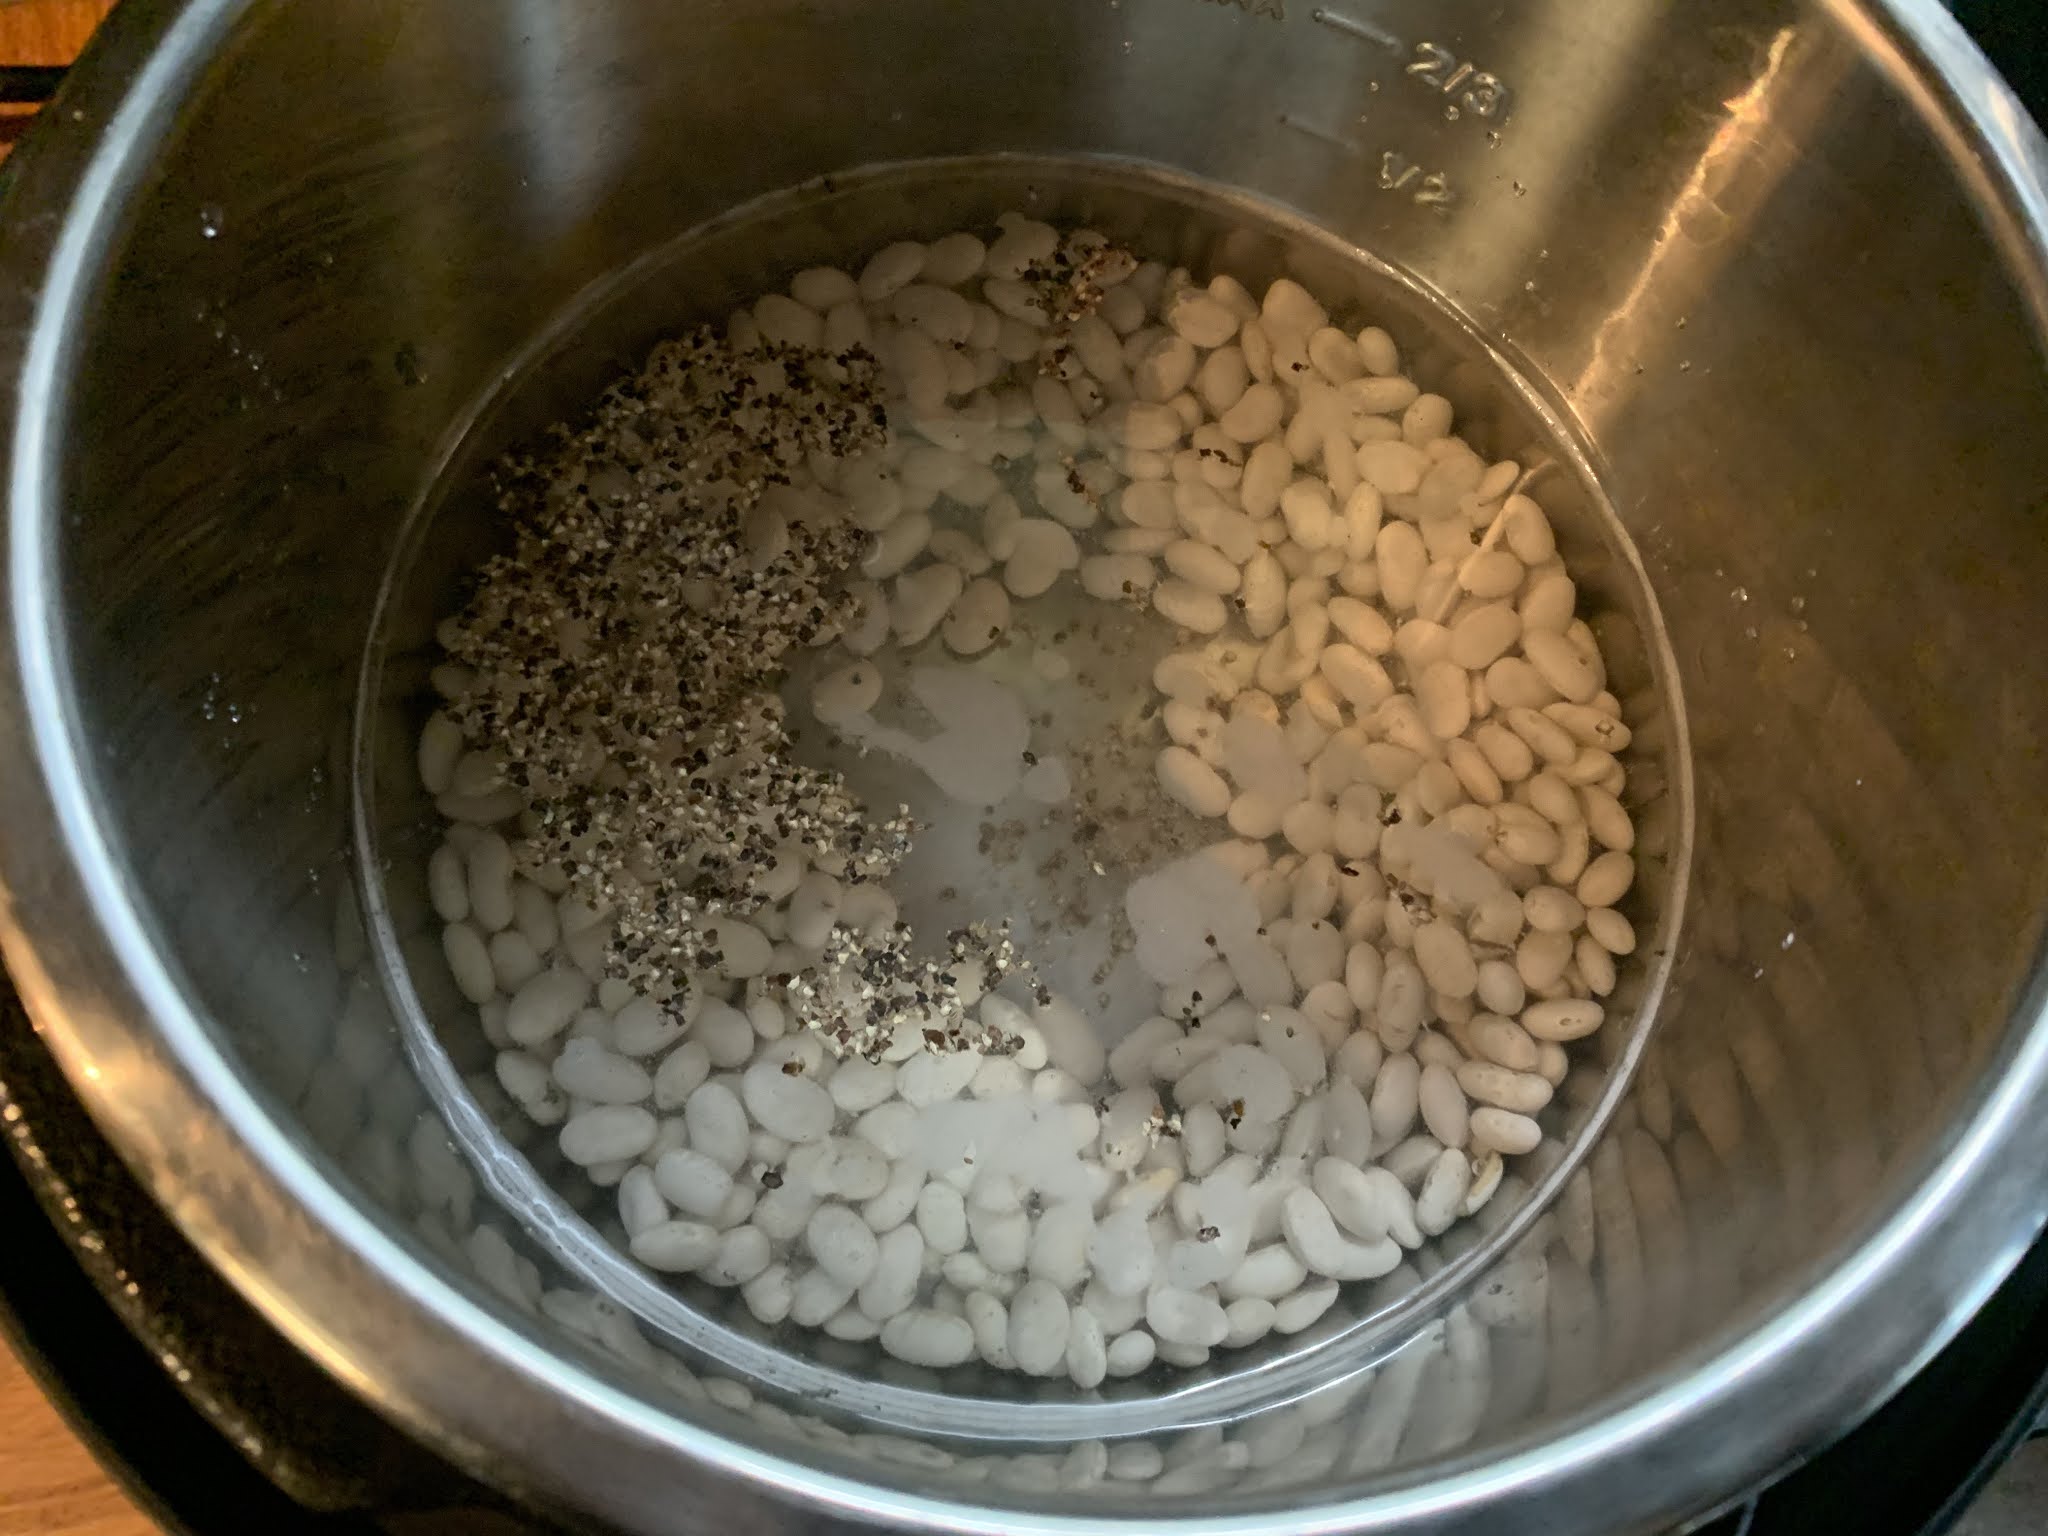
1/2 lb. uncooked dry white beans (Great Northern or Navy)
1/2 teaspoon ground black pepper
4 cups water
Baked Beans:
4 or 5 slices bacon, cut into pieces
1 small to medium yellow or white onion, diced
1/2 tablespoon minced garlic (I used 1 tablespoon garlic scapes* since this is the season for them)
3 tablespoons brown sugar
1 heapingtablespoon tomato paste
1 1/2 teaspoons liquid smoke
1 1/2 teaspoons Worcestershire sauce
1 1/2 tablespoons molasses
1/4 cup BBQ sauce (I used a homemade version of Gates BBQ Sauce)
About 2 oz. (1/2 can) diced green chiles ( optional)
1/2 teaspoon smoked paprika
1/2 teaspoon dry mustard
Dash red pepper flakes
1 1/2 cup water
Kosher salt for seasoning near end of cooking
Cilantro for garnishing if desired
- Cook Dry Beans: Add dry beans, salt and 4 cups of water to the inner pot of the Instant Pot (IP). Cover and make sure the valve points to Sealed.
- Cook on High Pressure for 25 minutes followed by a 20 to 25 minutes Natural Pressure Release.
- Manually release manually the remaining pressure and remove the lid.
- Rinse the beans under cold water and drain.
Clean the inner pot and return it to the IP.
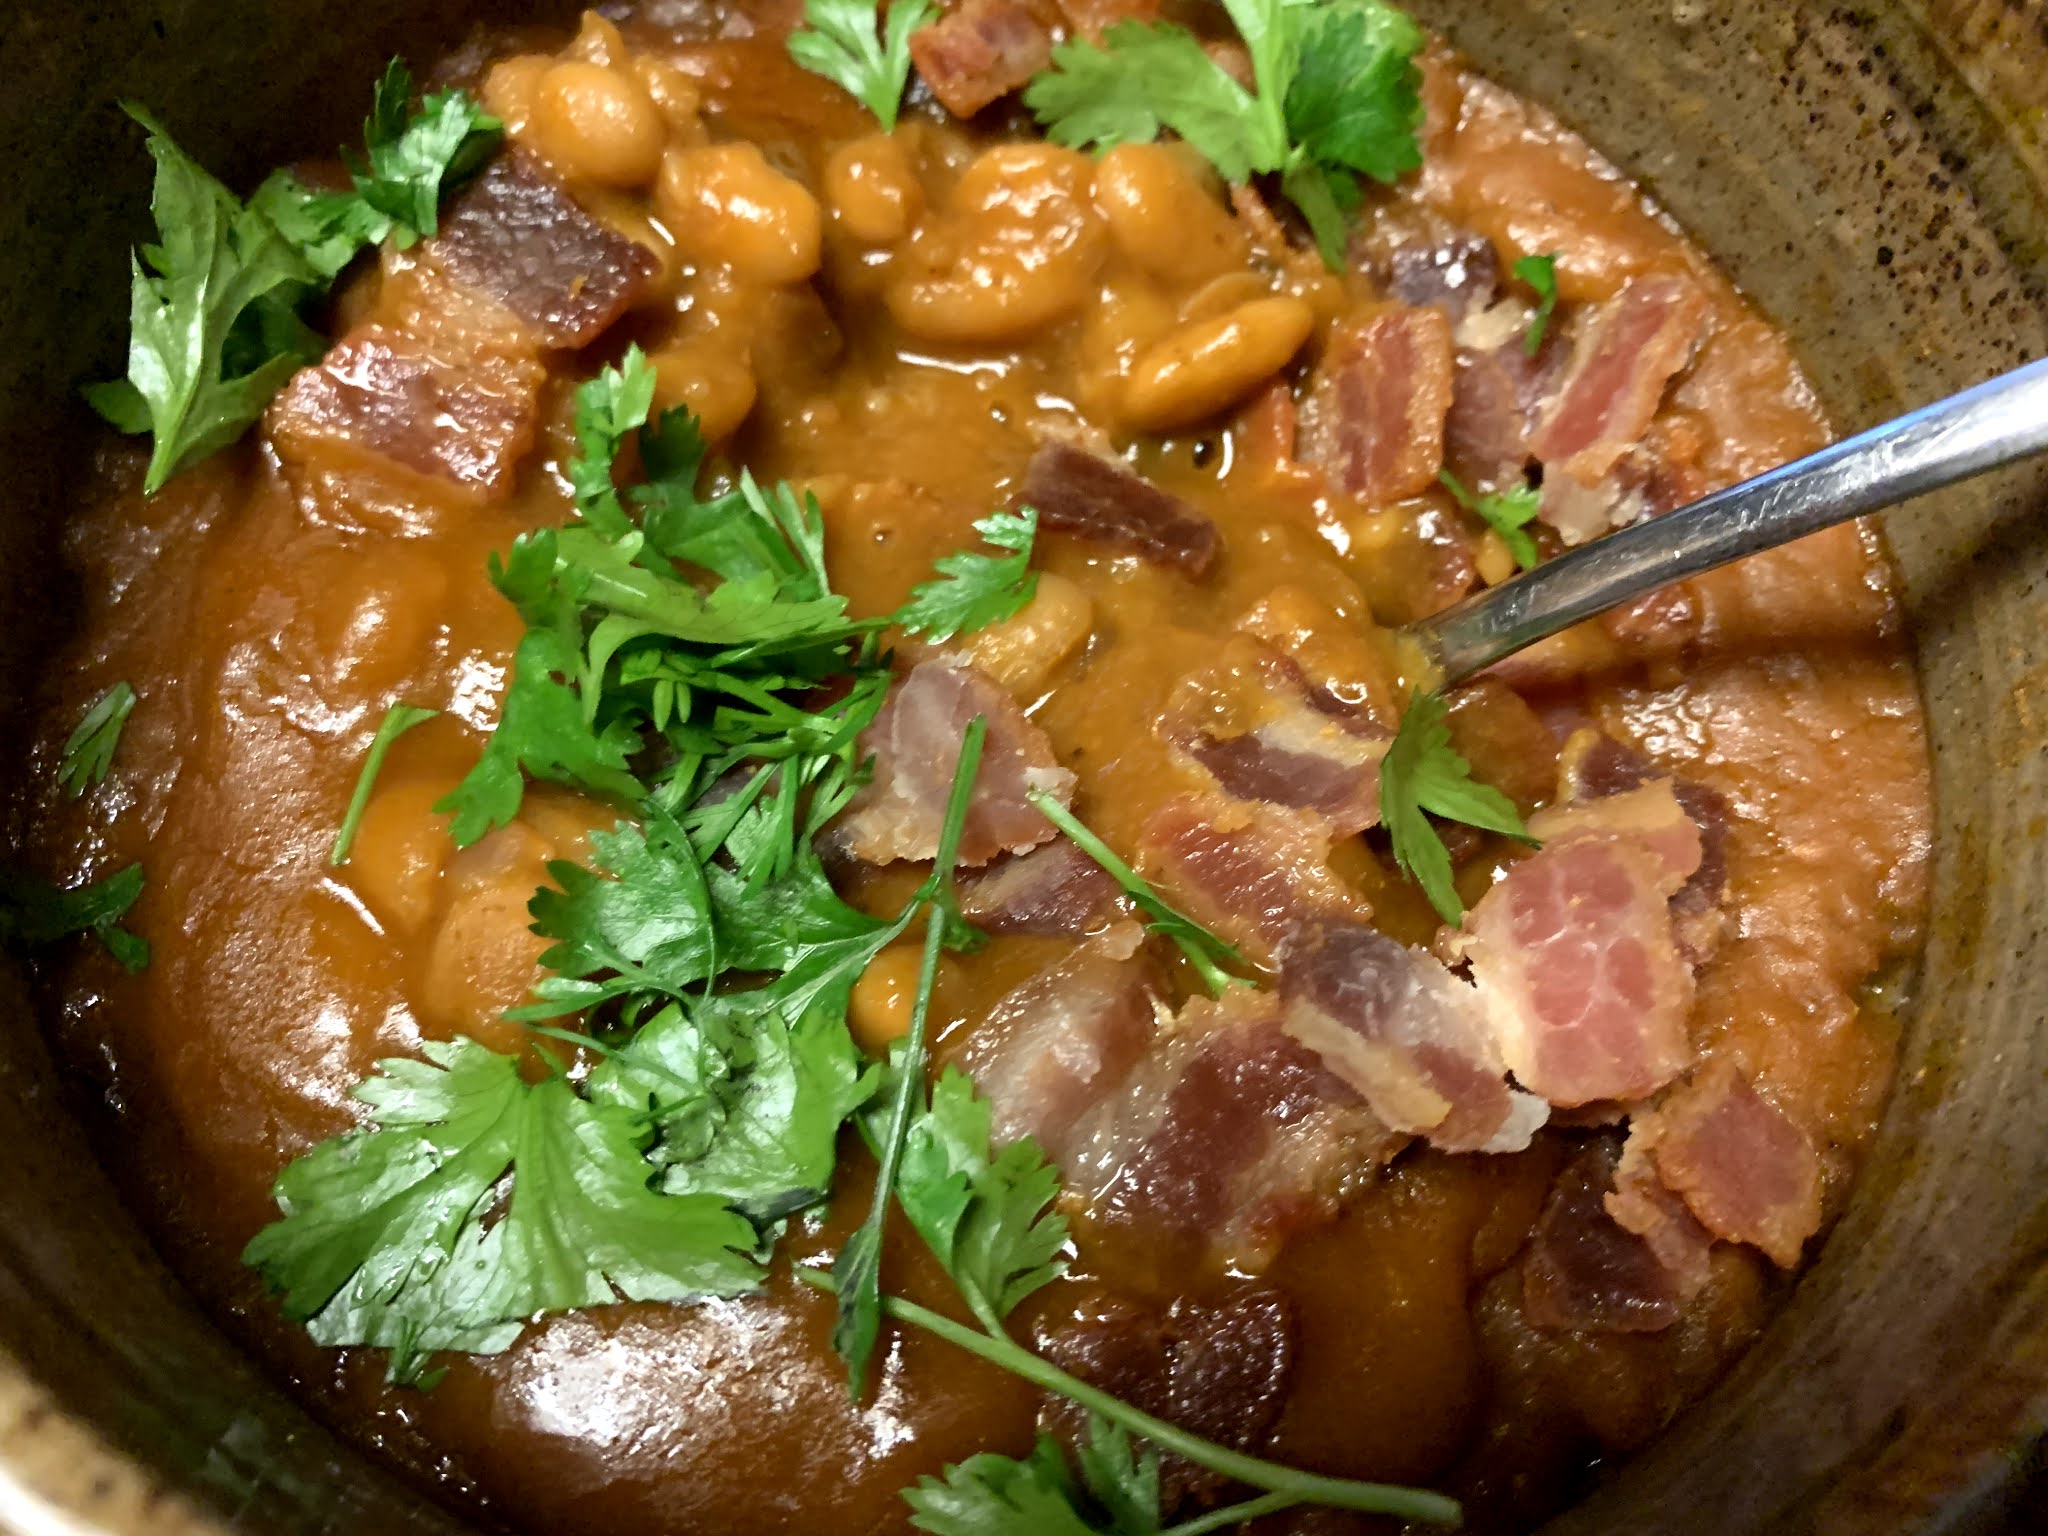
- Make Baked Beans: Set the IP to Sauté. Add the bacon and cook until crisp. Remove and set aside in refrigerator for later use.
- Add the onions and garlic to the bacon grease, adding more grease or oil if needed. Sauté until onions are transulent.
- Add the cooked beans to the IP with the rest of the ingredients except the final Kosher salt and cilantro. Gently stir to combine. Cover with the lid and make sure the valve points to Sealed position..
- Cook on High Pressure for 10 minutes followed by a 10 minutes Natural Pressure Release.
- Manually release manually the remaining pressure and remove the lid.
Taste and add salt as needed at this point.
- If the beans seems juicier than preferred, set IP Sauté and cook the beans with the lid off for 5+ minutes or until the liquid at the preferred consistency.
- Top beans with chopped cooked bacon and cilantro.
*Garlic Scapes are the shoots that grow out of the ground from hard-neck varieties of garlic.
Recipe without photos . . .
Instant Pot Baked Beans — no soaking required / recipe makes about 6+ servings and is adjusted for a 3-quart pot; double recipe for a 6-quart pot
Cook Dry Beans:
1/2 lb. uncooked dry white beans (Great Northern or Navy)
1/2 teaspoon ground black pepper
4 cups water
Baked Beans:
4 or 5 slices bacon, cut into pieces
1 small to medium yellow or white onion, diced
1/2 tablespoon minced garlic (I used 1 tablespoon garlic scapes* since this is the season for them)
3 tablespoons brown sugar
1 heapingtablespoon tomato paste
1 1/2 teaspoons liquid smoke
1 1/2 teaspoons Worcestershire sauce
1 1/2 tablespoons molasses
1/4 cup BBQ sauce (I used a homemade version of Gates BBQ Sauce)
About 2 oz. (1/2 can) diced green chiles ( optional)
1/2 teaspoon smoked paprika
1/2 teaspoon dry mustard
Dash red pepper flakes
1 1/2 cup water
Kosher salt for seasoning near end of cooking
Cilantro for garnishing if desired
- Cook Dry Beans: Add dry beans, salt and 4 cups of water to the inner pot of the Instant Pot (IP). Cover and make sure the valve points to Sealed.
- Cook on High Pressure for 25 minutes followed by a 20 to 25 minutes Natural Pressure Release.
- Manually release manually the remaining pressure and remove the lid.
- Rinse the beans under cold water and drain.
Clean the inner pot and return it to the IP.
- Make Baked Beans: Set the IP to Sauté. Add the bacon and cook until crisp. Remove and set aside in refrigerator for later use.
- Add the onions and garlic to the bacon grease, adding more grease or oil if needed. Sauté until onions are transulent.
- Add the cooked beans to the IP with the rest of the ingredients except the final Kosher salt and cilantro. Gently stir to combine. Cover with the lid and make sure the valve points to Sealed position.
- Cook on High Pressure for 10 minutes followed by a 10 minutes Natural Pressure Release.
- Manually release manually the remaining pressure and remove the lid.
Taste and add salt as needed at this point.
- If the beans seems juicier than preferred, set IP Sauté and cook the beans with the lid off for 5+ minutes or until the liquid at the preferred consistency.
- Top beans with chopped cooked bacon and cilantro.
*Garlic Scapes are the shoots that grow out of the ground from hard-neck varieties of garlic.